
The front floor replacement project is finally complete. What a tedious job it was.
Originally I had planned to drop the belly pan so that I could slide the new floor in as one sheet and bolt it properly to the frame. But before beginning to drill out the belly pan rivets I had a closer look at how the belly pan comes up between the exterior shell and the C-channel that rides on the perimeter of the floor.. That’s when I found that the belly pan comes up and then is crimped over the outside edge of the C-channel. This wasn’t obvious because the crimp was covered with some black, sprayed-on sealant.
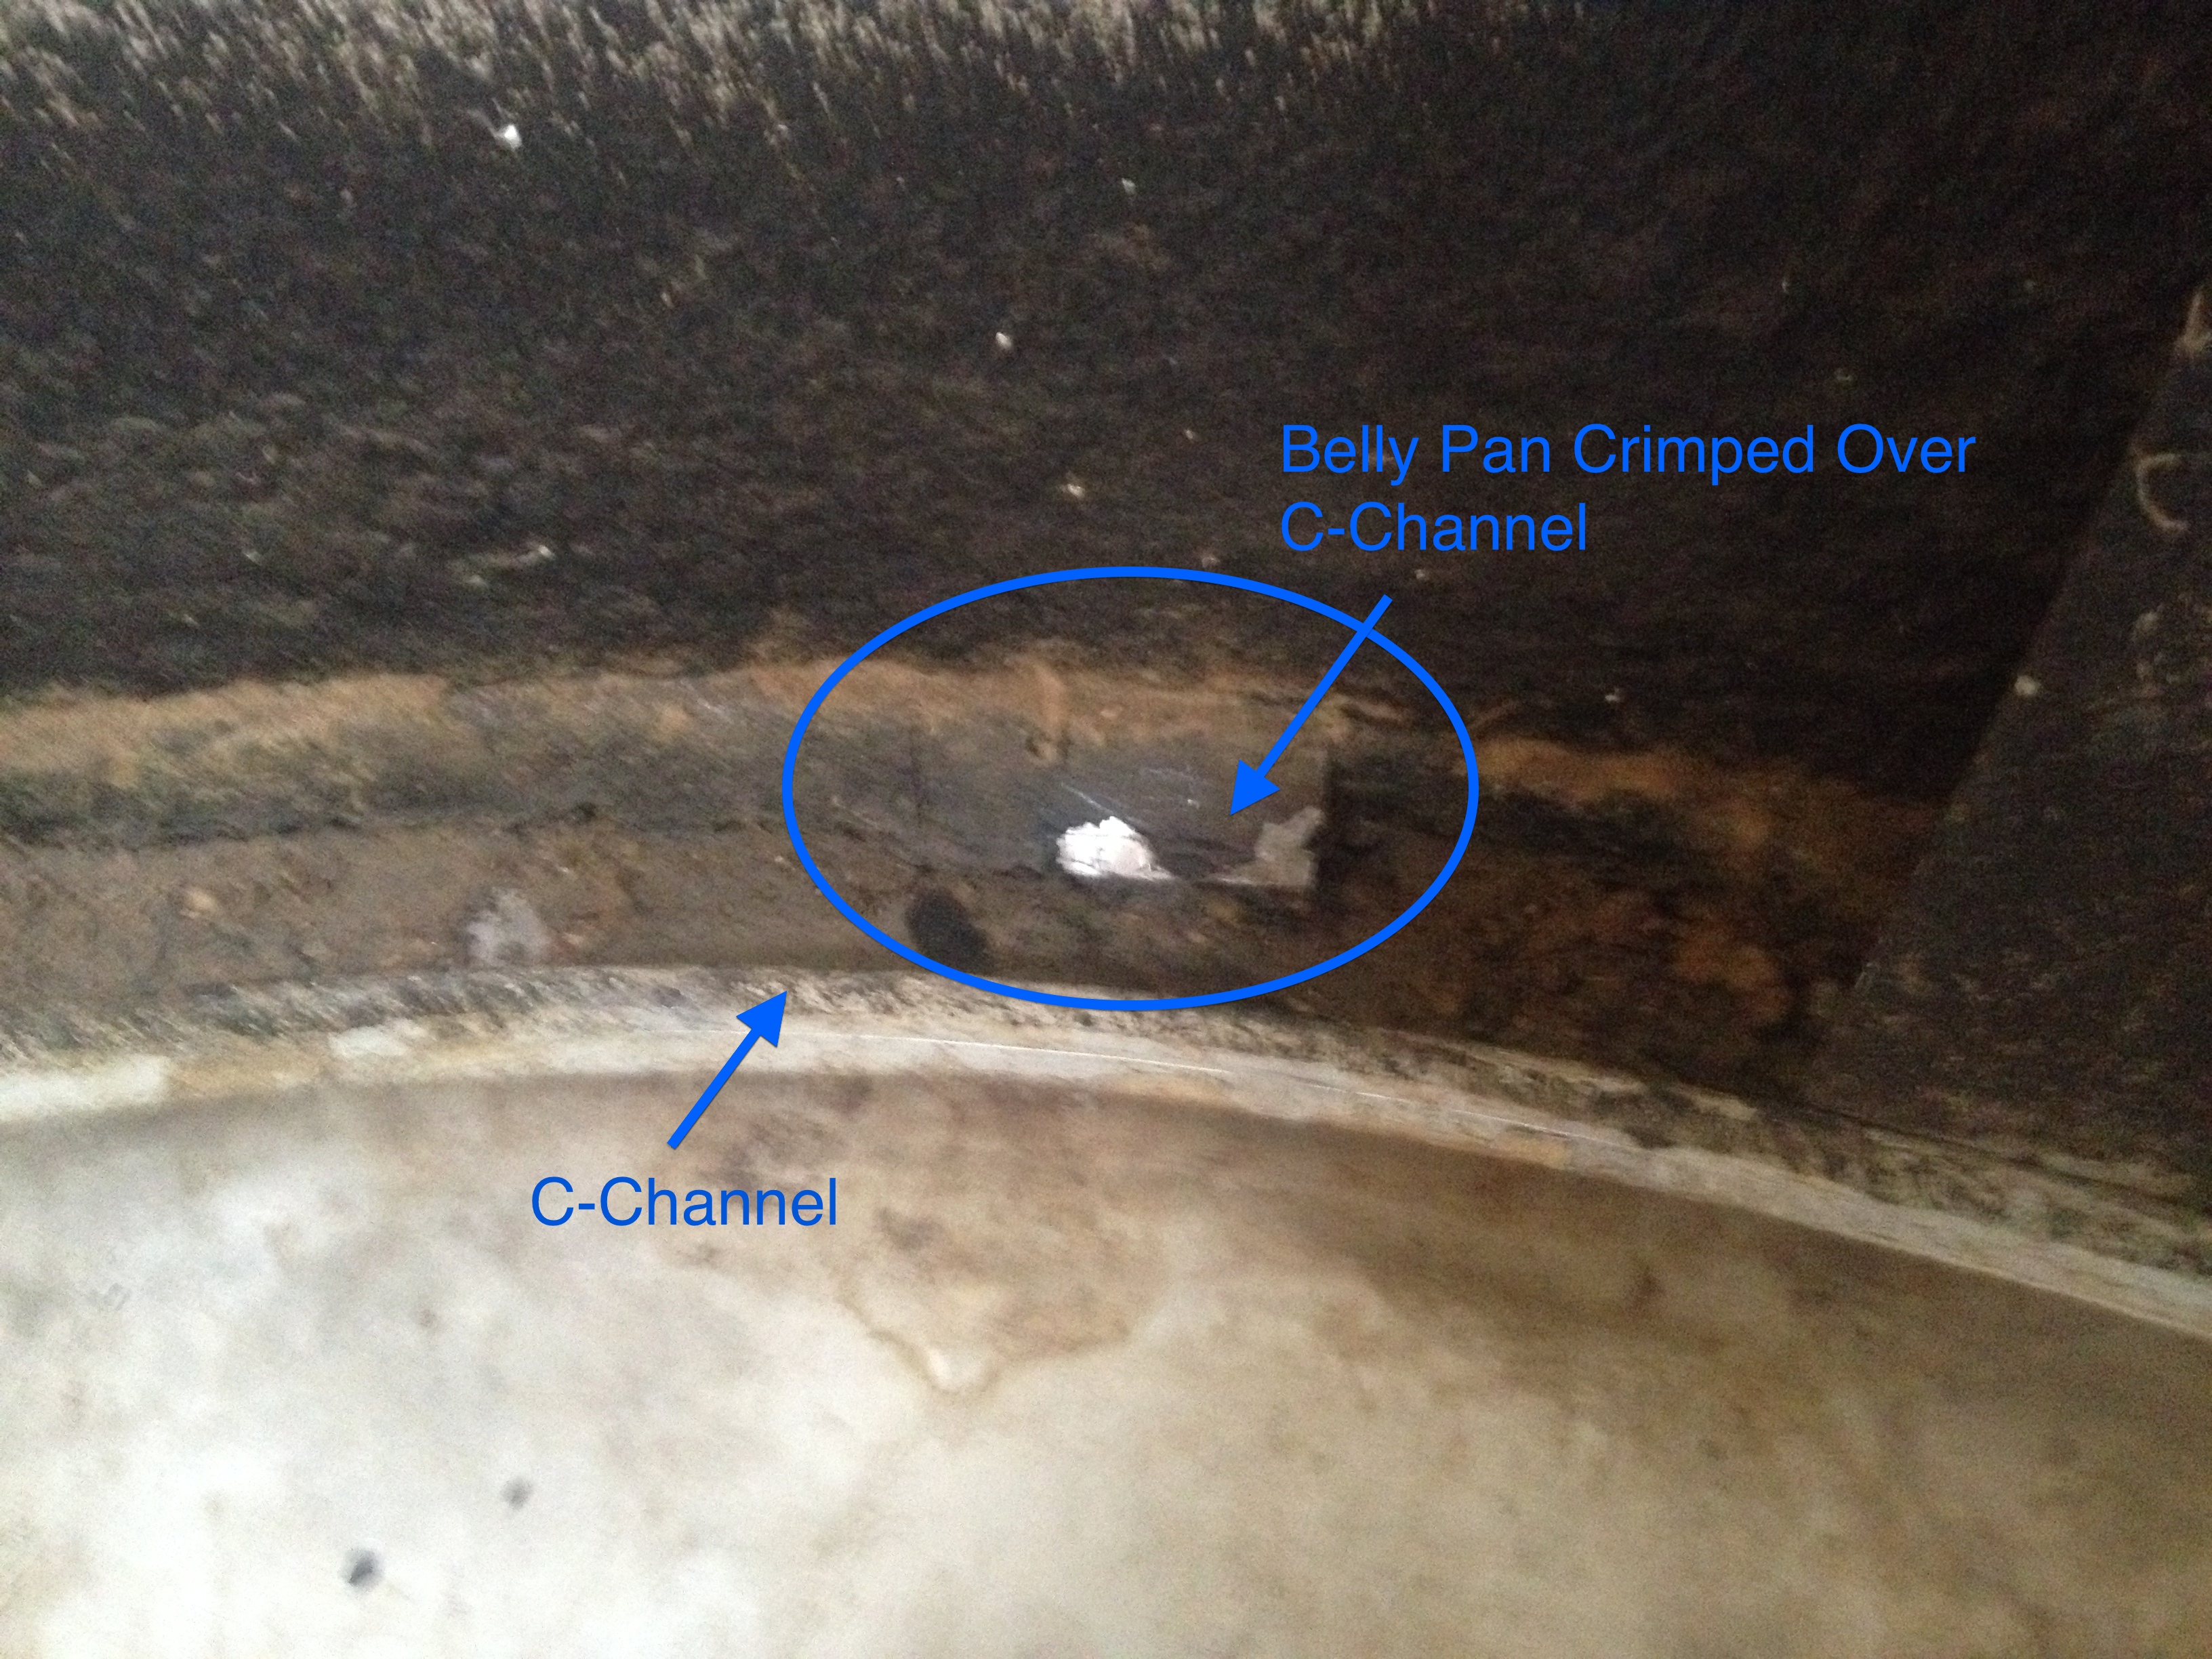 I decided that it would just be too much work to scrape off the black sealant, uncrimp the belly pan, drill out all the rivets and then do it all in reverse after the new floor was in. Instead I would install the floor without dropping the belly pan. This meant that I would need to use screws to fasten the floor to the frame and the C-channel to the floor rather than the bolts I had originally planned to use.
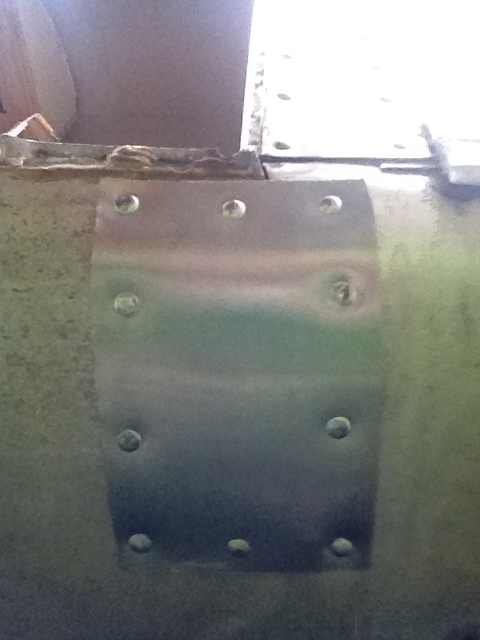
With that decision made it was almost time to install the new plywood. But first I patched the torn portions of the belly pan. The tears were caused by the floor sagging as you stepped into the trailer. I used 5052H32 0.032″ aluminum for the patches and solid 1/8″ rivets to fasten the patch to the belly pan. Here is a picture showing the patch just below the right side of the entrance.
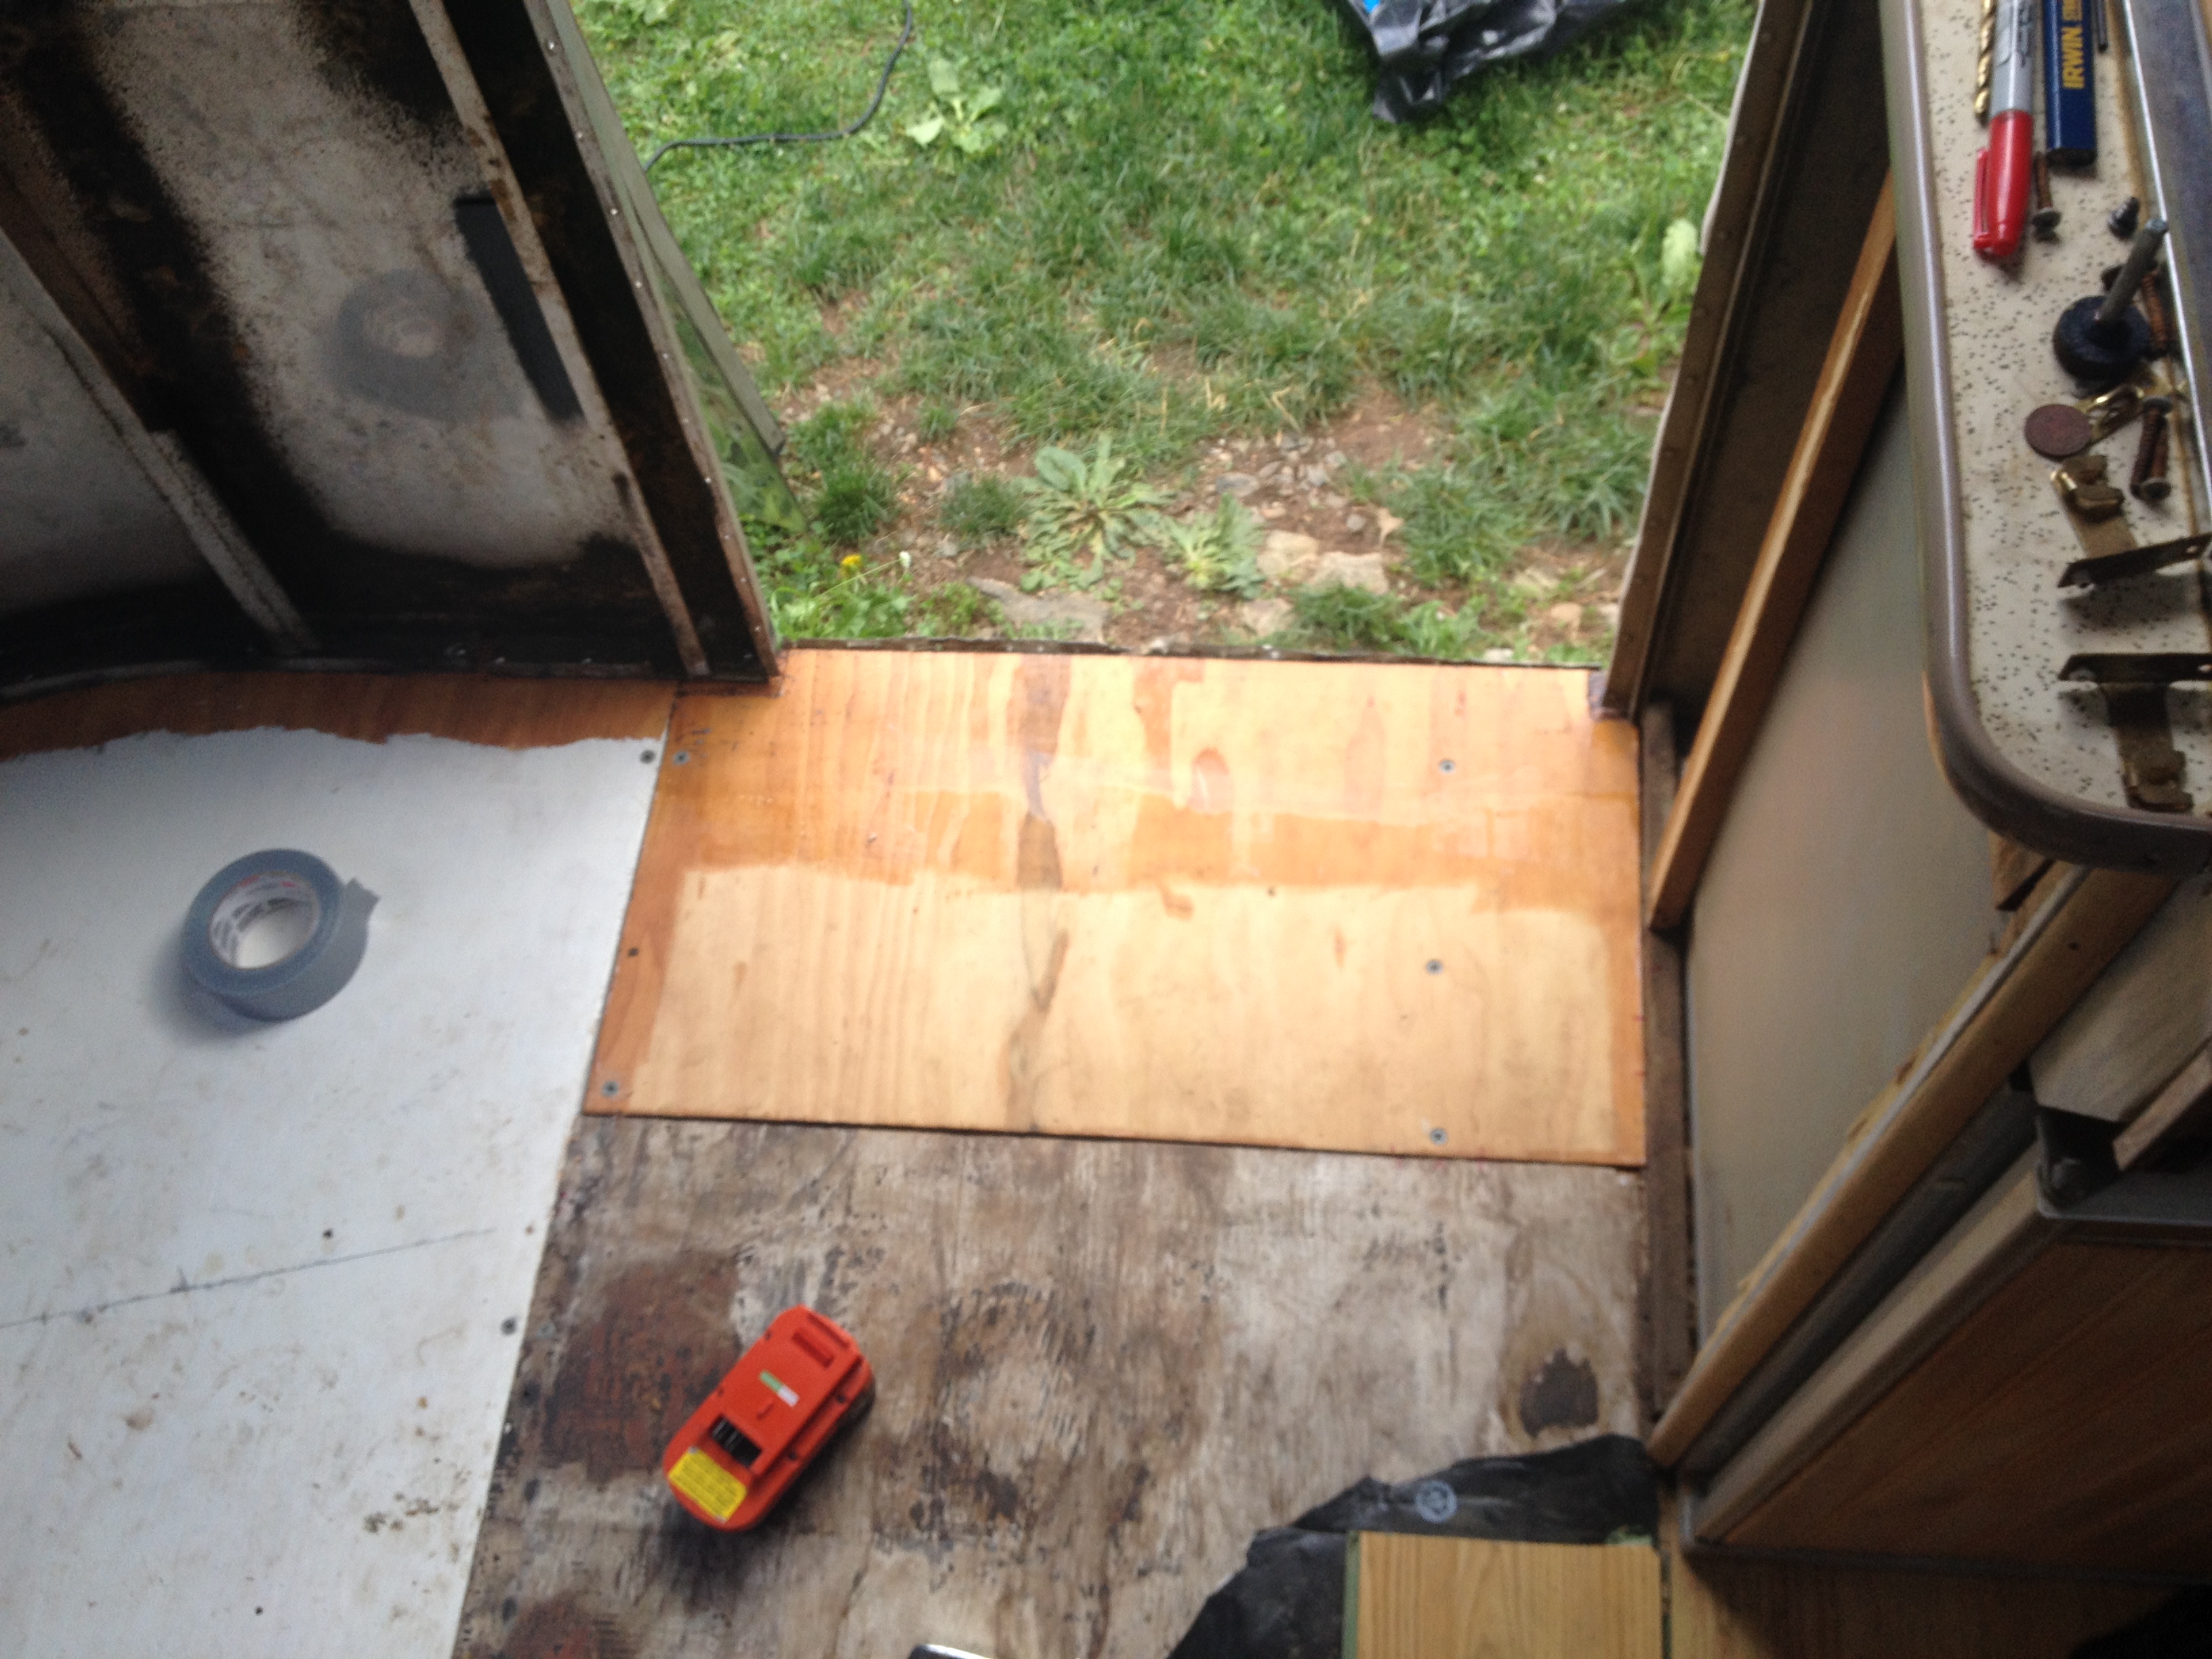
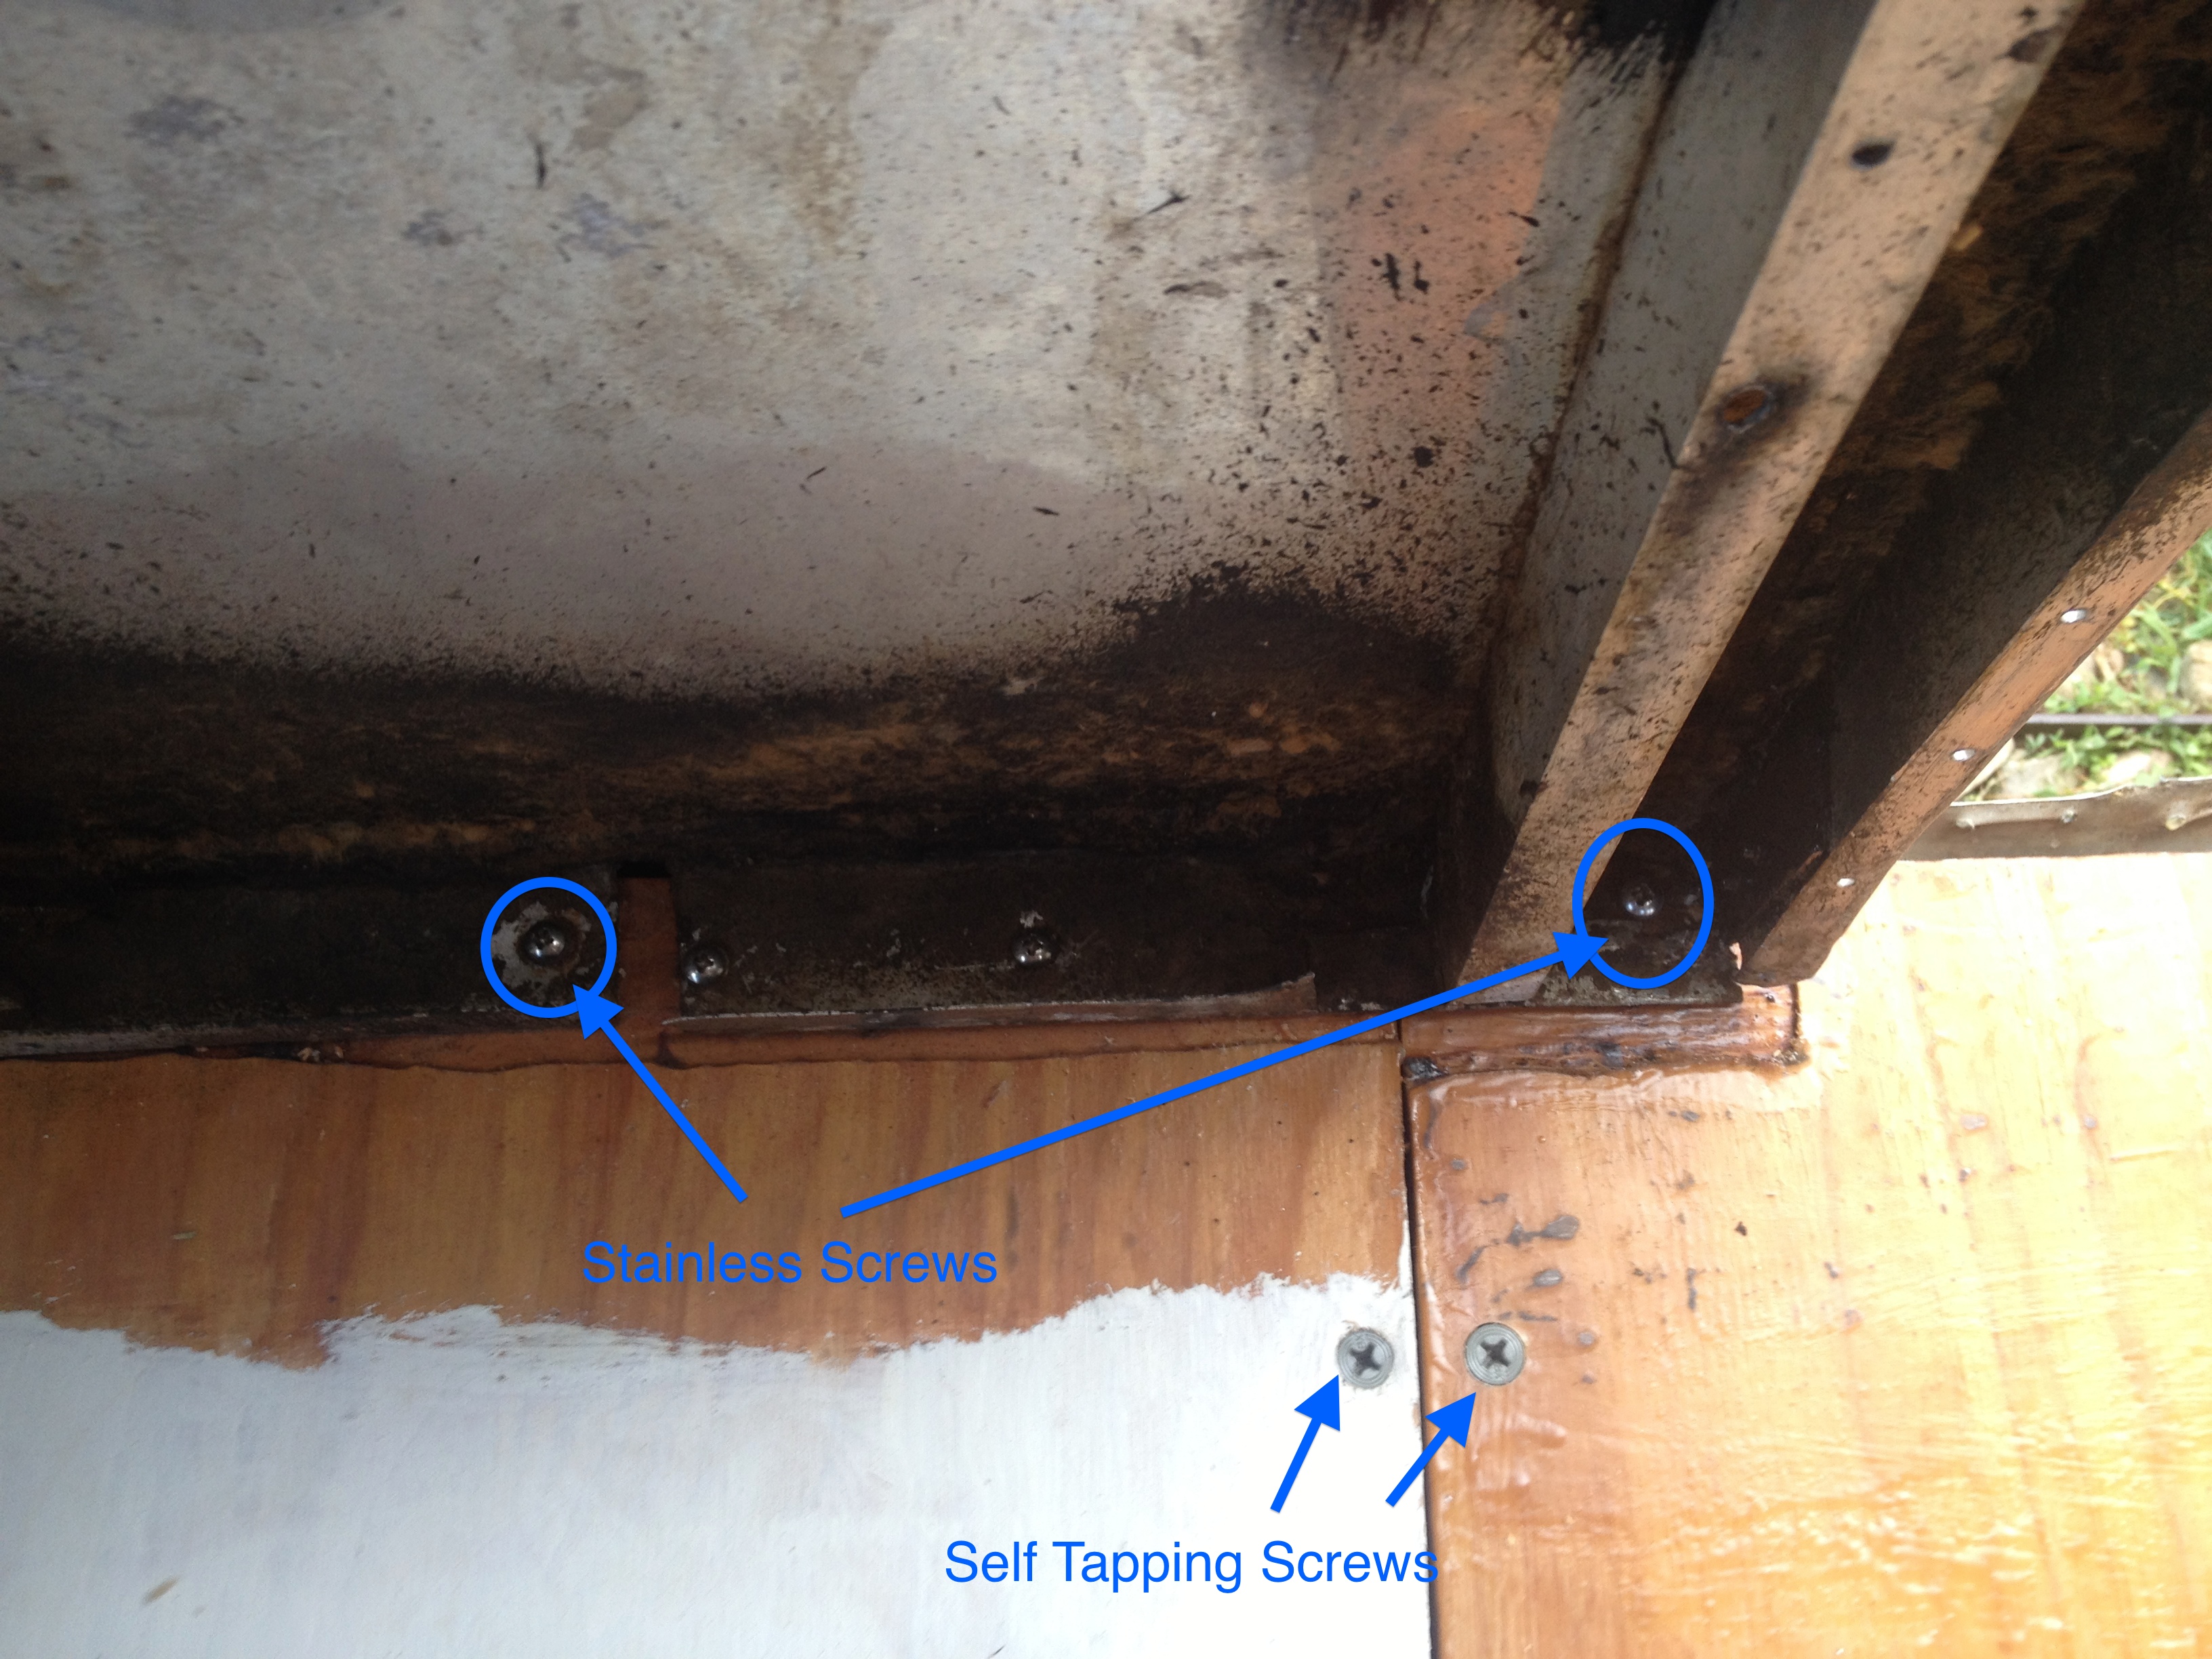
And finally I installed the new floor sections. I had to cut the front section in half in order to slide it into position. I used self tapping screws to fasten it to the cross members. I chose not to fasten to the main frame rails because the original floor was bolted only to the cross members and not to the main frame.
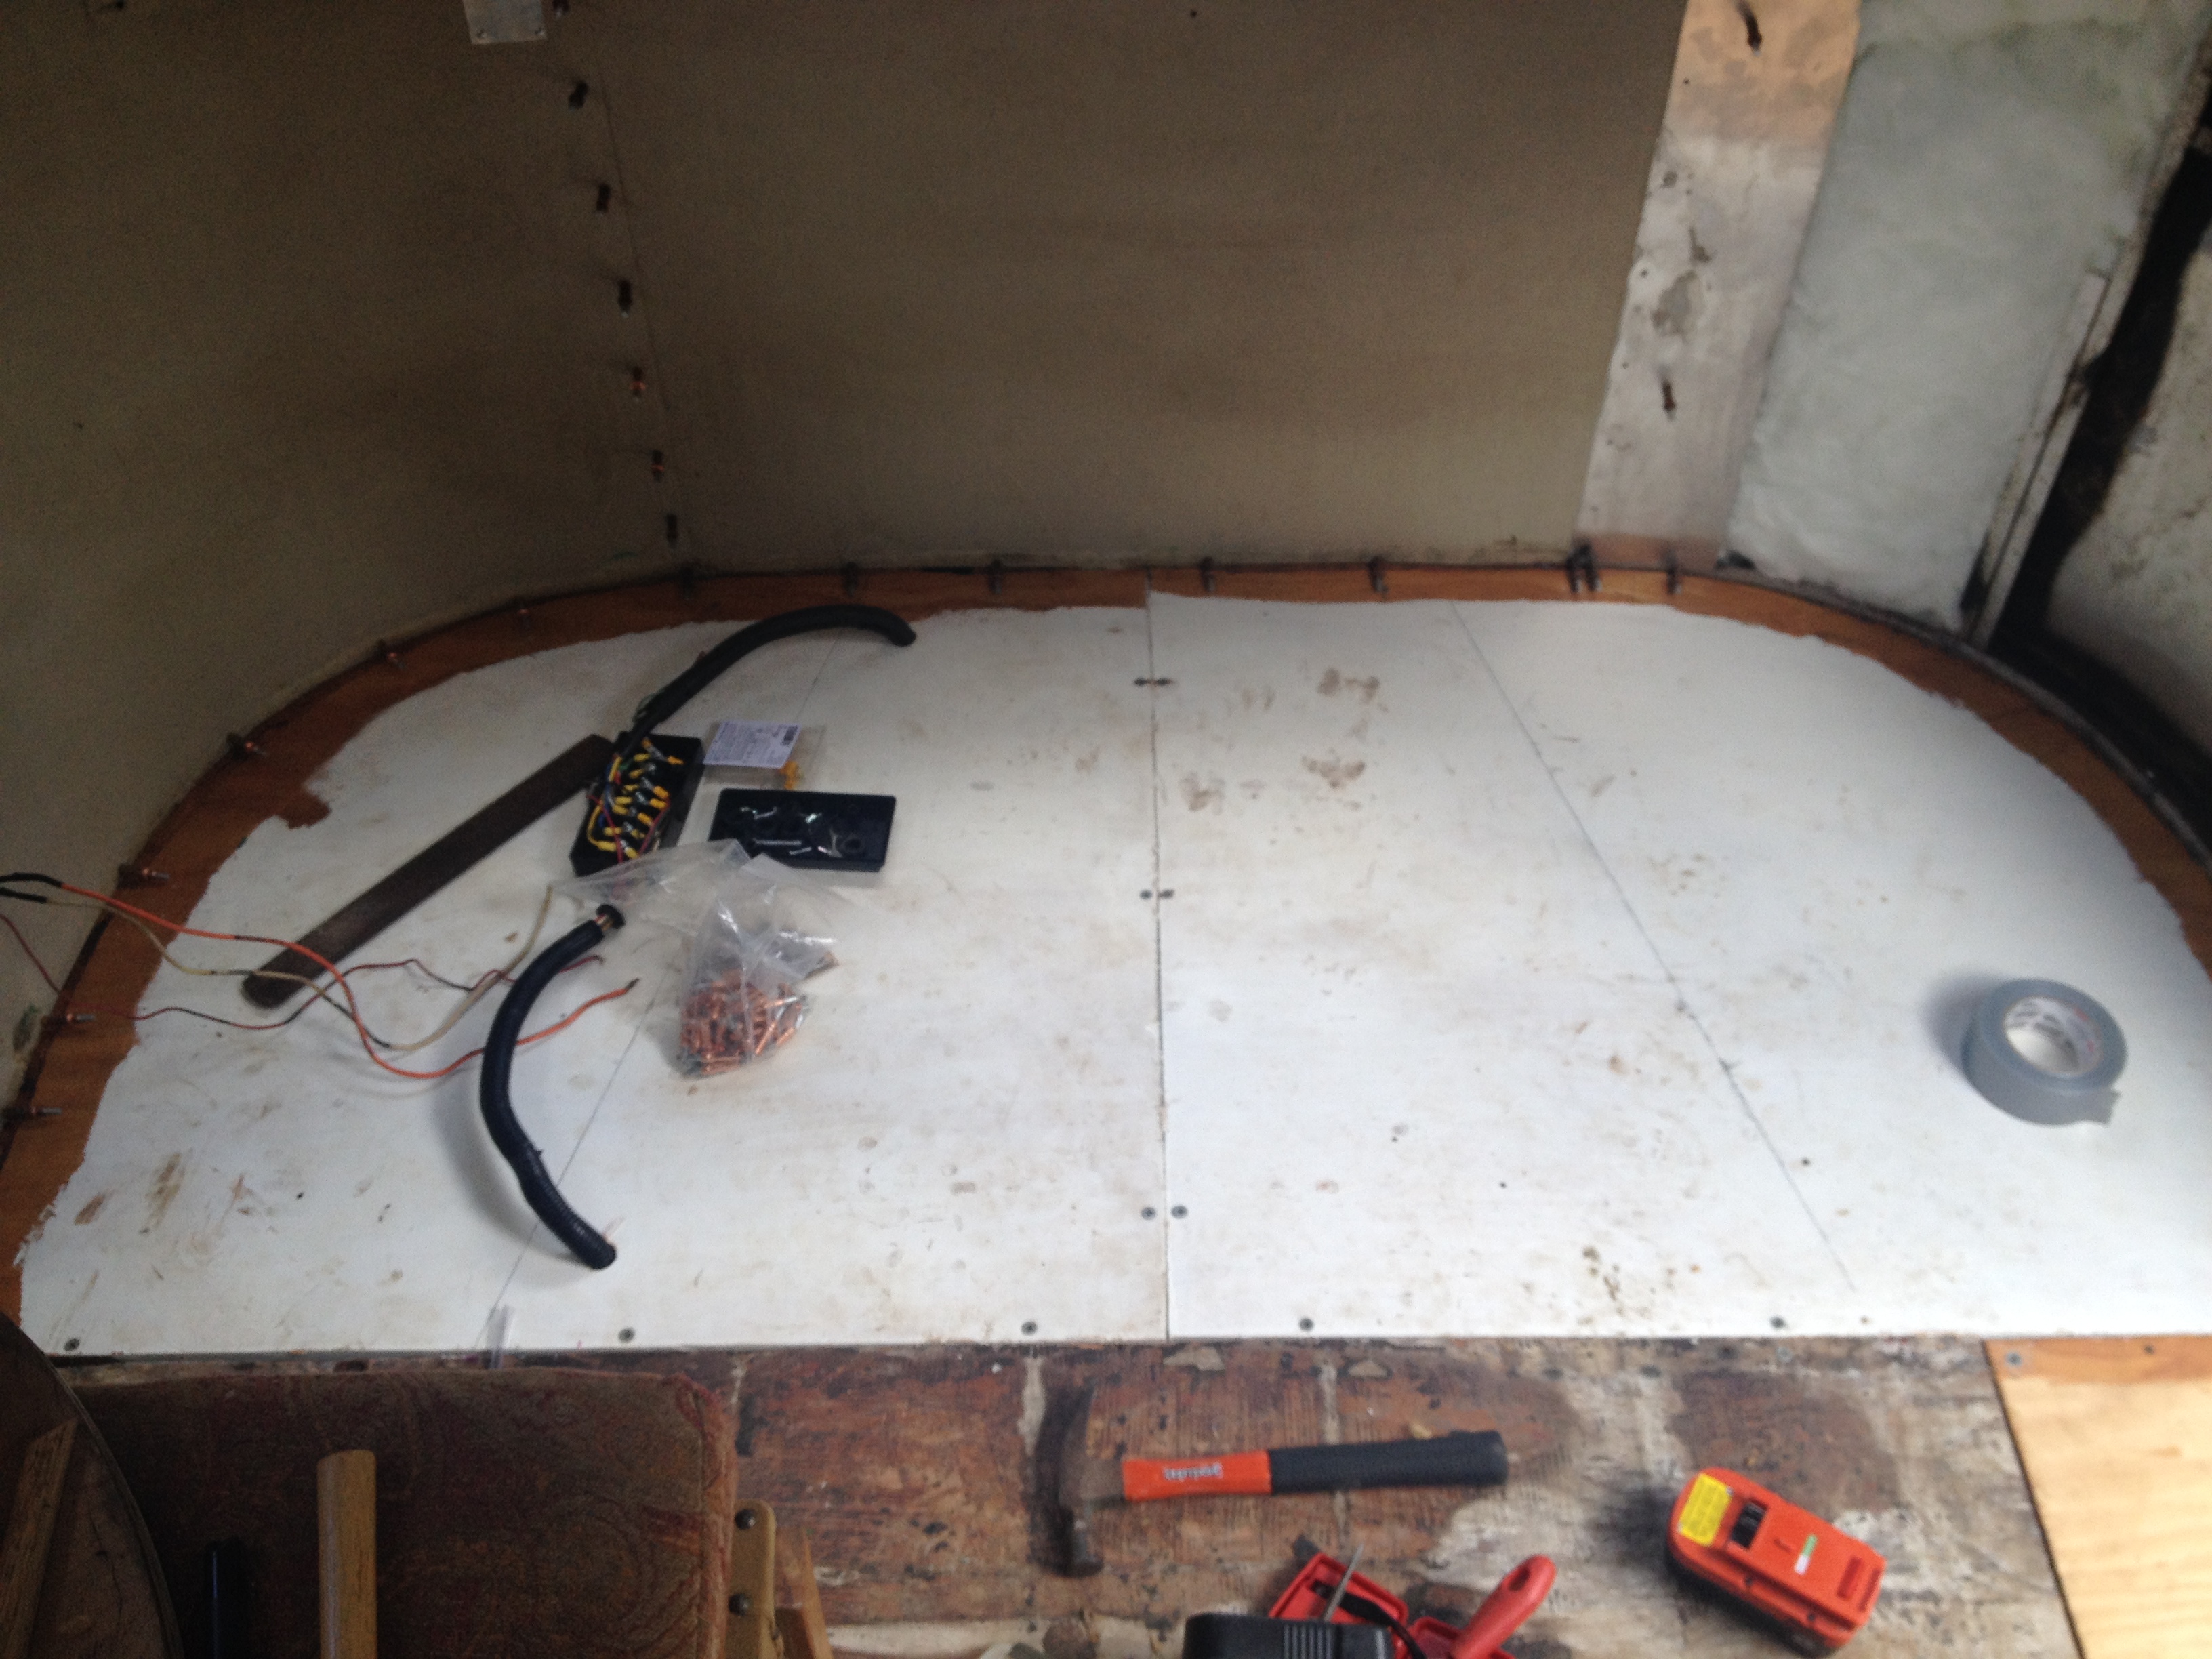
You can see on the left side where I brought the umbilical cable and trailer cabling up through the floor and connected them in a new junction box. Rather than sealing these wires under the floor as they originally were, I thought it might be useful to have access to them in the future.
No more sagging floor when you step into the trailer!
The C-Channel is fastened to the plywood with stainless screws and nylon washers. The plywood is fastened to the cross members with epoxy coated self tapping screws
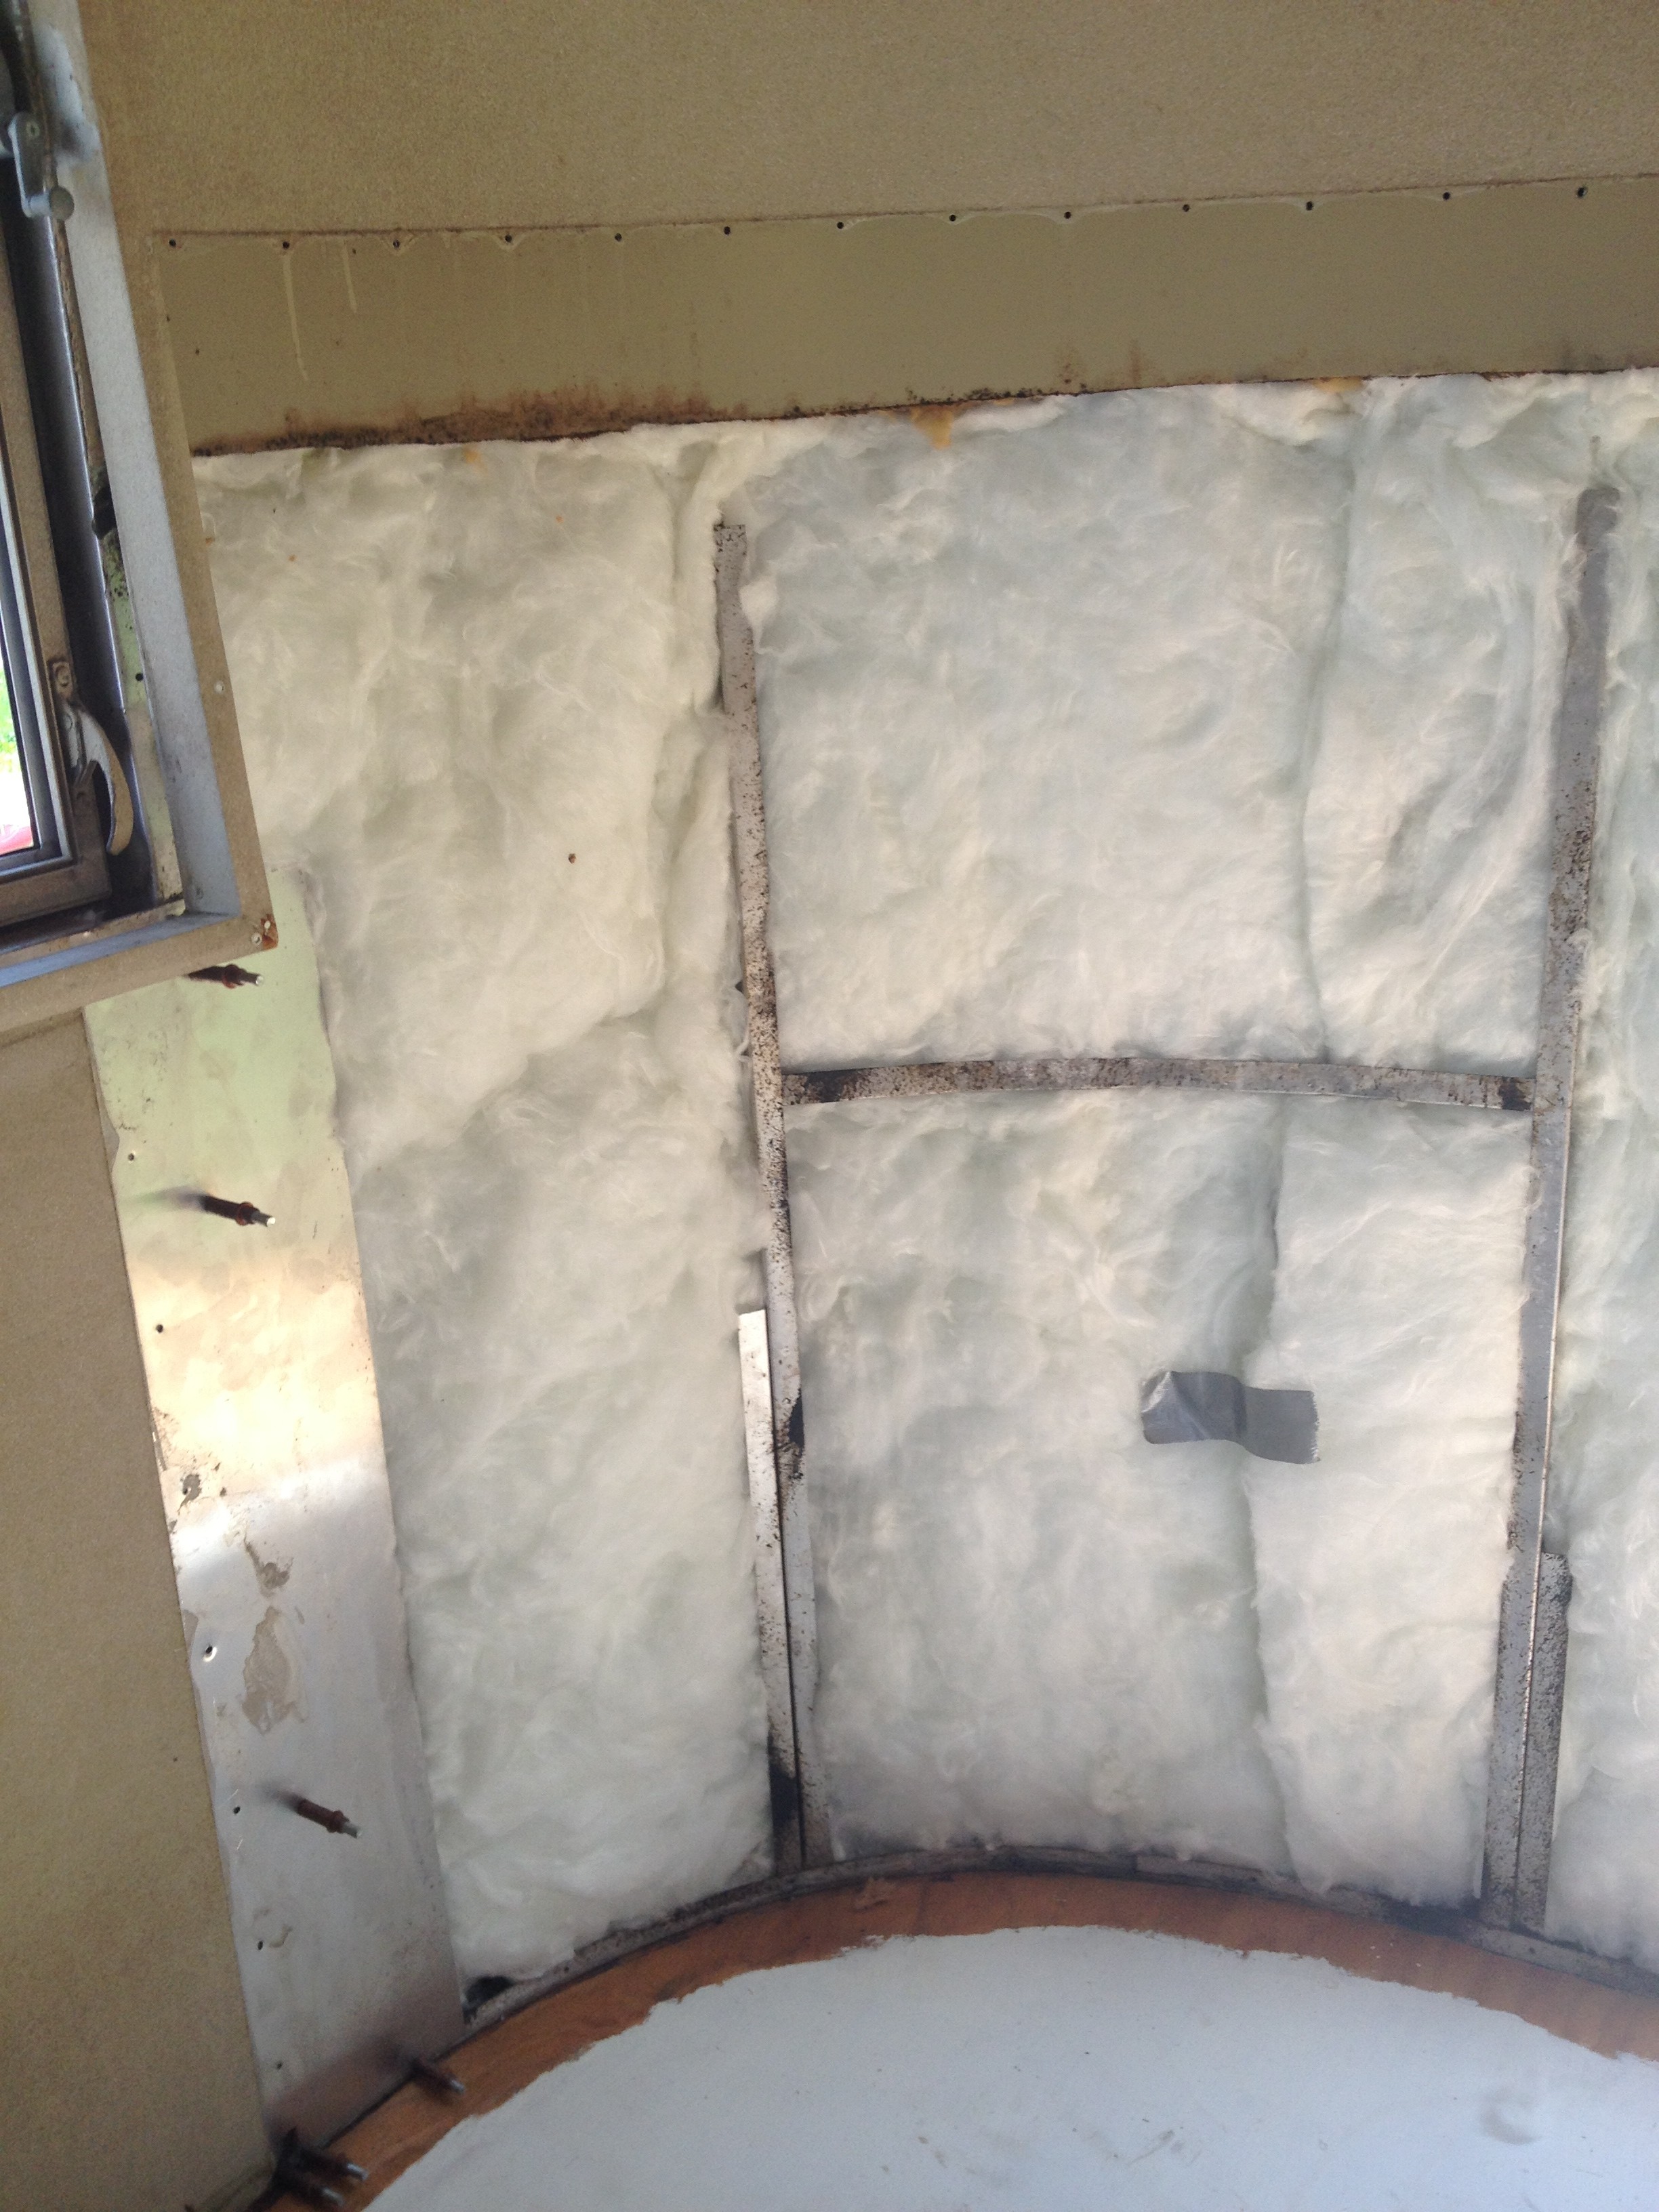
.I stuffed the walls with new fiberglass insulation that I had left over from a previous project.
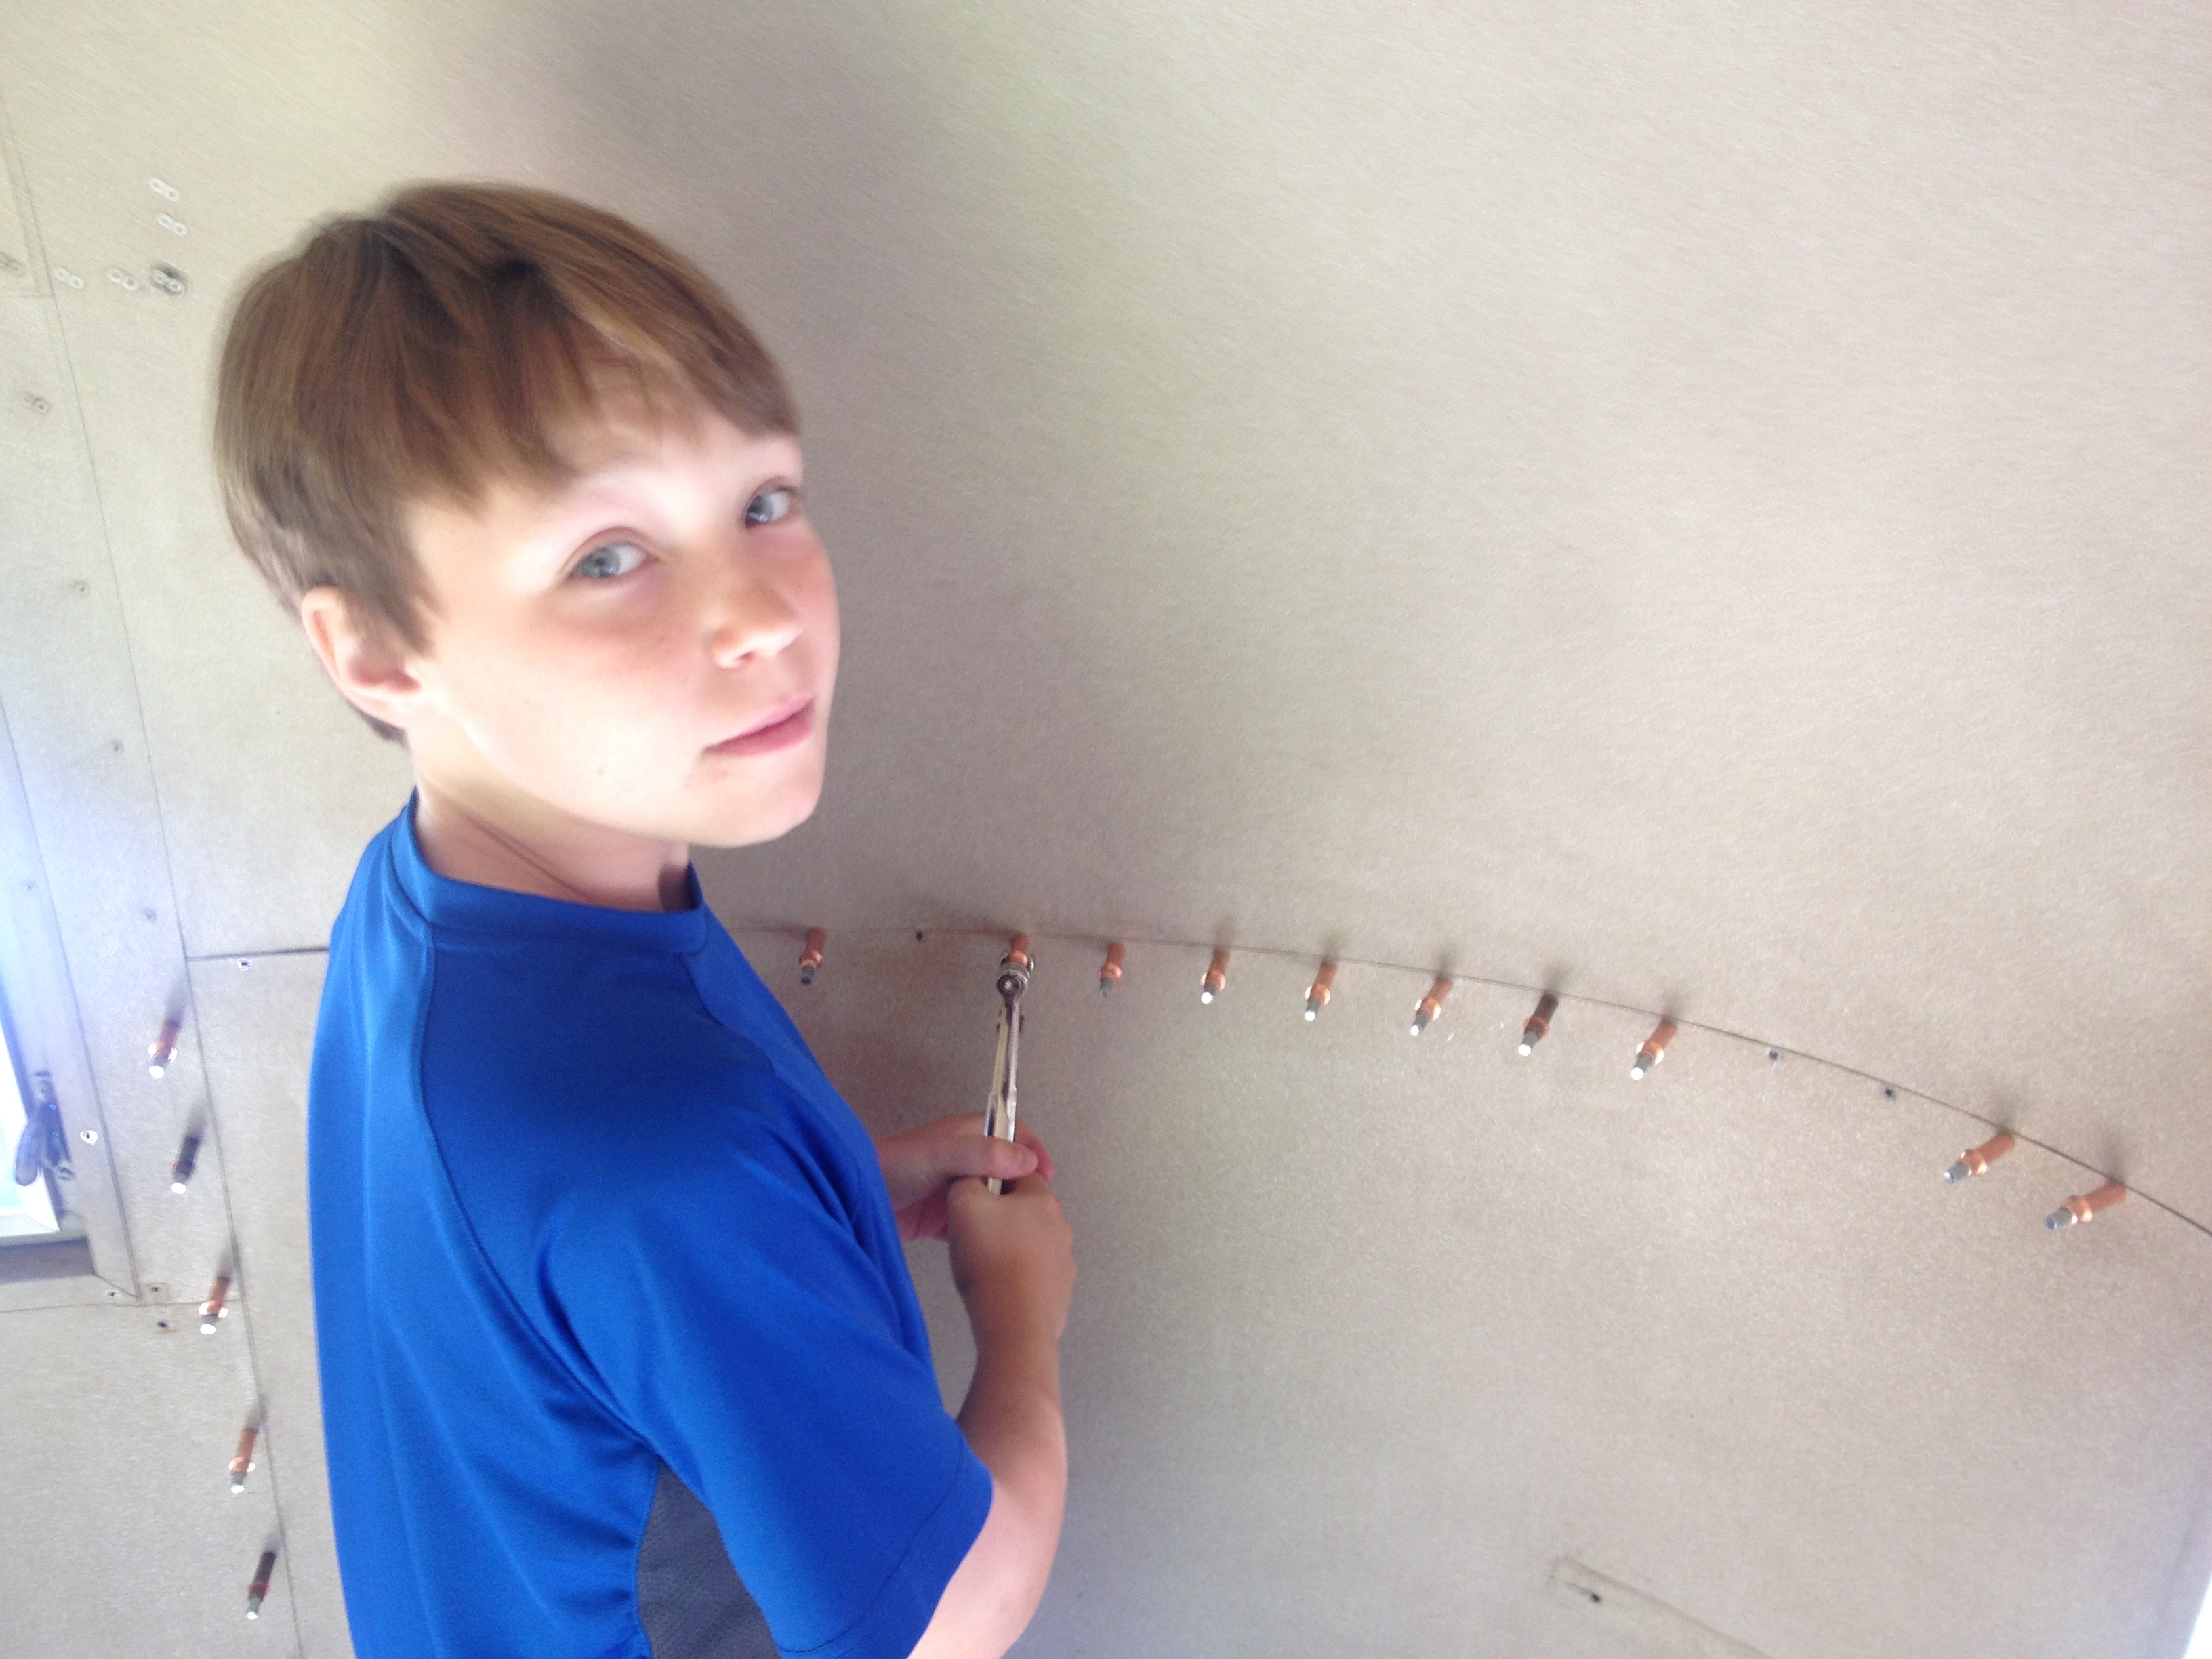
And then I found some help to reinstall the interior walls.
And now that the front gaucho is reinstalled, you can barely tell that I did any work at all.
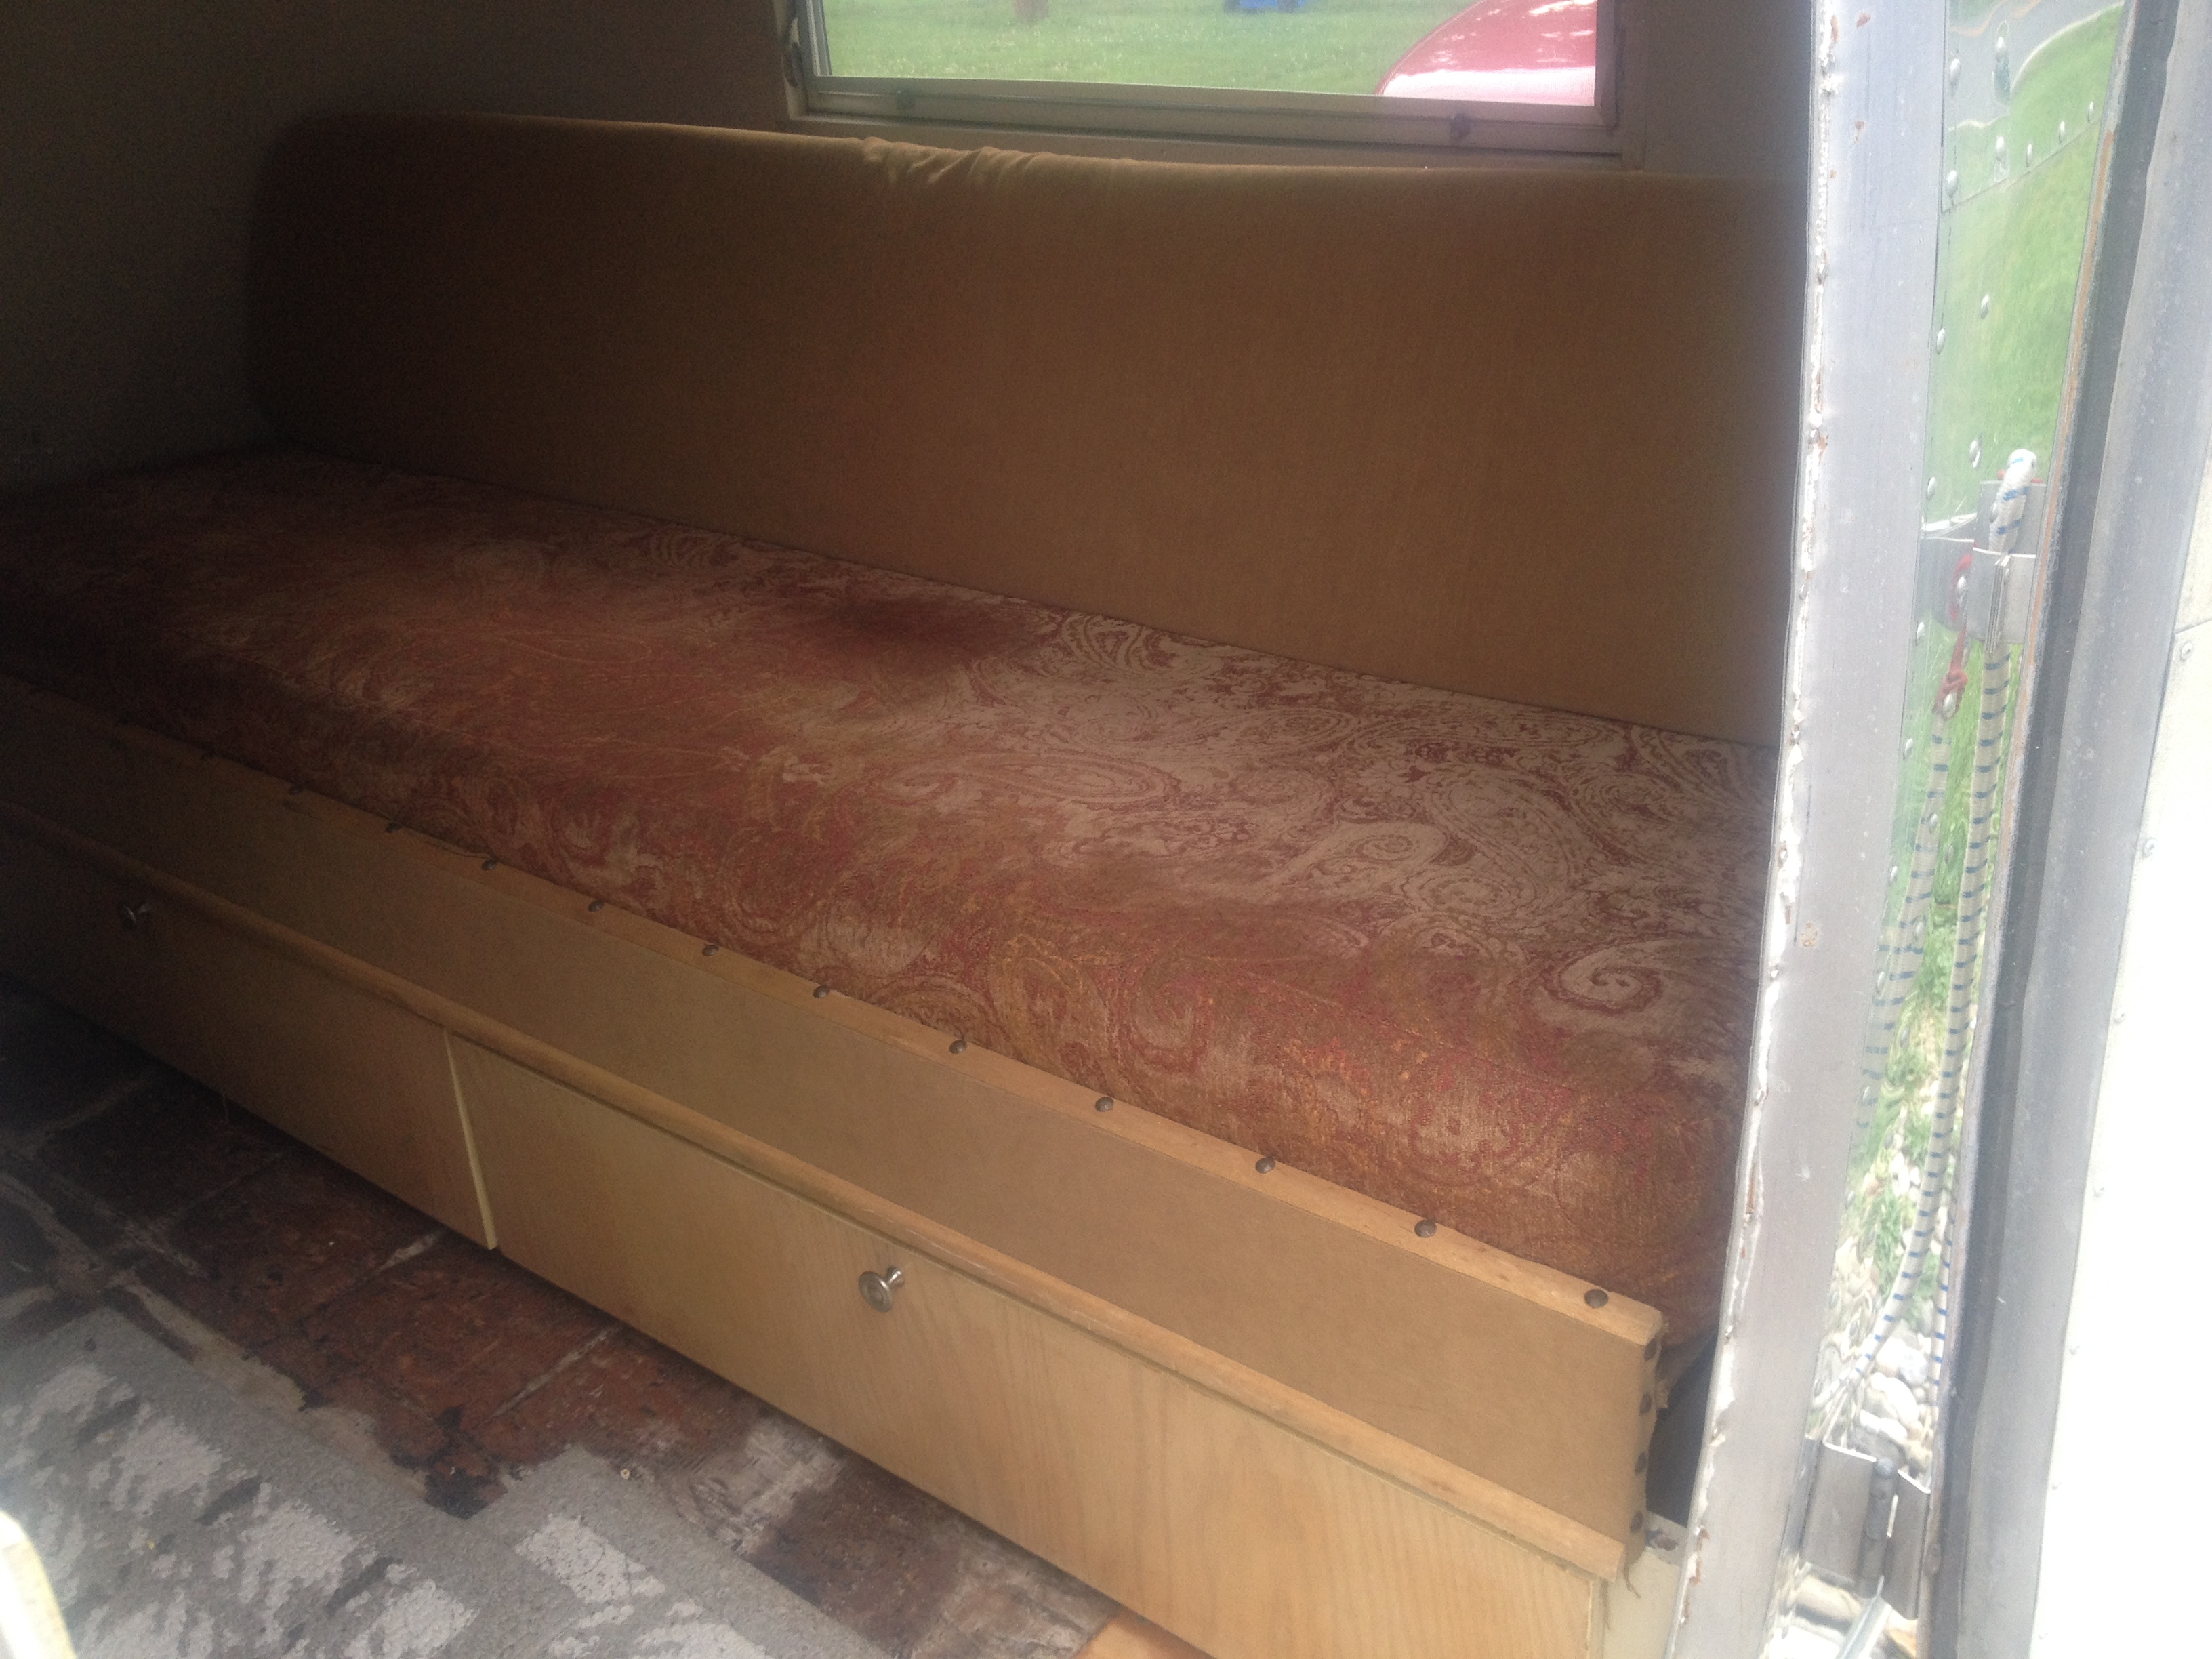 Still, I know that everything is sealed and solid now. And that is worth the effort.