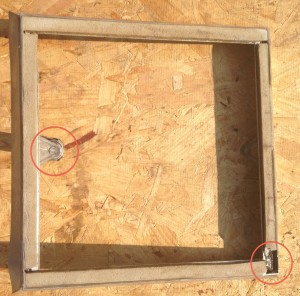
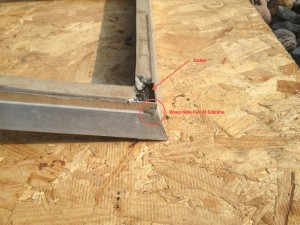
After returning from our trip to Don Laine Campground I removed the roof vent cover and took a closer look. Here is a picture showing the frame with the plexiglass missing. Only one of the crank/lifters remains (circled on left). The other fell off last year while we were driving down the road. If you click on the image to view the higher resolution version of the image below you’ll see where a previous owner glued foam around the perimeter of the frame. If you look very closely you’ll see the thin line of clear silicone around the outer edge as well. That silicone was the only thing holding the plexiglass in place. When the wind got underneath, of course the plexiglass flew right out.
As I spent a few minutes trying to figure out how to secure a new piece of plexiglass into the frame I realized that that foam shouldn’t be there! I could replace the foam with butyl tape (left over from my previous window replacement work) which would adhere the plexiglass to the frame. After I pulled back the foam I realized that I would not need to seal around the perimeter of the glass with silicone, as a previous owner had, because there is a gutter underneath that would catch the little bit of water that might seep between the edge of the frame and the glass. But then I saw that a previous owner had blocked the weep holes that would allow the gutter to drain. Argh!
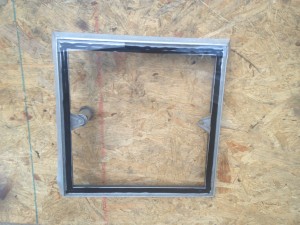
I spent a couple of hours removing all of the foam, glue, and silicone. Once it was all cleaned up I laid down some black butyl tape and then pressed the new plexiglass into place.
Shortly after reinstalling the vent cover, it rained. I’m happy to say that not a drop of water dripped into the camper. I used wire to fasten the cover to the vent opening. That should keep the wind from blowing it off. In the meantime I’ll try to find a replacement crank/lifter so that we can actually open the vent when needed.


