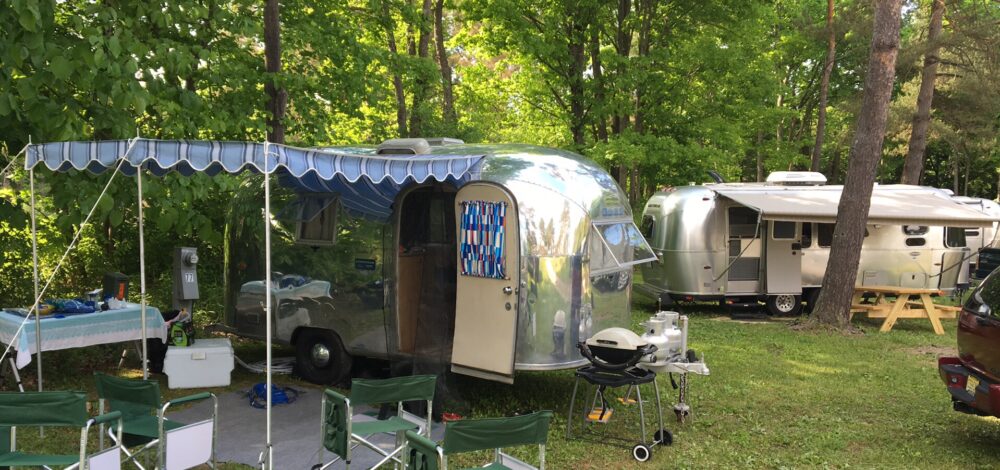
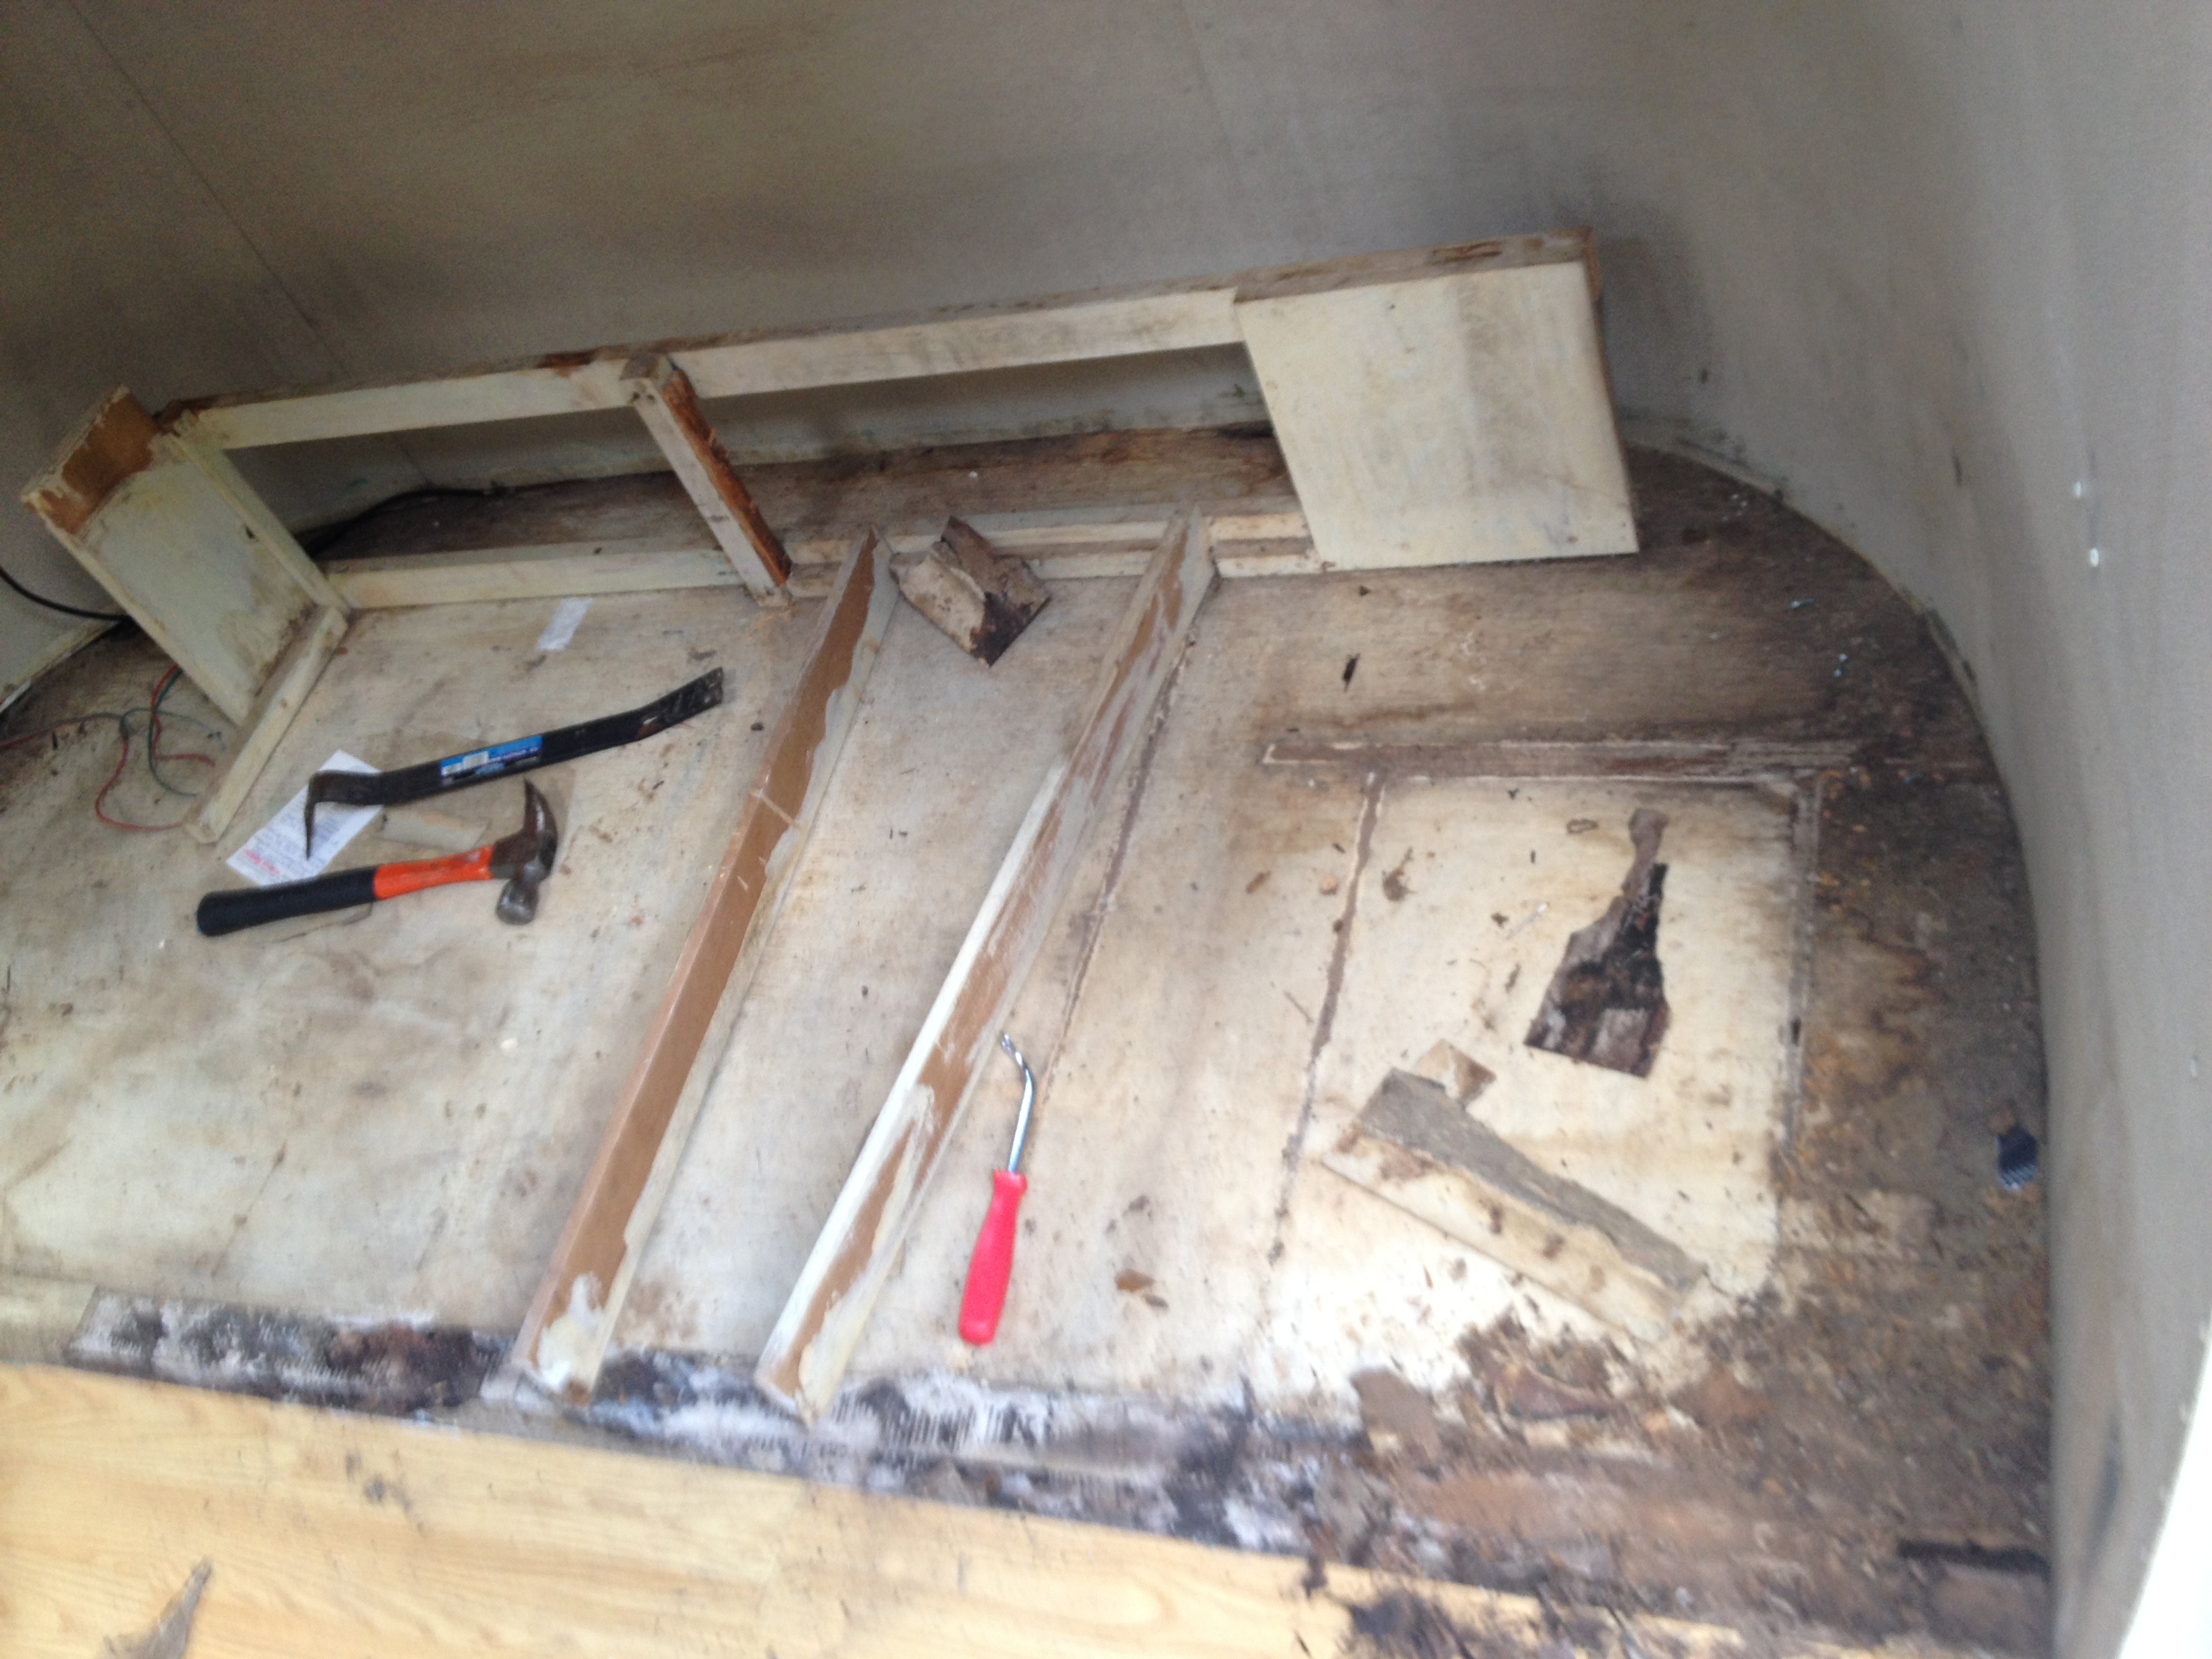
No sooner had we returned from the trip to Pine Hill than I dove into the job of fixing the floor in the front of the trailer. The floor right inside the entry door had been weak ever since we got the trailer. When you step inside, the floor sags causing a tear in the belly pan. You can see where a hole has rotted in the floor in the lower left corner of the picture below. I also noticed that there was a hole where the floor had rotted in the front right corner of the trailer. On Saturday I worked up the courage to dive into the project of fixing the floor. It didn’t take long to remove the front gaucho.
Then on Sunday I began drilling out the blind rivets holding the lower left interior wall panel. The rivets that had a nice hole in the center were easy to remove. But those where the shank had broken off above the head of the rivet were a major hassle. It took quite a bit of time and emotional restraint to remove those rivets without expanding the holes too much. I discovered that it’s actually easier to remove solid rivets! To remove the solid rivets by the door I:
- punched a guide hole with my center punch
- drilled into the center of the rivet head with a #30 drill bit until the bit was sunk just through the head of the rivet
- carefully used a hammer and a flat head screw driver to knock the remainder of the head off the rivet
- used my hammer and a small punch to push the rest of the rivet out the hole.
I didn’t have any problems removing any of the solid rivets.
At this point all three lower interior panels have been removed.
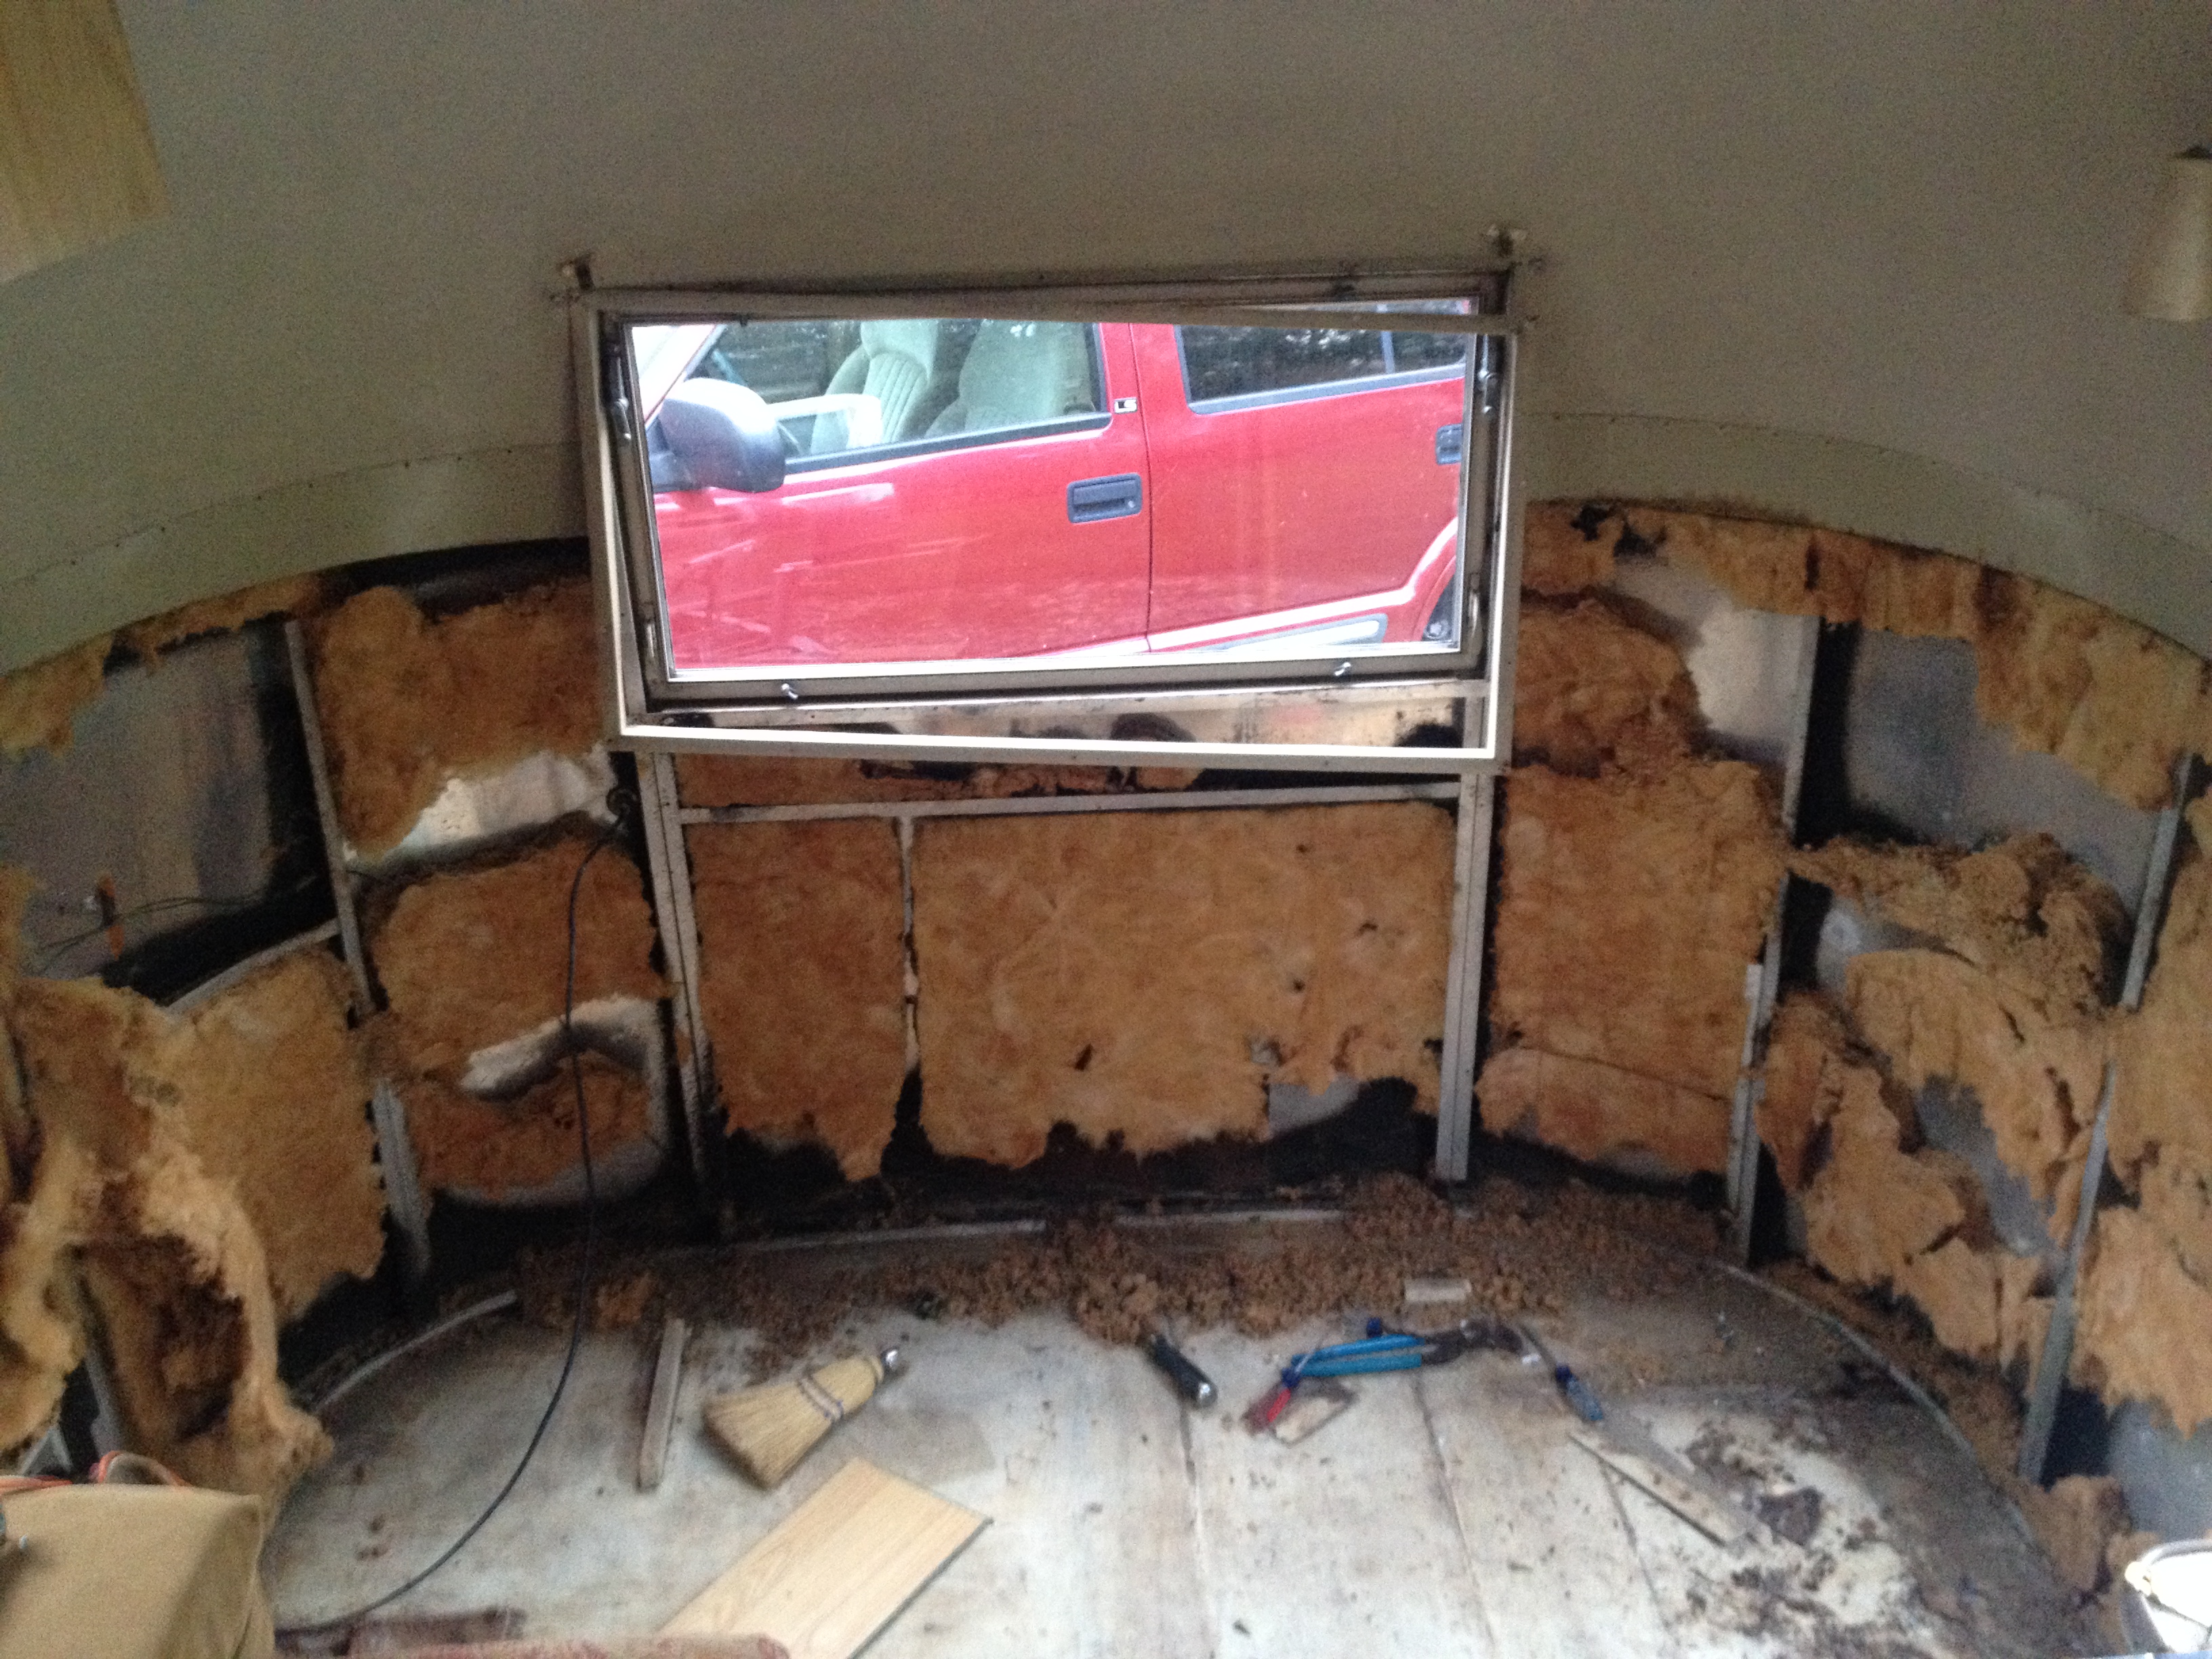 Next I will take out some of that insulation and begin the task of cutting the bolts that attach the floor to the body of the trailer.
Stay tuned for more updates.