I decided to take a short break from repairing the floor and turned my attention toward waterproofing. With the interior wall panels removed I was able to test some suspected sources of the leaks that caused the floor to rot in the first place. Our old trailer had a radio antenna mounted on the front. This antenna was completely useless to us, but it did give the trailer a vintage look. However, I suspected that the old, hardened gaskets against which the antenna were mounted were no longer water tight. I slowly poured some water against the exterior above the antenna and then went inside to see what happened. A small rivulet of water ran down the interior wall from the antenna hole. Suspicion confirmed! Since we have no use for that antenna and I did not want to find and further maintain those gaskets, I decided to patch the hole.
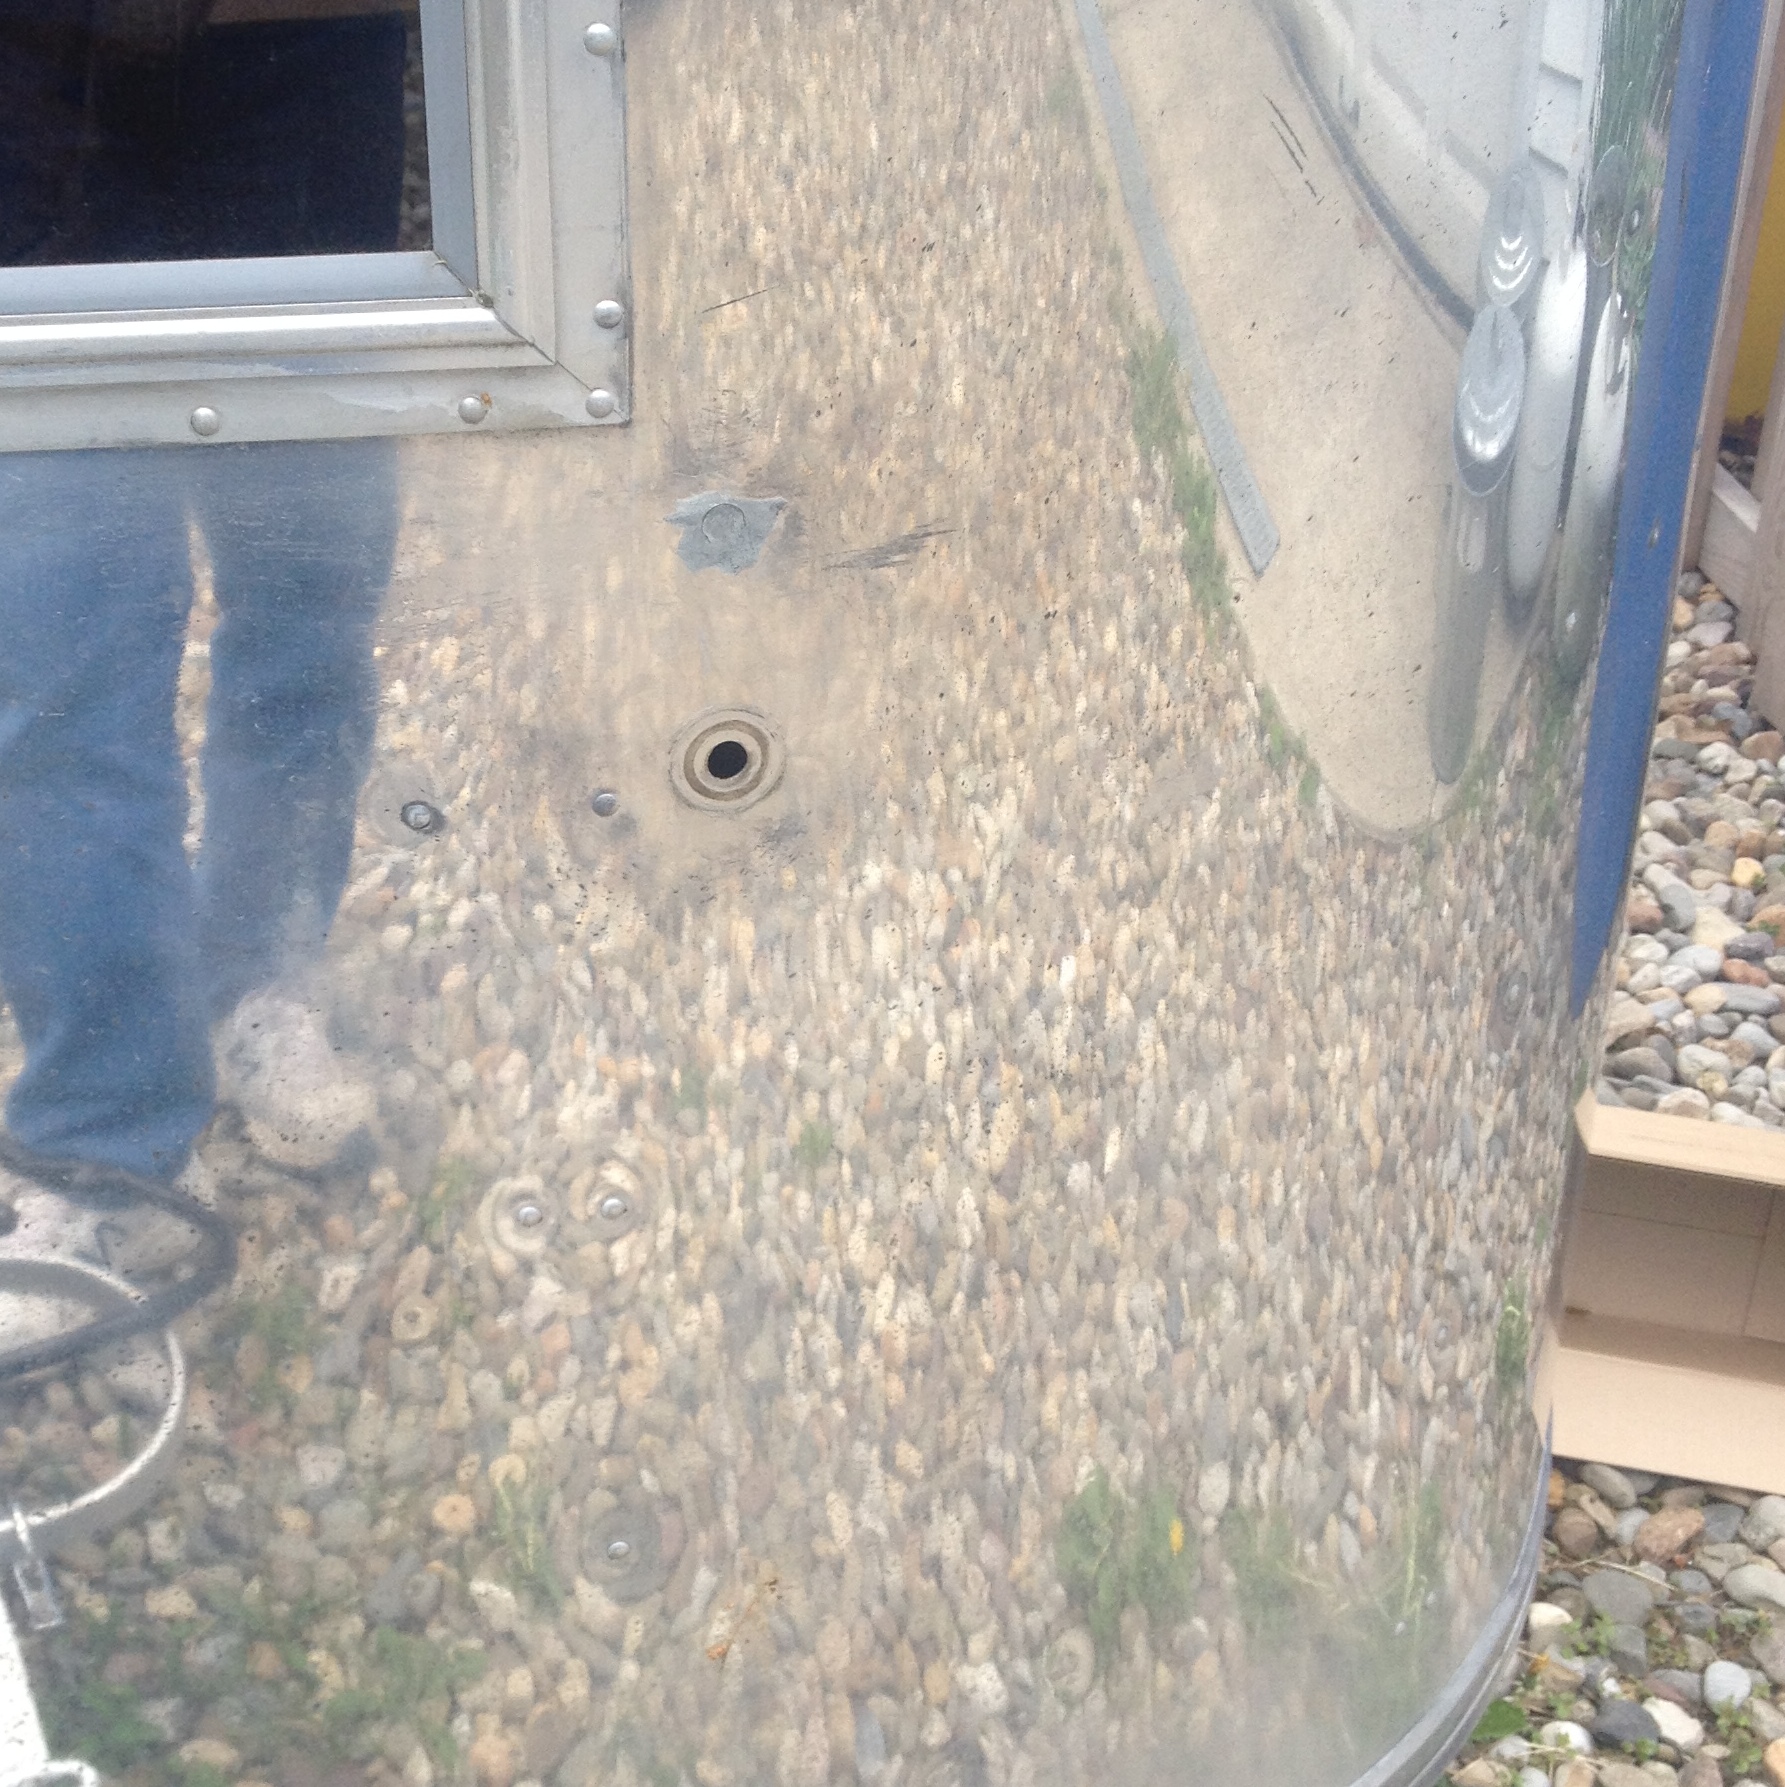
Here is a picture with the antenna removed. You can see the hole where the antenna used to be mounted. If you look closely you will see that there is a small circular hole above that looks like it has been filled with grey body filler. I hadn’t planned on doing anything about that spot, but it comes into the story later.
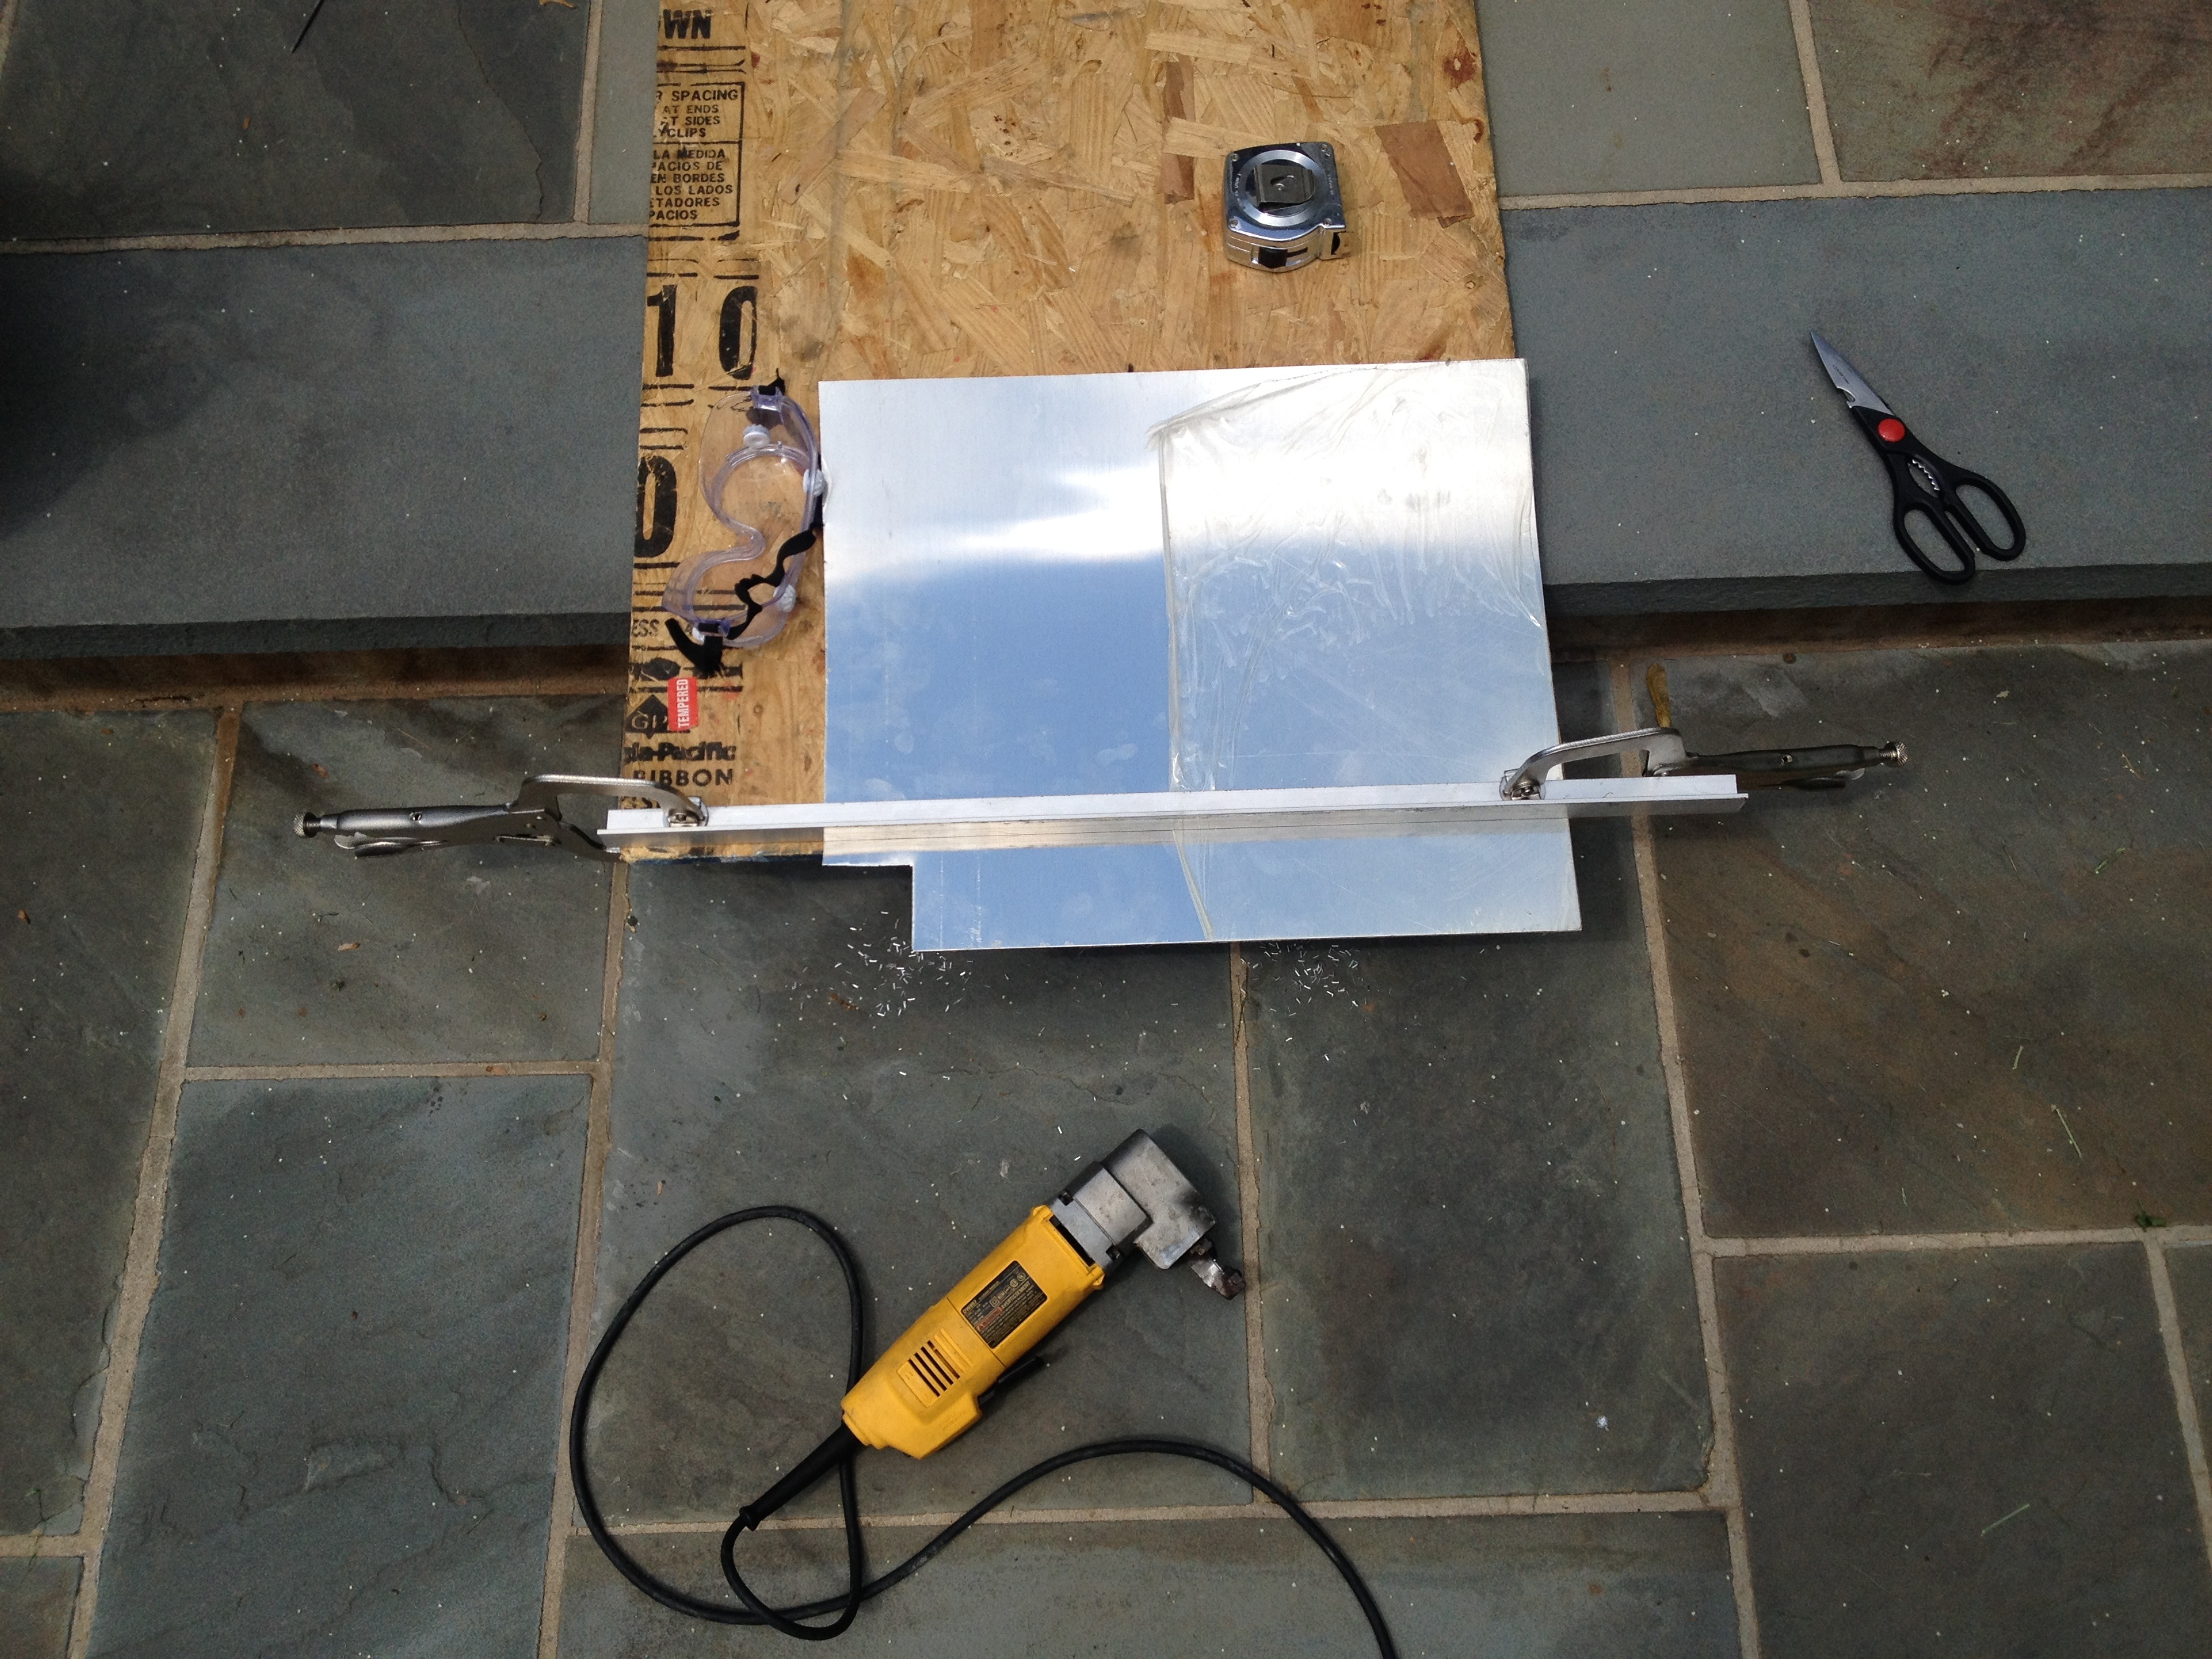
Next I had to figure out how to make a 2″ x 2″ aluminum patch. I have a nibbler for cutting sheet metal, but I wasn’t sure I could cut a straight line with it. So, I made my own guide fence from a piece of angle aluminum and two clamps. With this home-made contraption I was able to cut a piece close enough to square that I could use a file to finish it off by hand. I don’t have a large workbench so we had to use the edge of our front porch. I had to make sure to sweep up all the little bits of aluminum afterwards so that none of them end up embedded in the bottom of my bare feet on a later day.
Next, John and I practiced bucking solid rivets. He held the bucking bar and I ran the rivet gun. The first time I pulled the trigger on the rivet gun nearly scared his pants off. He didn’t expect it to make so much noise causing the piece of scrap aluminum to rattle. But after a few practice runs, both he and I got the hang of it.
John held the patch in place and I drilled 1/8″ holes for the rivets, installing cleco’s in each hole to hold the patch in place. After all the holes were drilled, we removed the cleco’s and then squirted plenty of Sikaflex sealant on the back of the patch before remounting them with the cleco’s. We removed each cleco and bucked a rivet into each hole, one-by-one. I made lots of smiley indentations on the second rivet. Arrrgghhh! Rookie mistake. But the other three turned out pretty good. To our surprise, as we drove in the last rivet, the grey body filler popped right out of its hole. Then we had a another hole to patch! Oh well, a patch is a better solution than body filler anyway.
Here is a picture of both patches installed.
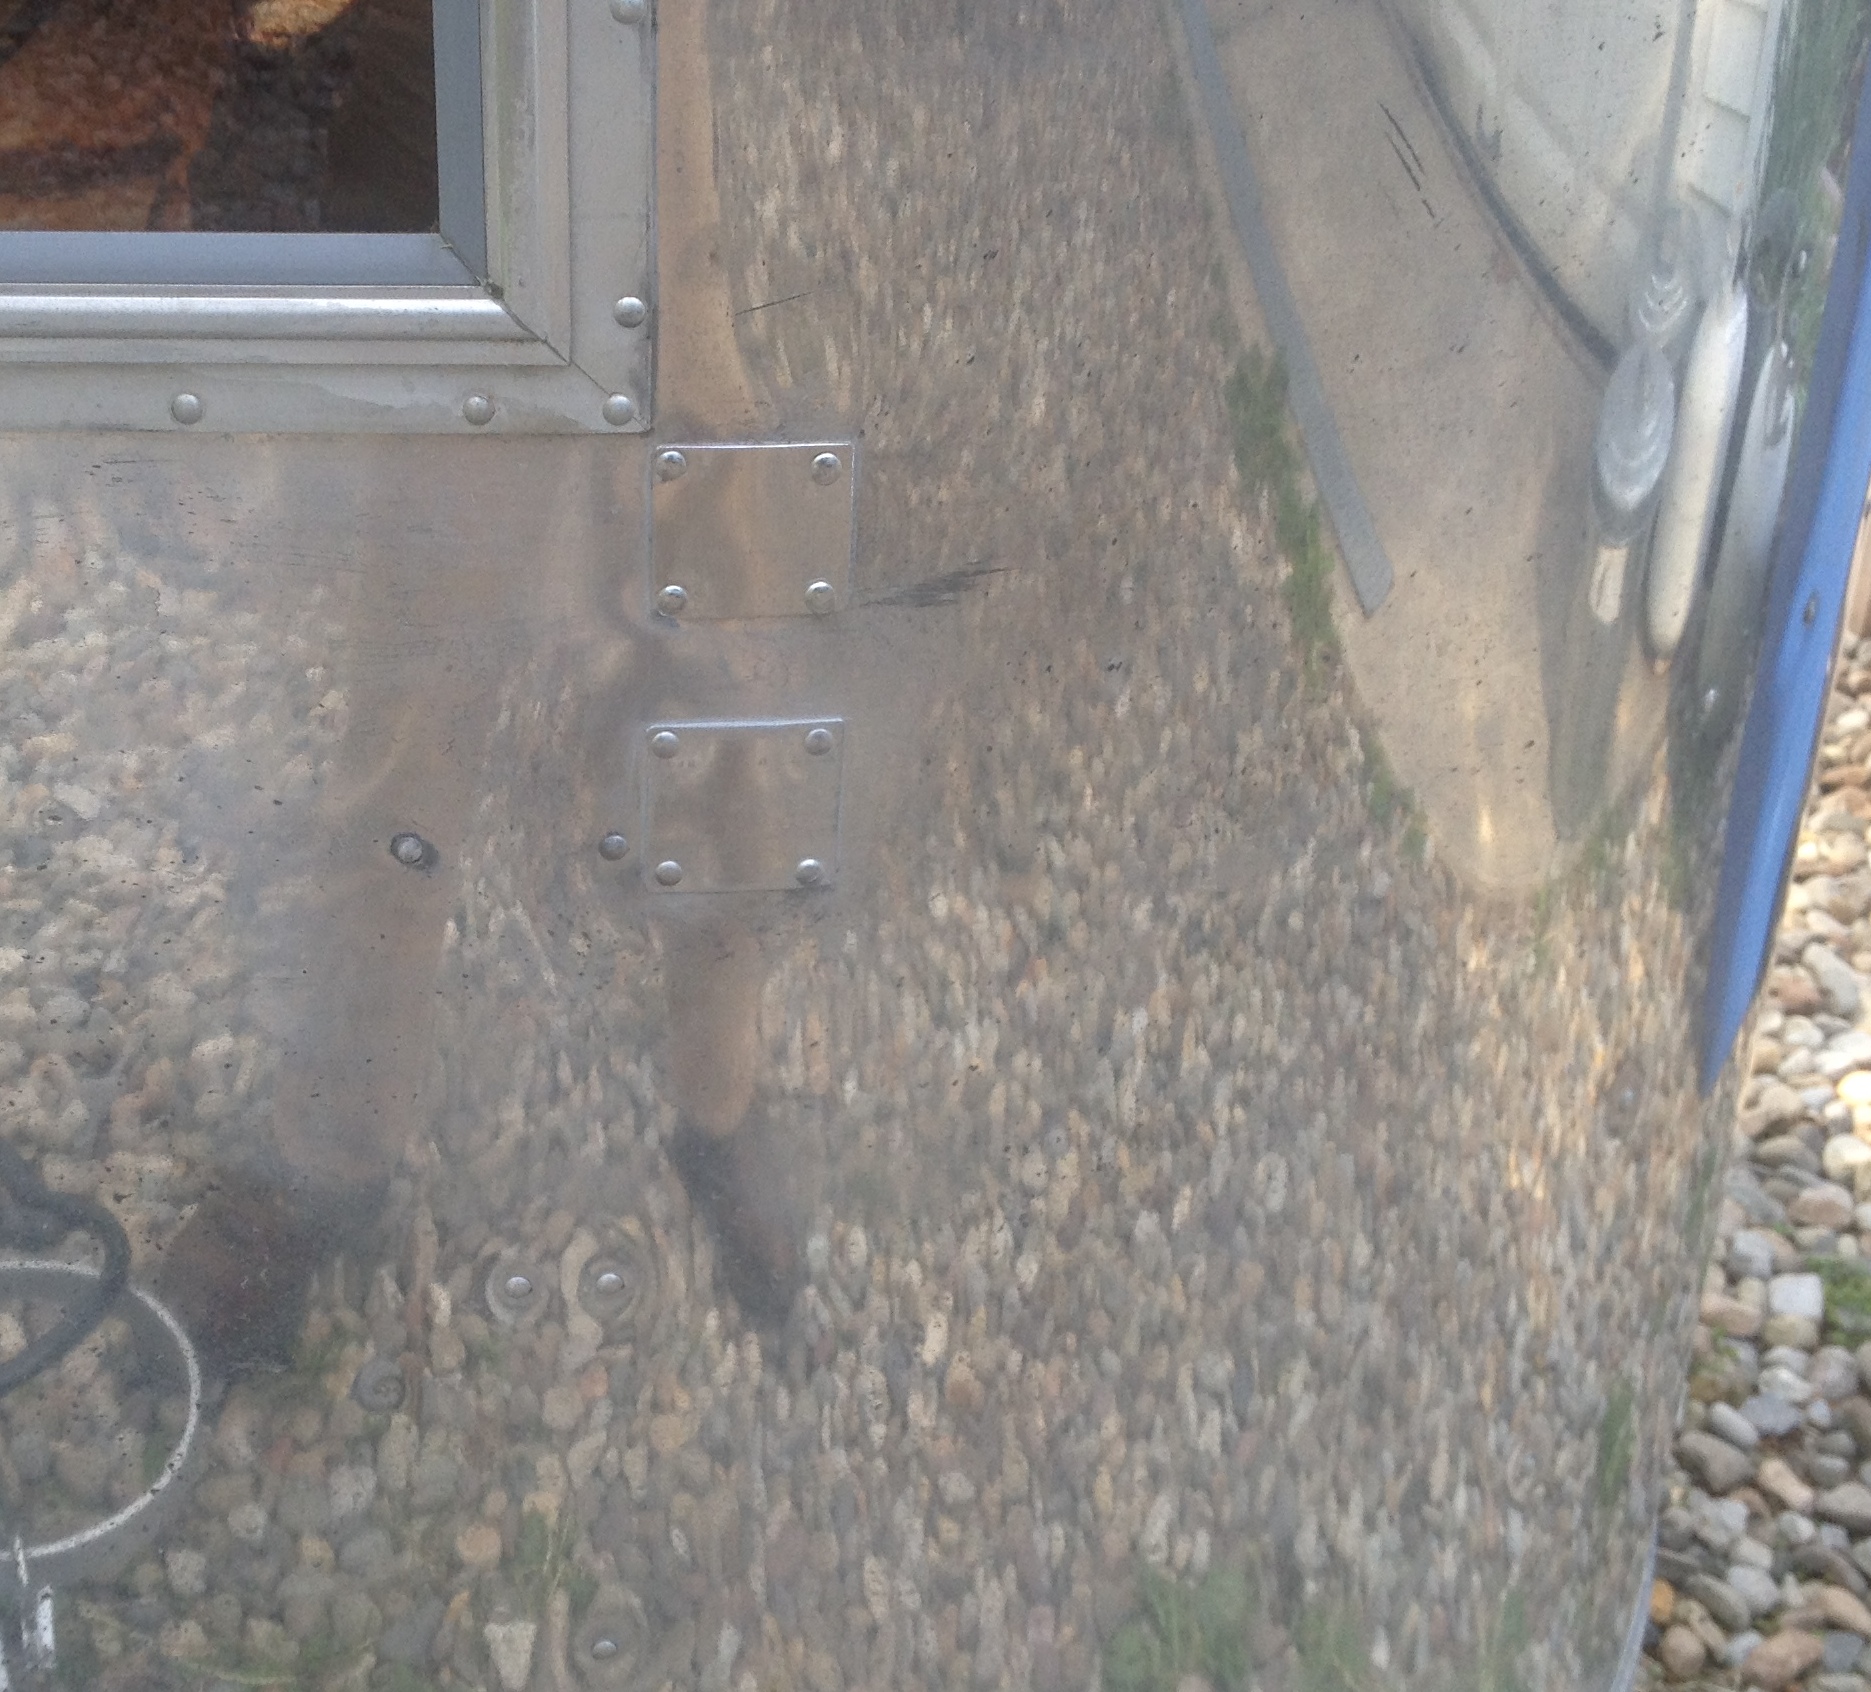 Not too bad for a couple of amateurs, right? I think they will polish up nicely.
Now that the leaks are fixed, I’ll get back to replacing the floor.