A couple of good friends had already helped me to remove the old axle. There are only six bolts that hold it on: 2 on each mounting bracket and 1 for each shock absorber. Those bolts were rusty! It took lots of PB-Blast lubricant, a couple of impact guns, and some muscle to get it off. The trailer has been resting on cinder blocks in my driveway since then. I’m sure my neighbors love that site. Yes, I’m that guy. The one with his car/trailer up on blocks performing repairs.
A couple more weeks went by and I still hadn’t received the axle. After a few calls to Colin and Axis Products I finally tracked it down. It was scheduled for delivery the day before we were scheduled to go on our first camping trip! The shipping company agreed to let me come pick it up as soon as it arrived at the depot. Here it is in the back of the truck.

Lucky for me, a friend agreed to leave work early to come help me. We jacked the axle up under the trailer to see if the dimensions were right. Phew, it fit nearly perfectly against the existing mounting plates. The bolt holes on the new axle did not align with the existing bolt holes on the mounting plates. I was told to expect this and was ready to drill new holes with the appropriately sized bit.

With the axle in place we drilled one hole through both the mounting plate on the trailer and the mounting bracket on the axle (bolt on the right in the picture below). For the second hole we tried to use a hole that already existed in the mounting bracket, but had to drill from the blind side of the mounting plate on the trailer to make the hole go all the way through (bold on the left). In hindsight, this was a mistake. It was impossible to align the holes by drilling from the blind side. We came close, but it wasn’t close enough for the bold to go through. So we had to run the drill bit back and forth in an effort to ream the hole to make it big enough for the bolt to go through. This took quite a bit of time and effort. If I did this again, I would make sure to drill the hole straight through in one shot. That way I would know that the holes would align.
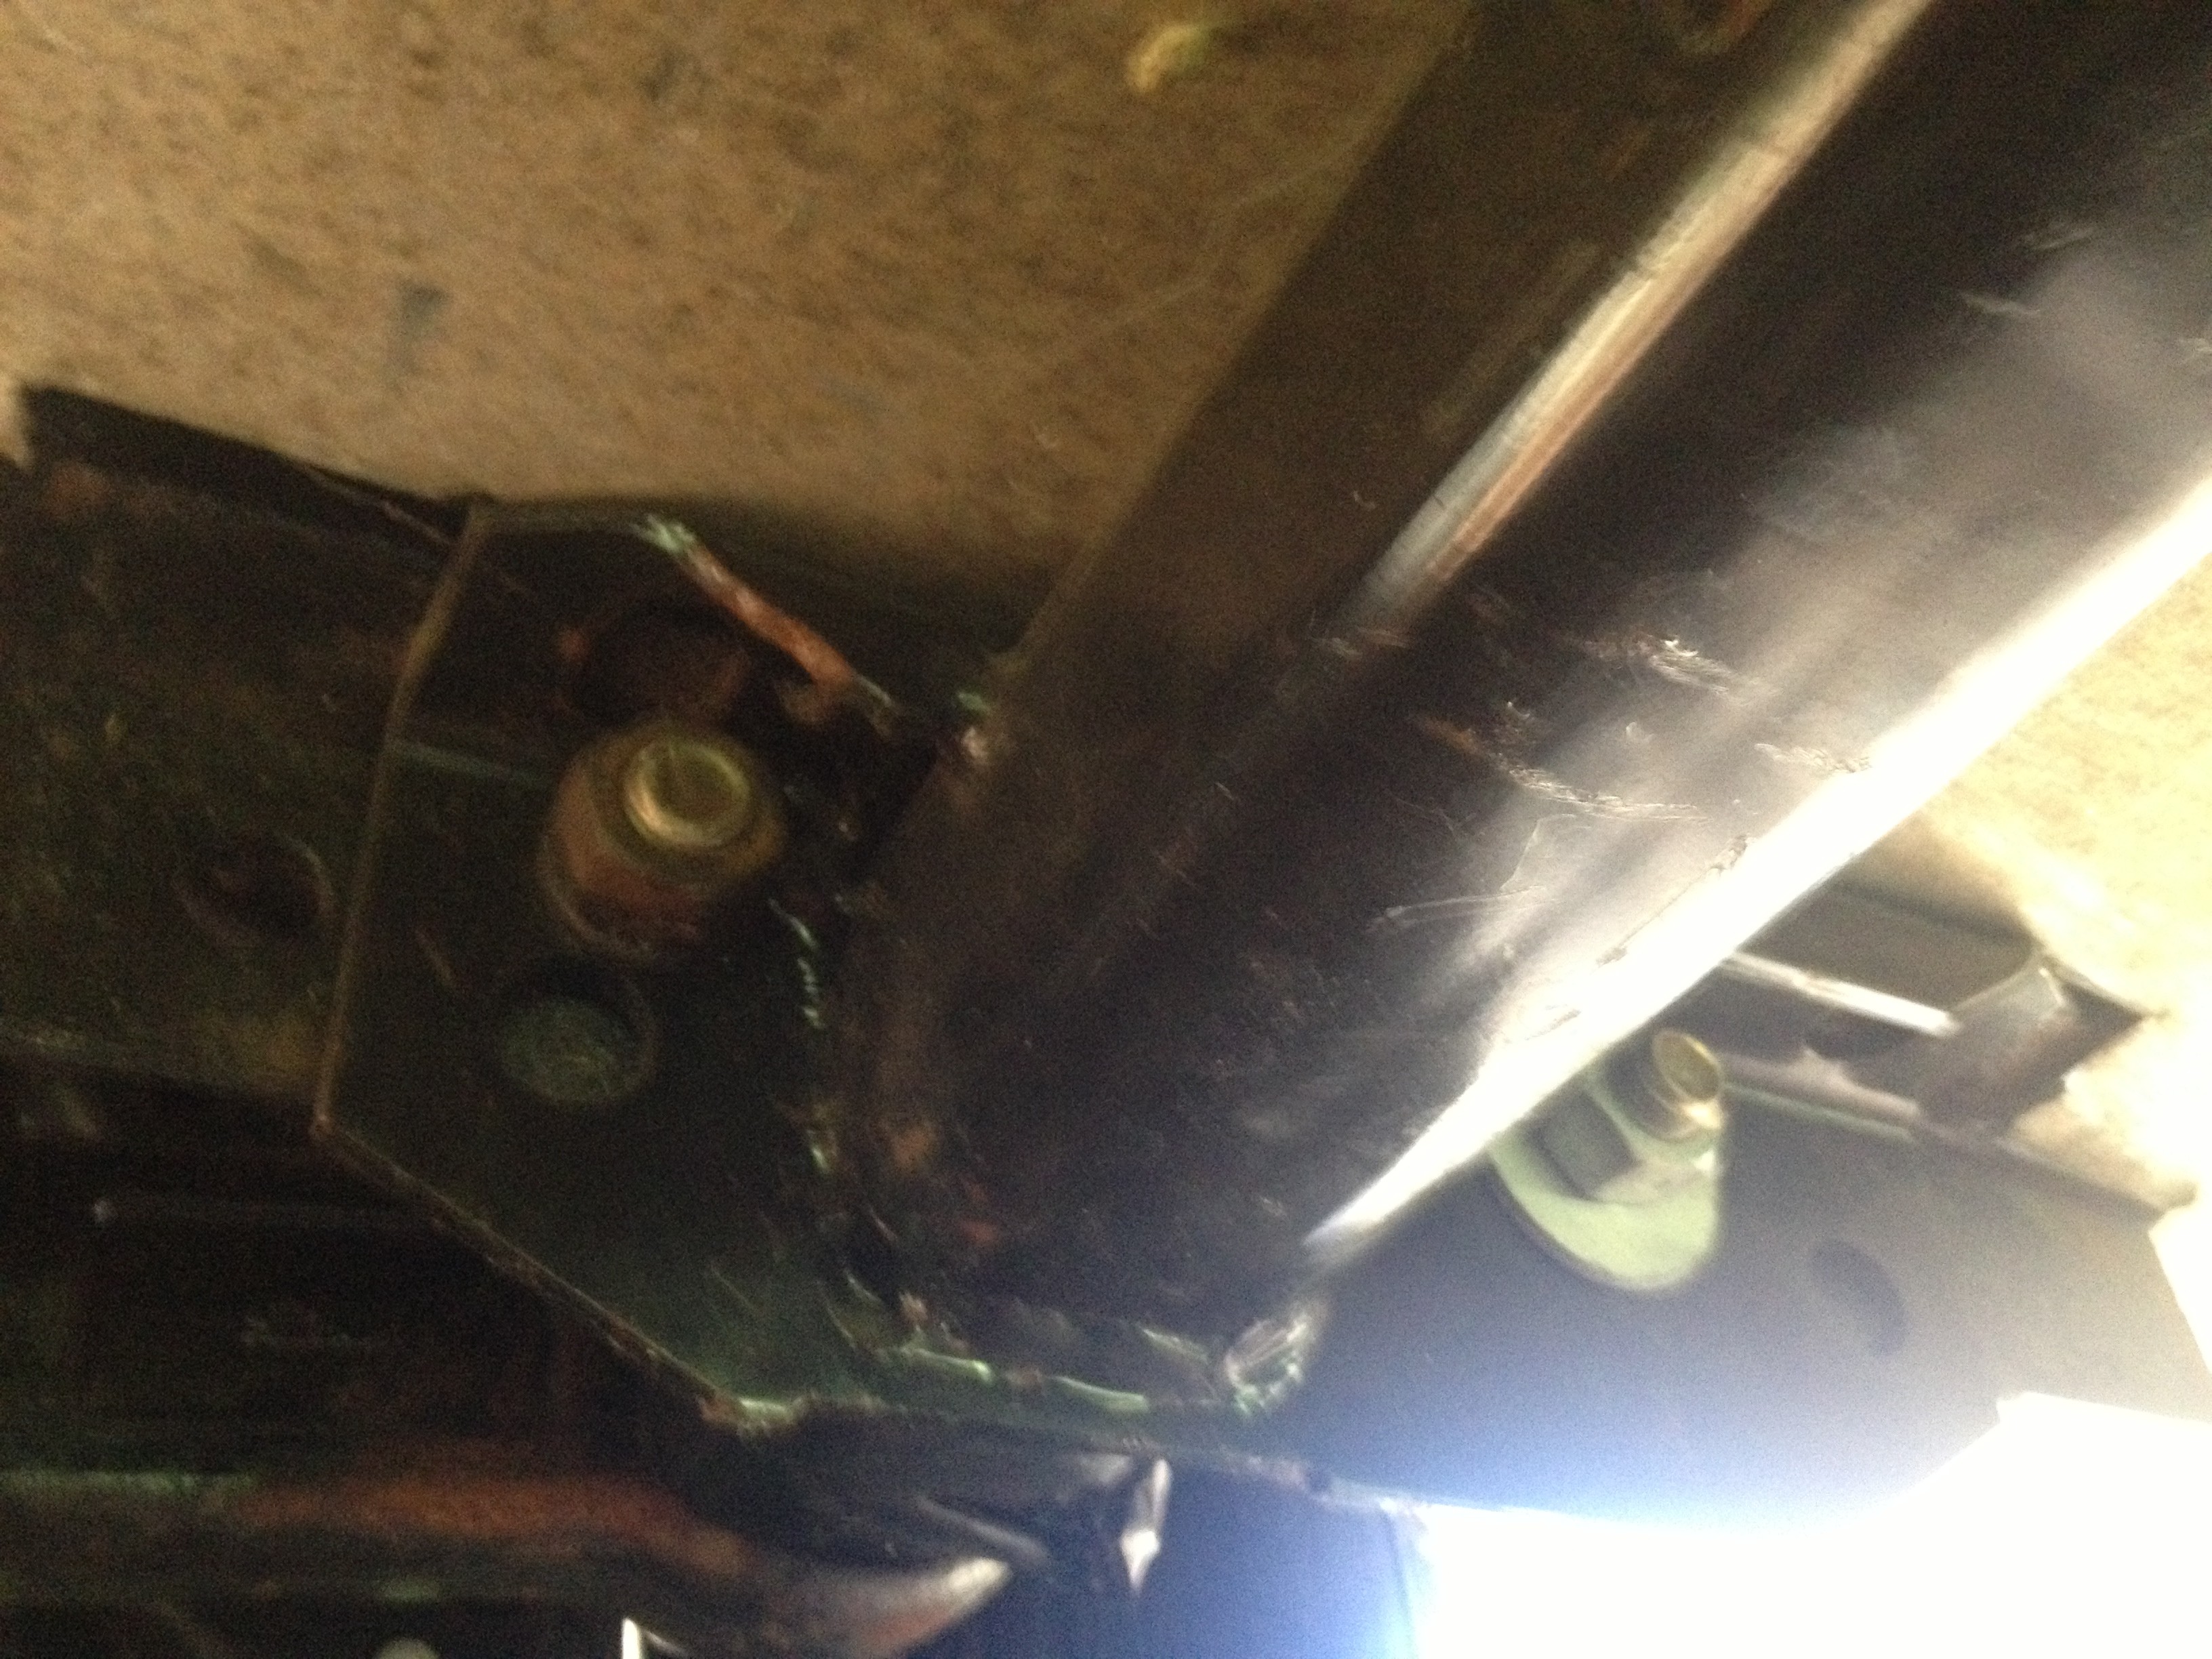
After what seemed like hours of drilling, we finally managed to put the bolts through. Tightening the bolts was another chore. One of the bolts wasn’t too bad because we could reach it with our impact wrench. The other required persuasion with a big crescent wrench and a breaker bar. I’m starting to break a sweat just thinking of how hot it was that day. And my friend volunteered for this! We finally had the axle on by around 4:30 PM. I was relieved that we would have a little time that evening to pack for our trip the next morning. But, hold on. When we went to put the wheels on, they didn’t fit. Arrrrrrgghhhh! The bolt pattern was correct, but the hole in the middle that the dust cap comes through was too small. So began the frantic hunt for rims that would fit.
We rushed to Tractor Supply and found some trailer rims that looked like they would fit. We brought them home and found that the rim did fit, but that the tire that came on the rim was too big. By that time it was too late to find any other rims. I would have to wait until the morning to continue the search.
The next morning I went to Champion Tire, in Ringoes NJ. The folks at Champion saved our vacation. They sold me rims identical to the ones I got from Tractor Supply, but were able to put my old, smaller tires on them. This time the rim and the tire fit. It was a tight fit (more about that in another post), but good enough to get us on our way.
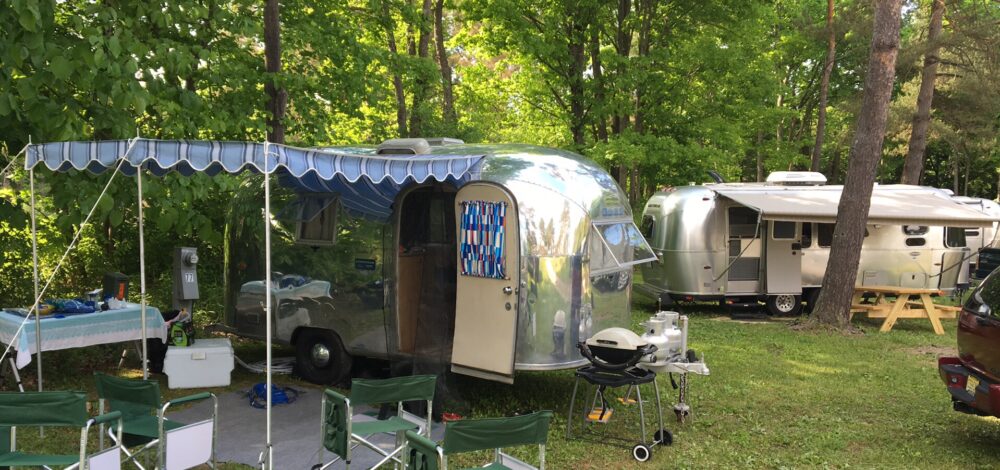
We lost a day of our vacation, but we were still able to go. Without the help of good friends and the folks at Champion Tire, our vacation would have been ruined. I am grateful for all their help.