Water Pump

I installed a new water pump a couple of years ago. I tested it in the driveway to see that it worked. But we never used it while camping, until … last summer we went to Sherando Lake campground in Virginia. That is the campground where we started tent camping years ago. We just love it there. We would walk around the RV sites thinking how luxurious it would be to have a camper. This was our first visit with the Bambi. It turns out that the RV sites have electric, but that’s all. If we wanted to use the toilet or do the dishes, we were going to have to put water in the tank and use the pump for the first time. Our friendly neighbor, Junior, loaned us his jerry can for carrying the water. We put about 15 gallons in and watched for leaks. So far so good. Then we turned on the pump. Worked like a champ! So glad to have made that repair. Sherando was as beautiful as we remembered. Will definitely look for an opportunity to return soon.

Replacement Wall Sconces

It’s been a very long time since I posted an update. It is time I posted a couple of updates on repairs I’ve made.

First up, wall sconces. There are three, small wall sconces in the trailer. I believe the manufacturer was Grimes. They function as reading lights. One of the sconces was broken when we got the trailer. The shade was missing, along with the mounting swivel joint. I searched and searched, but could not find a replacement. I went so far as to have Trenton Sheet Metal recreate the shade for $100 (they still have the pattern if you need one). Even though I had a replacement shade I then struggled to find the right swivel mount and light fixture. I put the project on hold.

Several months later a friend sent me an email saying that someone had posted similar lights for sale online for $35. I bought them right away.

I stripped the paint off the exteriors and repainted using Rustoleum primer and Almond gloss spray paint. I think they turned out really well. Now we have functioning reading lights, instead of wires hanging out of the wall.

Replacing the Univolt

In 1964 the Bambi II came with a power transformer known as the “Univolt”.  It converts 120 VAC from the hookup at the campsite to two lesser voltages: 12 VAC and 18 VAC.  The 12 VAC is for the interior lights and the 18 VAC is for the water pump.  Because it produces only AC power it DOES NOT charge the battery.  You actually have to switch between using battery power and Univolt power because you don’t want the Univolt backfeeding to the battery!

Well, all of that is history for our little Bambi.  I have replaced the Univolt and switches with an AC/DC converter and fuse panel.  I also installed an “Electrical Management System” that protects the trailer from faults and surges coming from the campsite hookup.  I bought everything from http://bestconverter.com/  They were very helpful in pointing me to the components I needed.

After installing, my LED lights no longer flicker at an annoying 60 Herz (because they no longer run on AC).  And when my trailer is plugged in, the battery is recharged.  And I don’t need to worry about electrical faults at the power pole.

Now I just need to make a wiring diagram so that I don’t forget how all of this goes together!

Battery Power

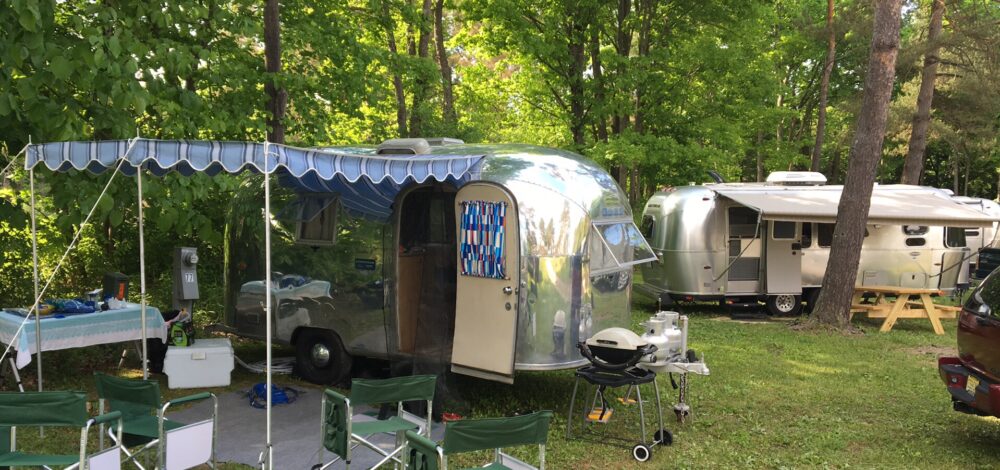
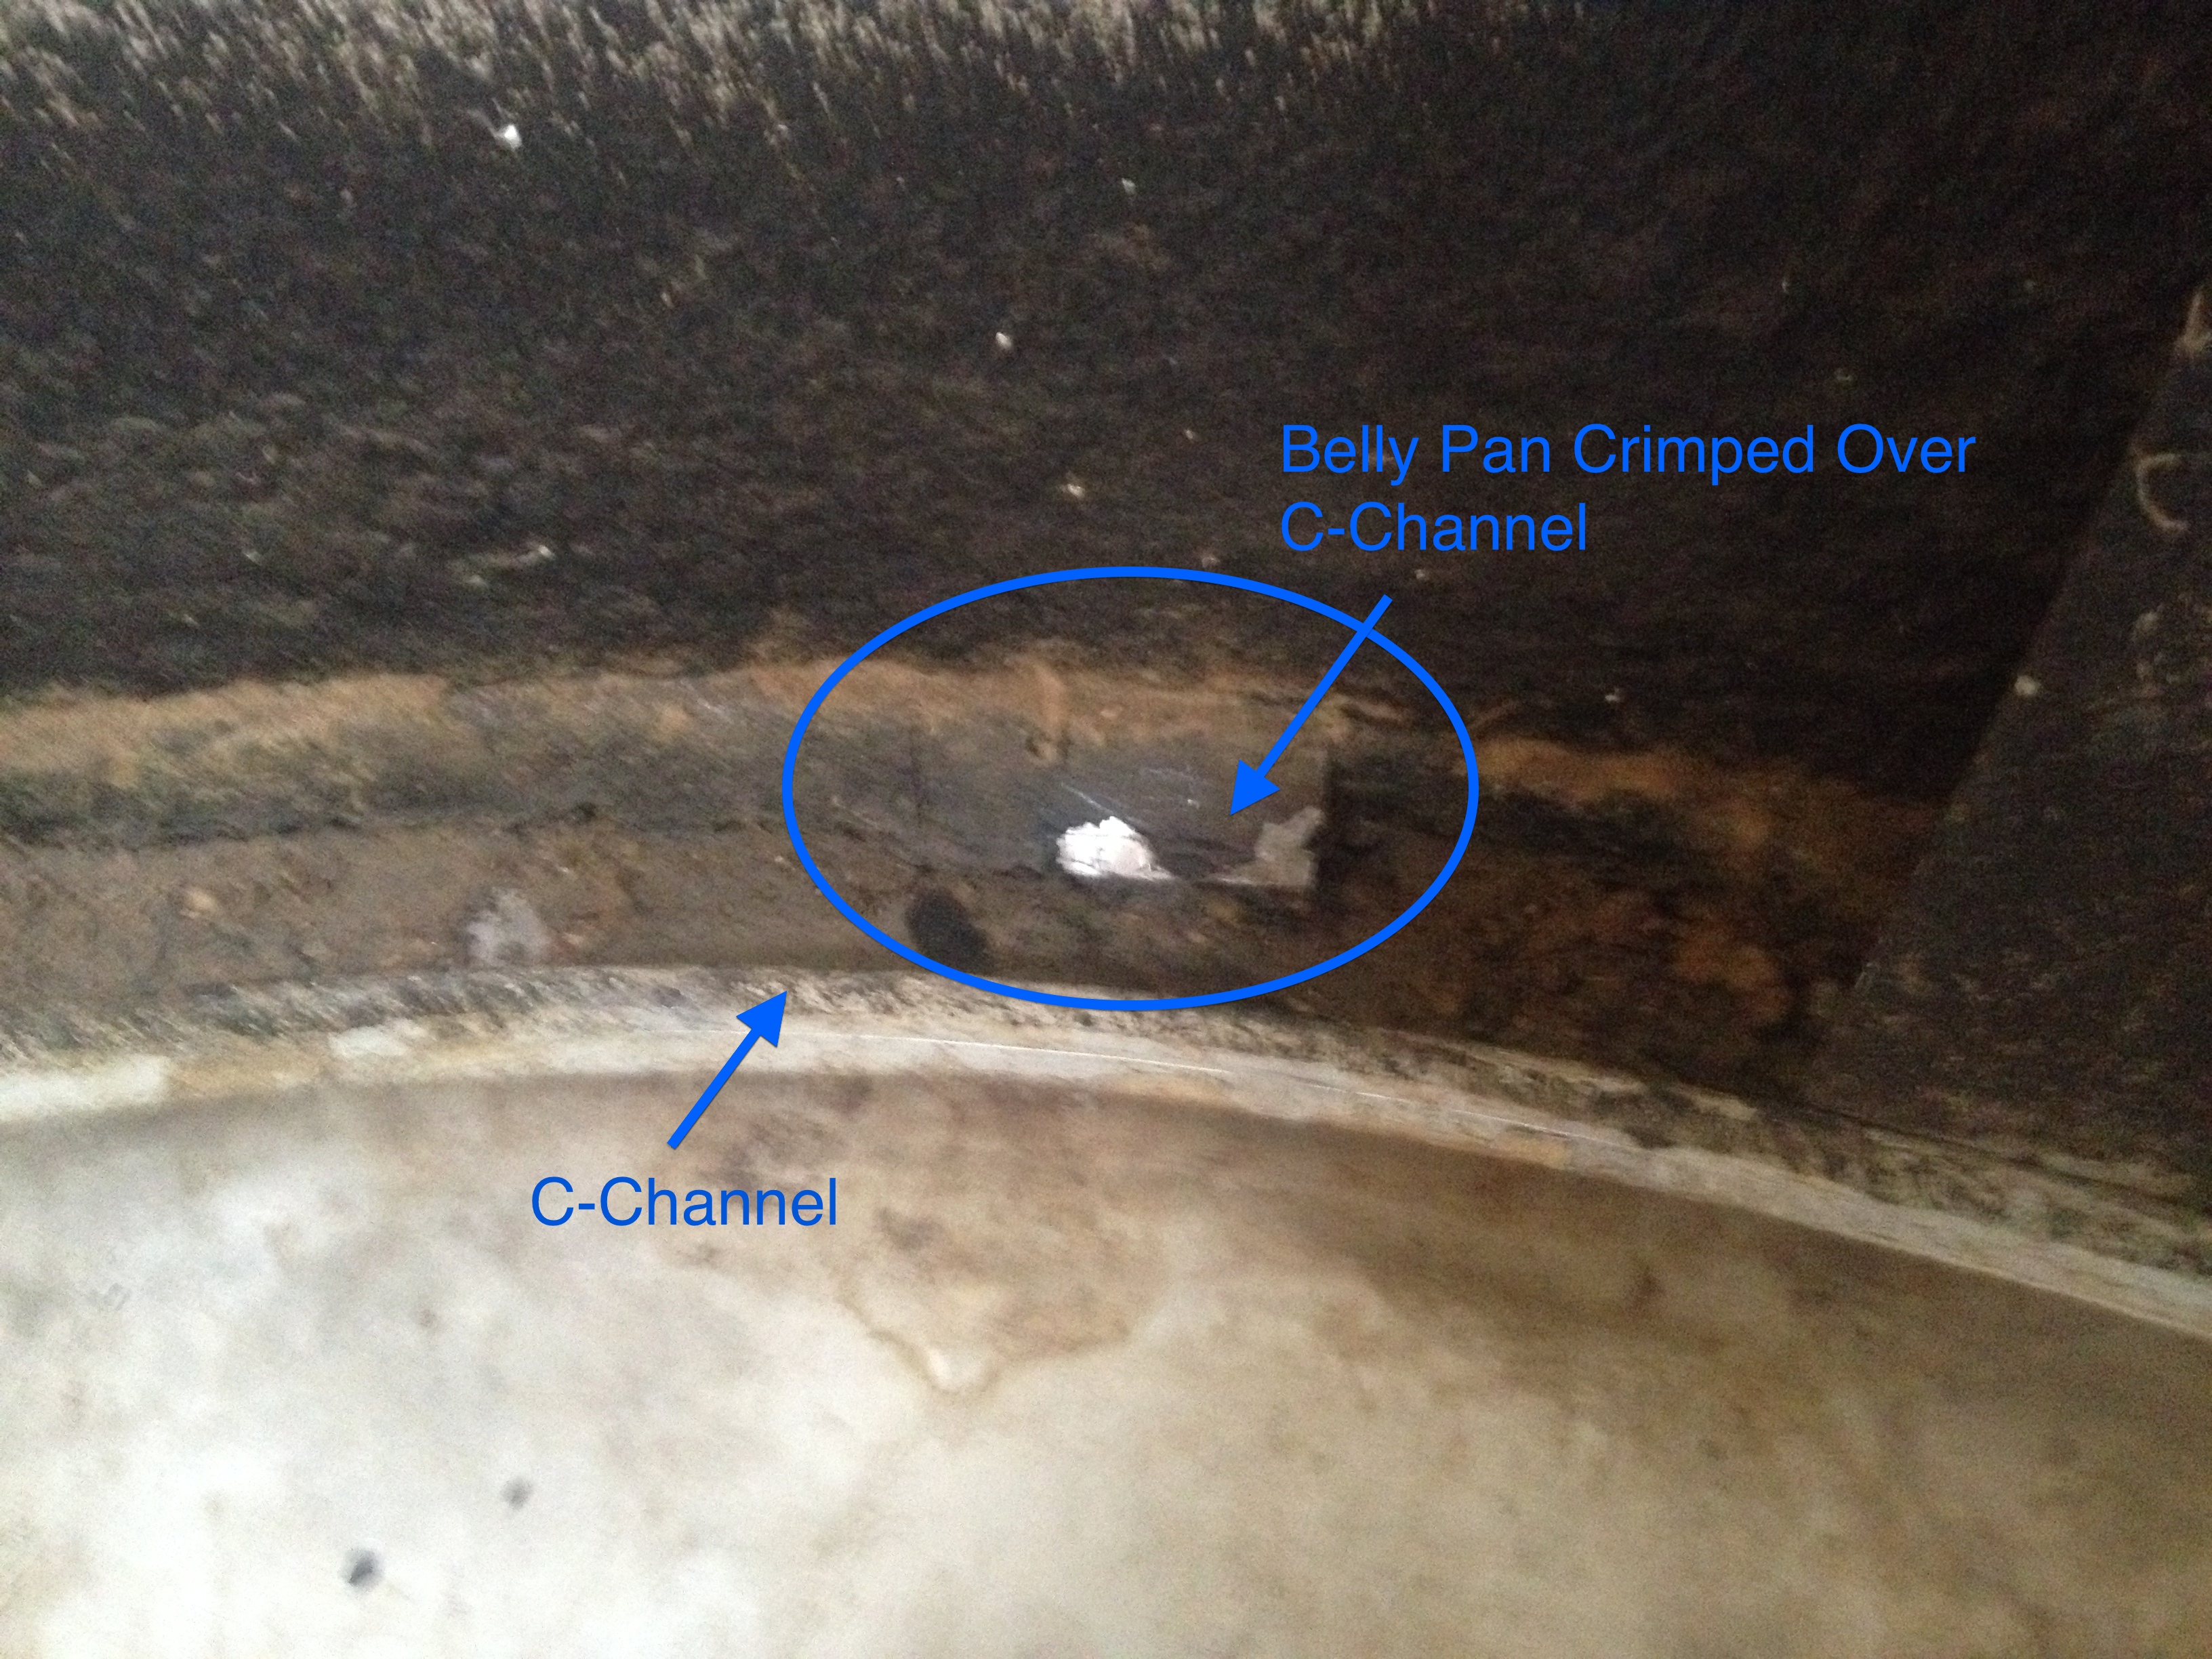
The trailer has not had a battery since we bought it.  Last year I tested the 12v system by connecting a battery charger to the battery cables.  To my surprise, the lights worked.  Now that we have brakes on our new-ish axle, I thought it was time to make the trailer breakaway switch work.  If the truck becomes disconnected from the camper while we are driving down the highway, the breakaway switch will engage the trailer brakes to prevent it from rolling down the highway.  Also, with a battery, we will be able to boondock (remote camping with no electrical hookup).

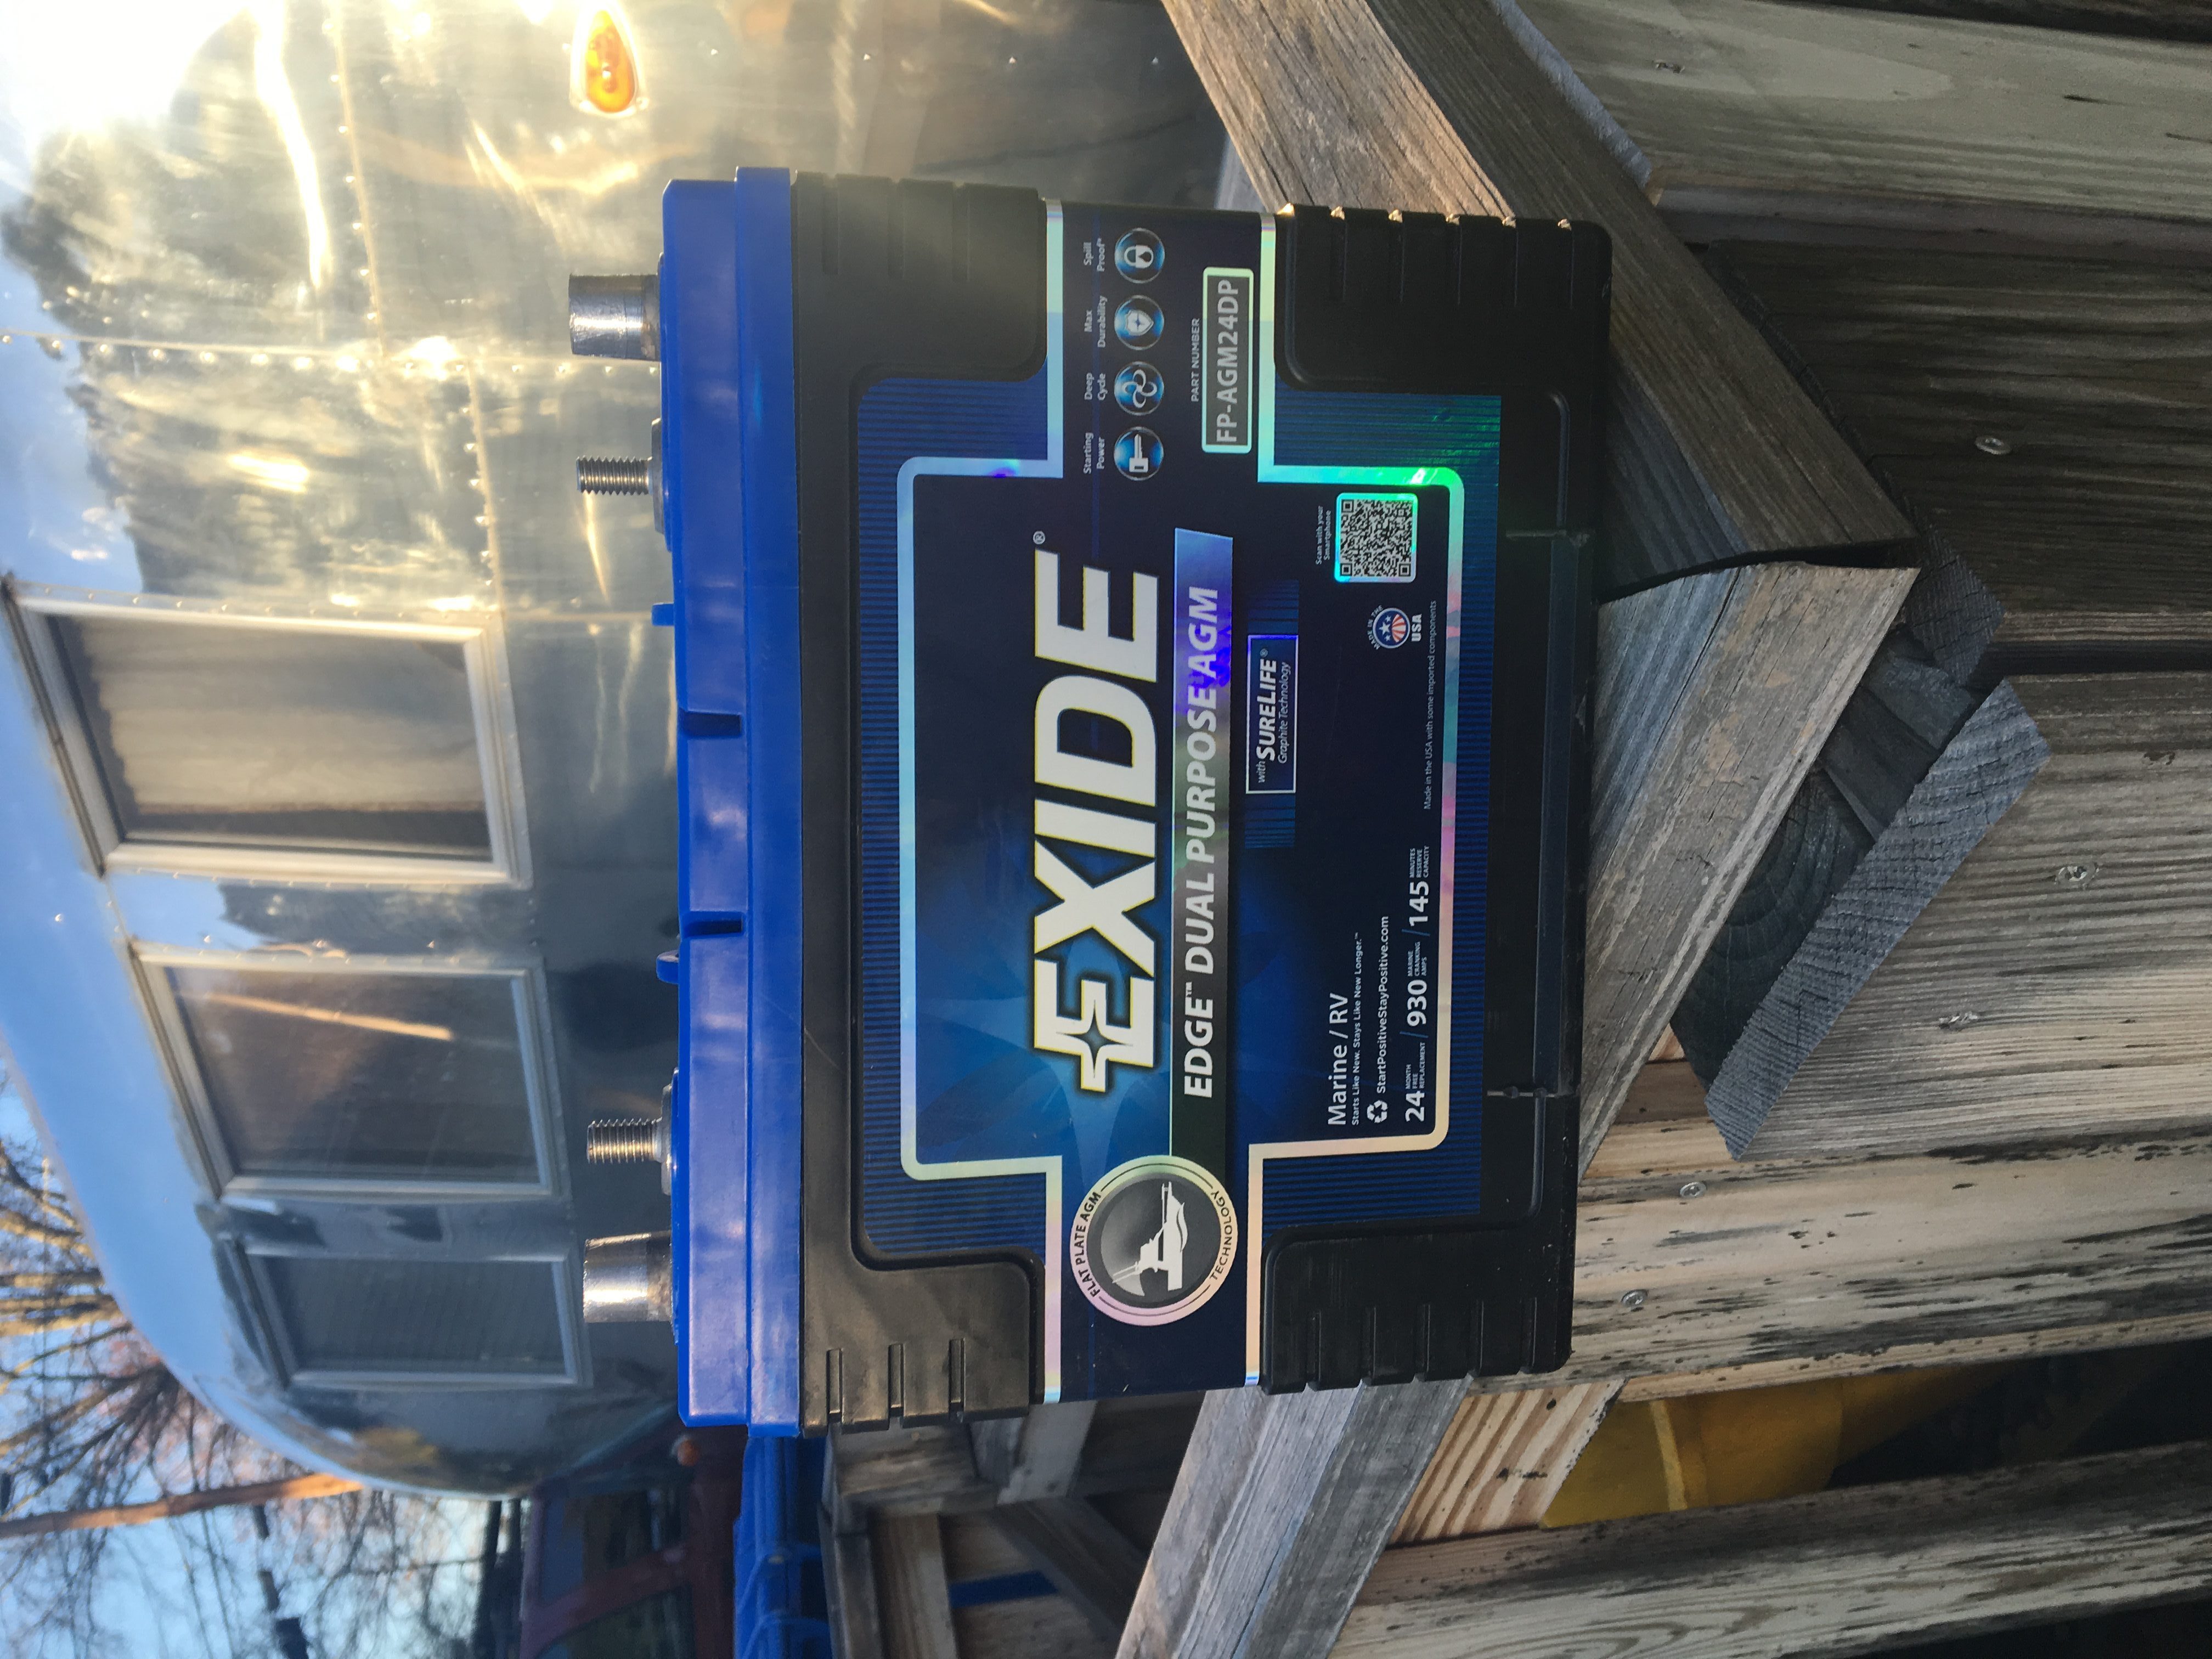
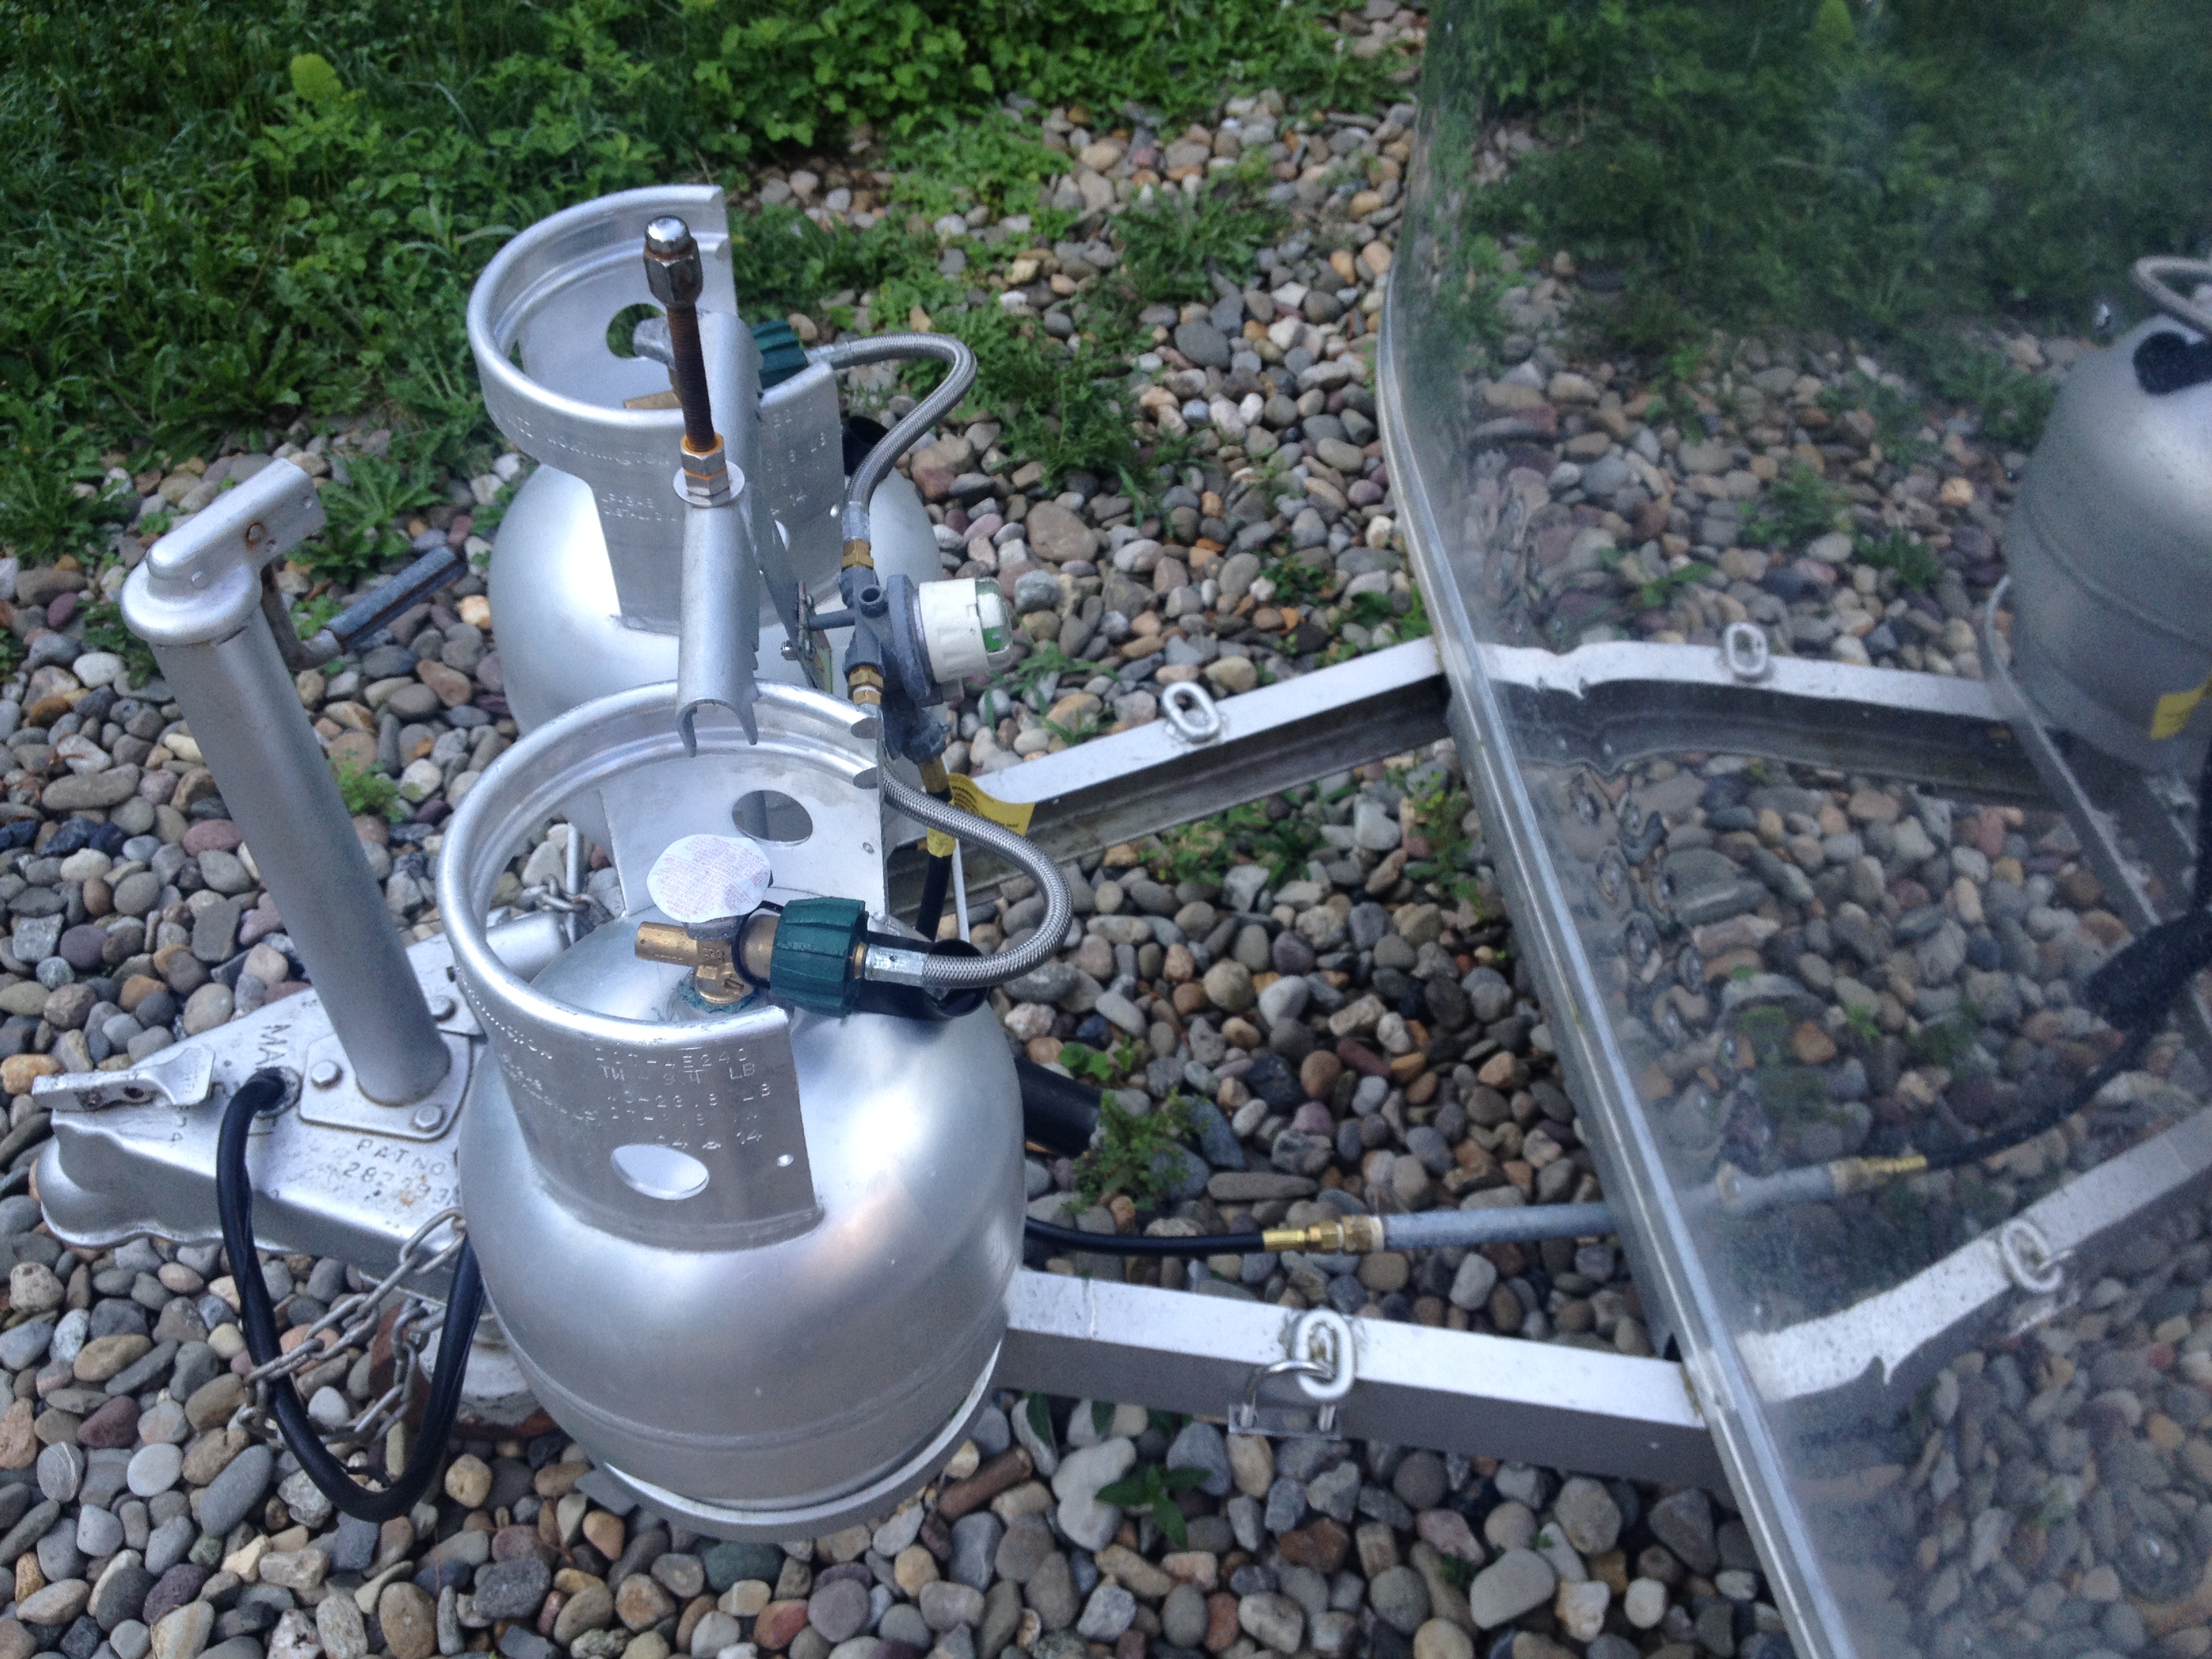
Thanks to my neighbor, I was able to get a good deal on an Exide dual purpose marine battery.  It is a sealed AGM type battery which means little to no outgassing.  That’s good for us because our battery box is not sealed and I know that any fumes from the battery would make their way into the camper.  Maybe I should caulk around the battery box.  Hmmm, I will leave that for another day.  “Dual purpose” means that this battery has enough power to start an engine (not important in the camper but maybe important if my car battery dies) and you can recharge it after running it down (which is exactly what will happen if we go camping where there is no electrical hookup).

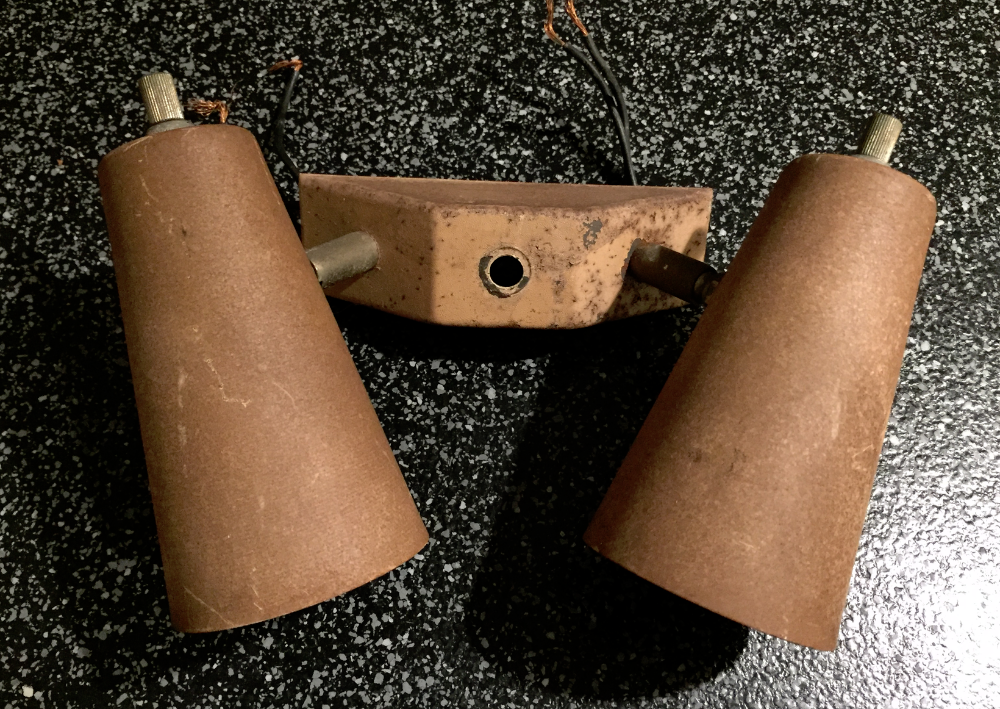
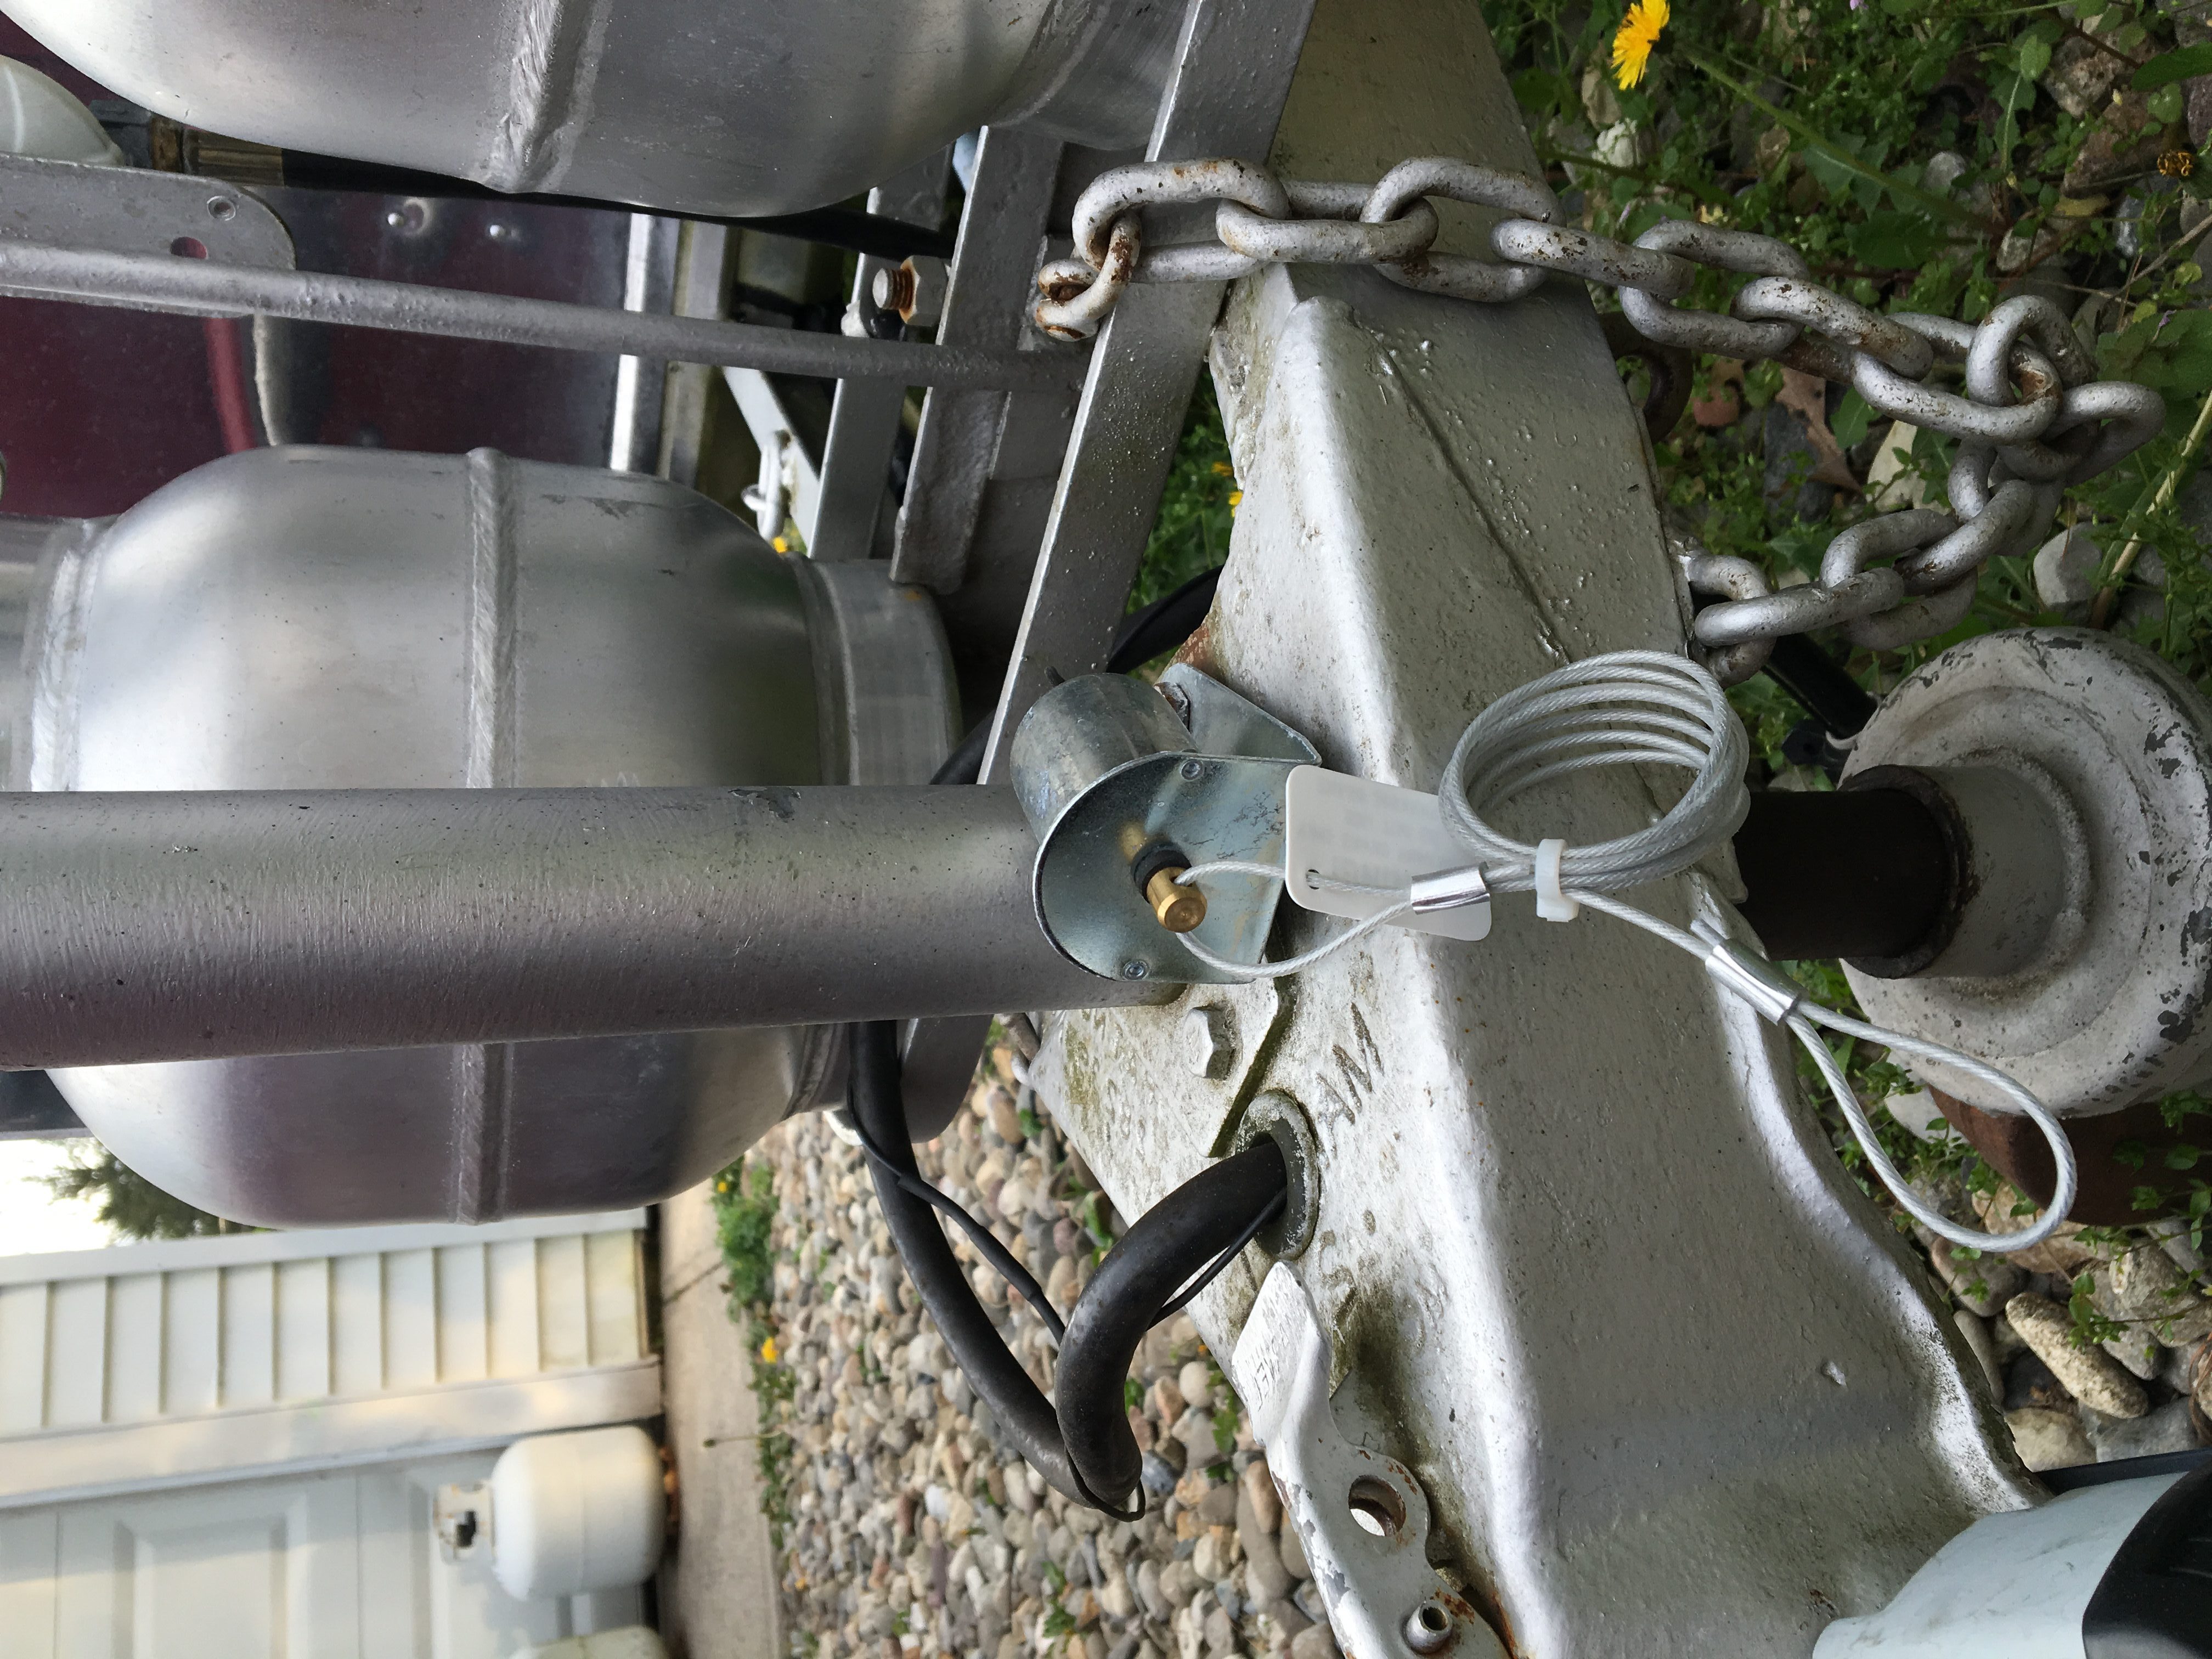
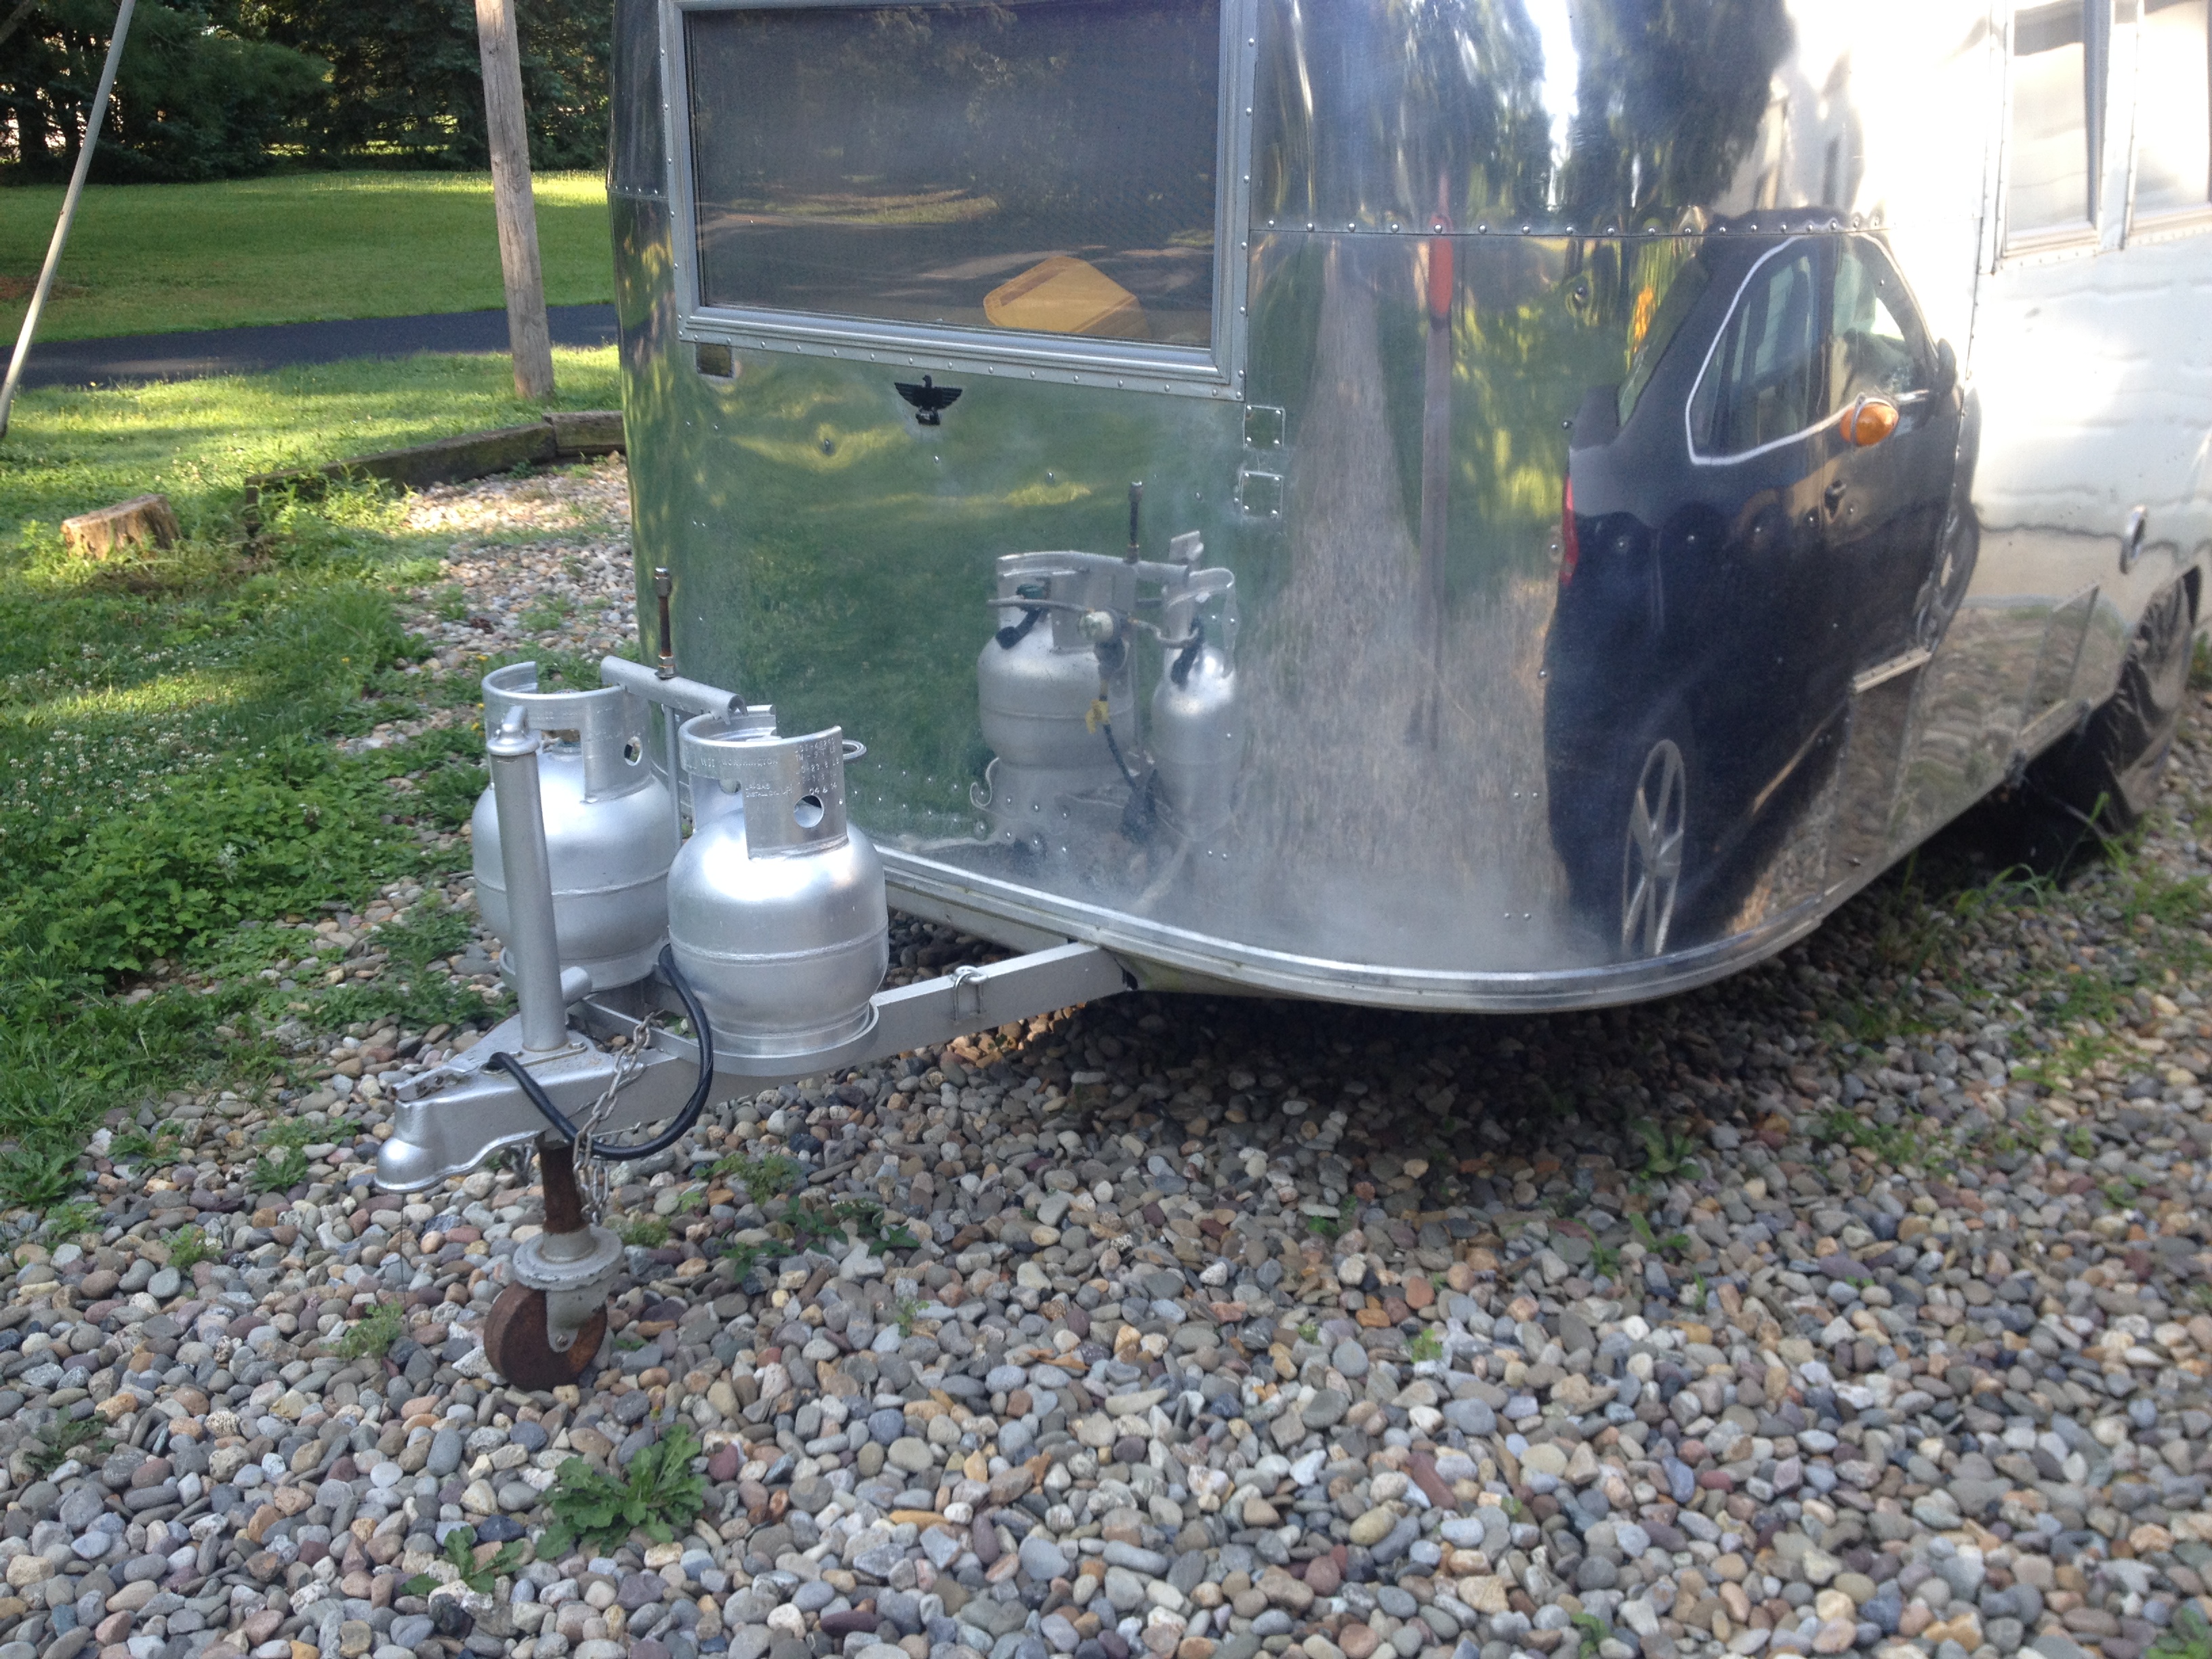
Next I had to replace my crusty old breakaway switch.  Vintage Trailer Supply sells one very similar to the original on my trailer.  I decided to go with the old-fashioned look.  One end of the cable that you see coiled up in the picture will be connected to the rear of the truck.

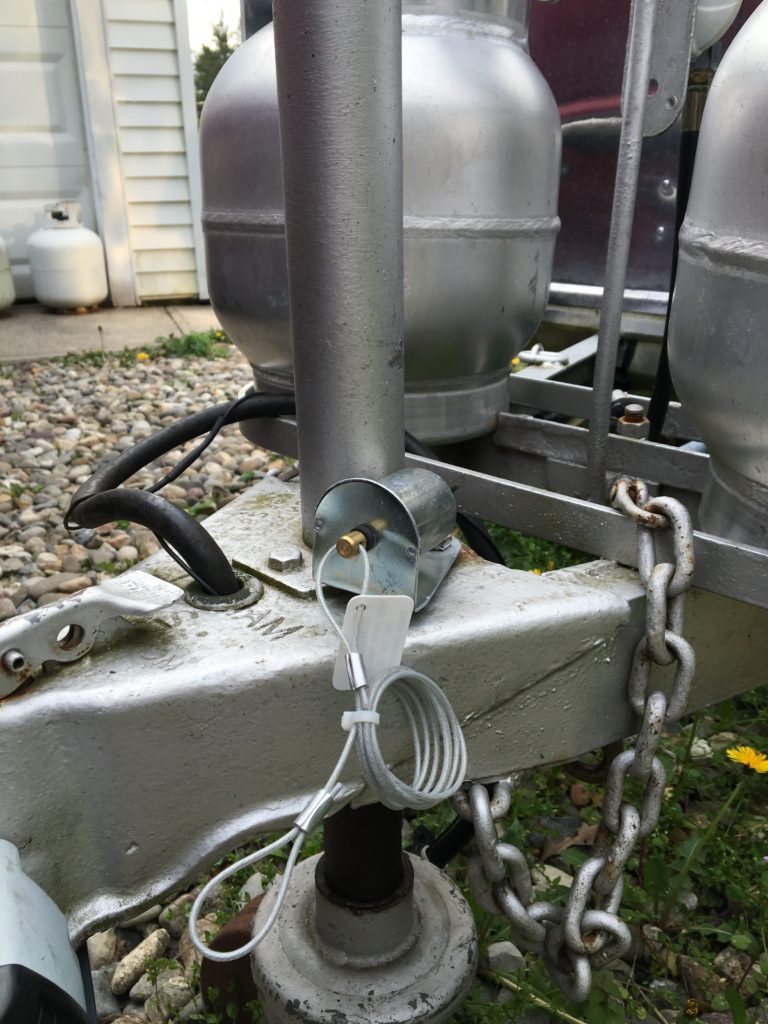
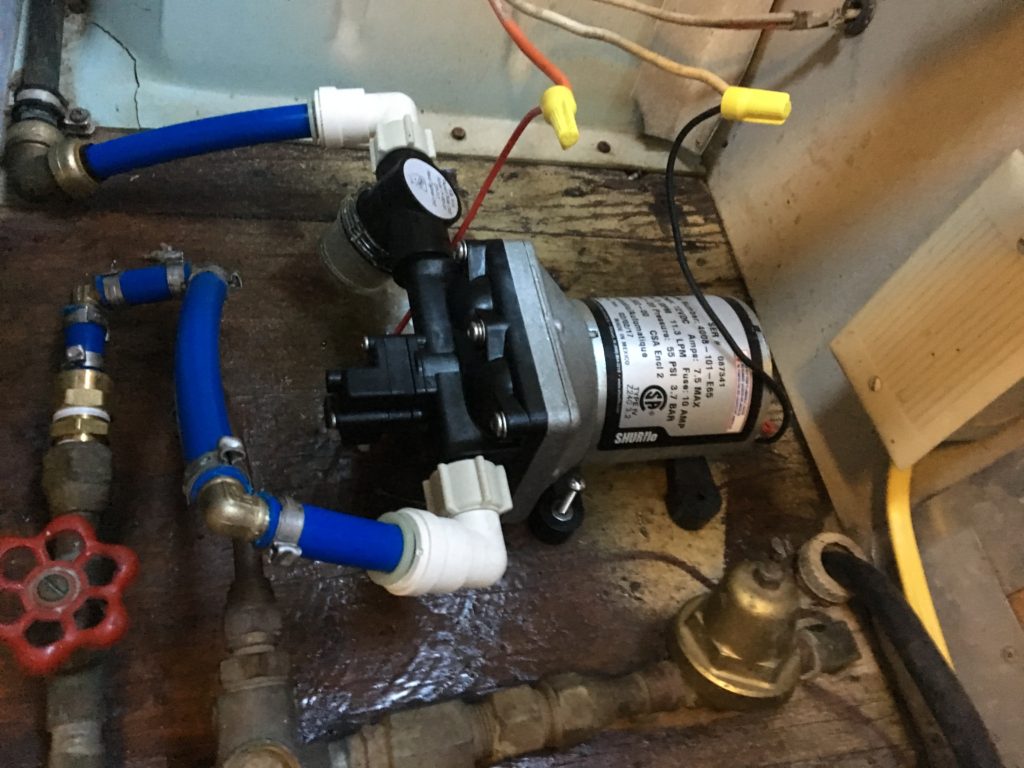
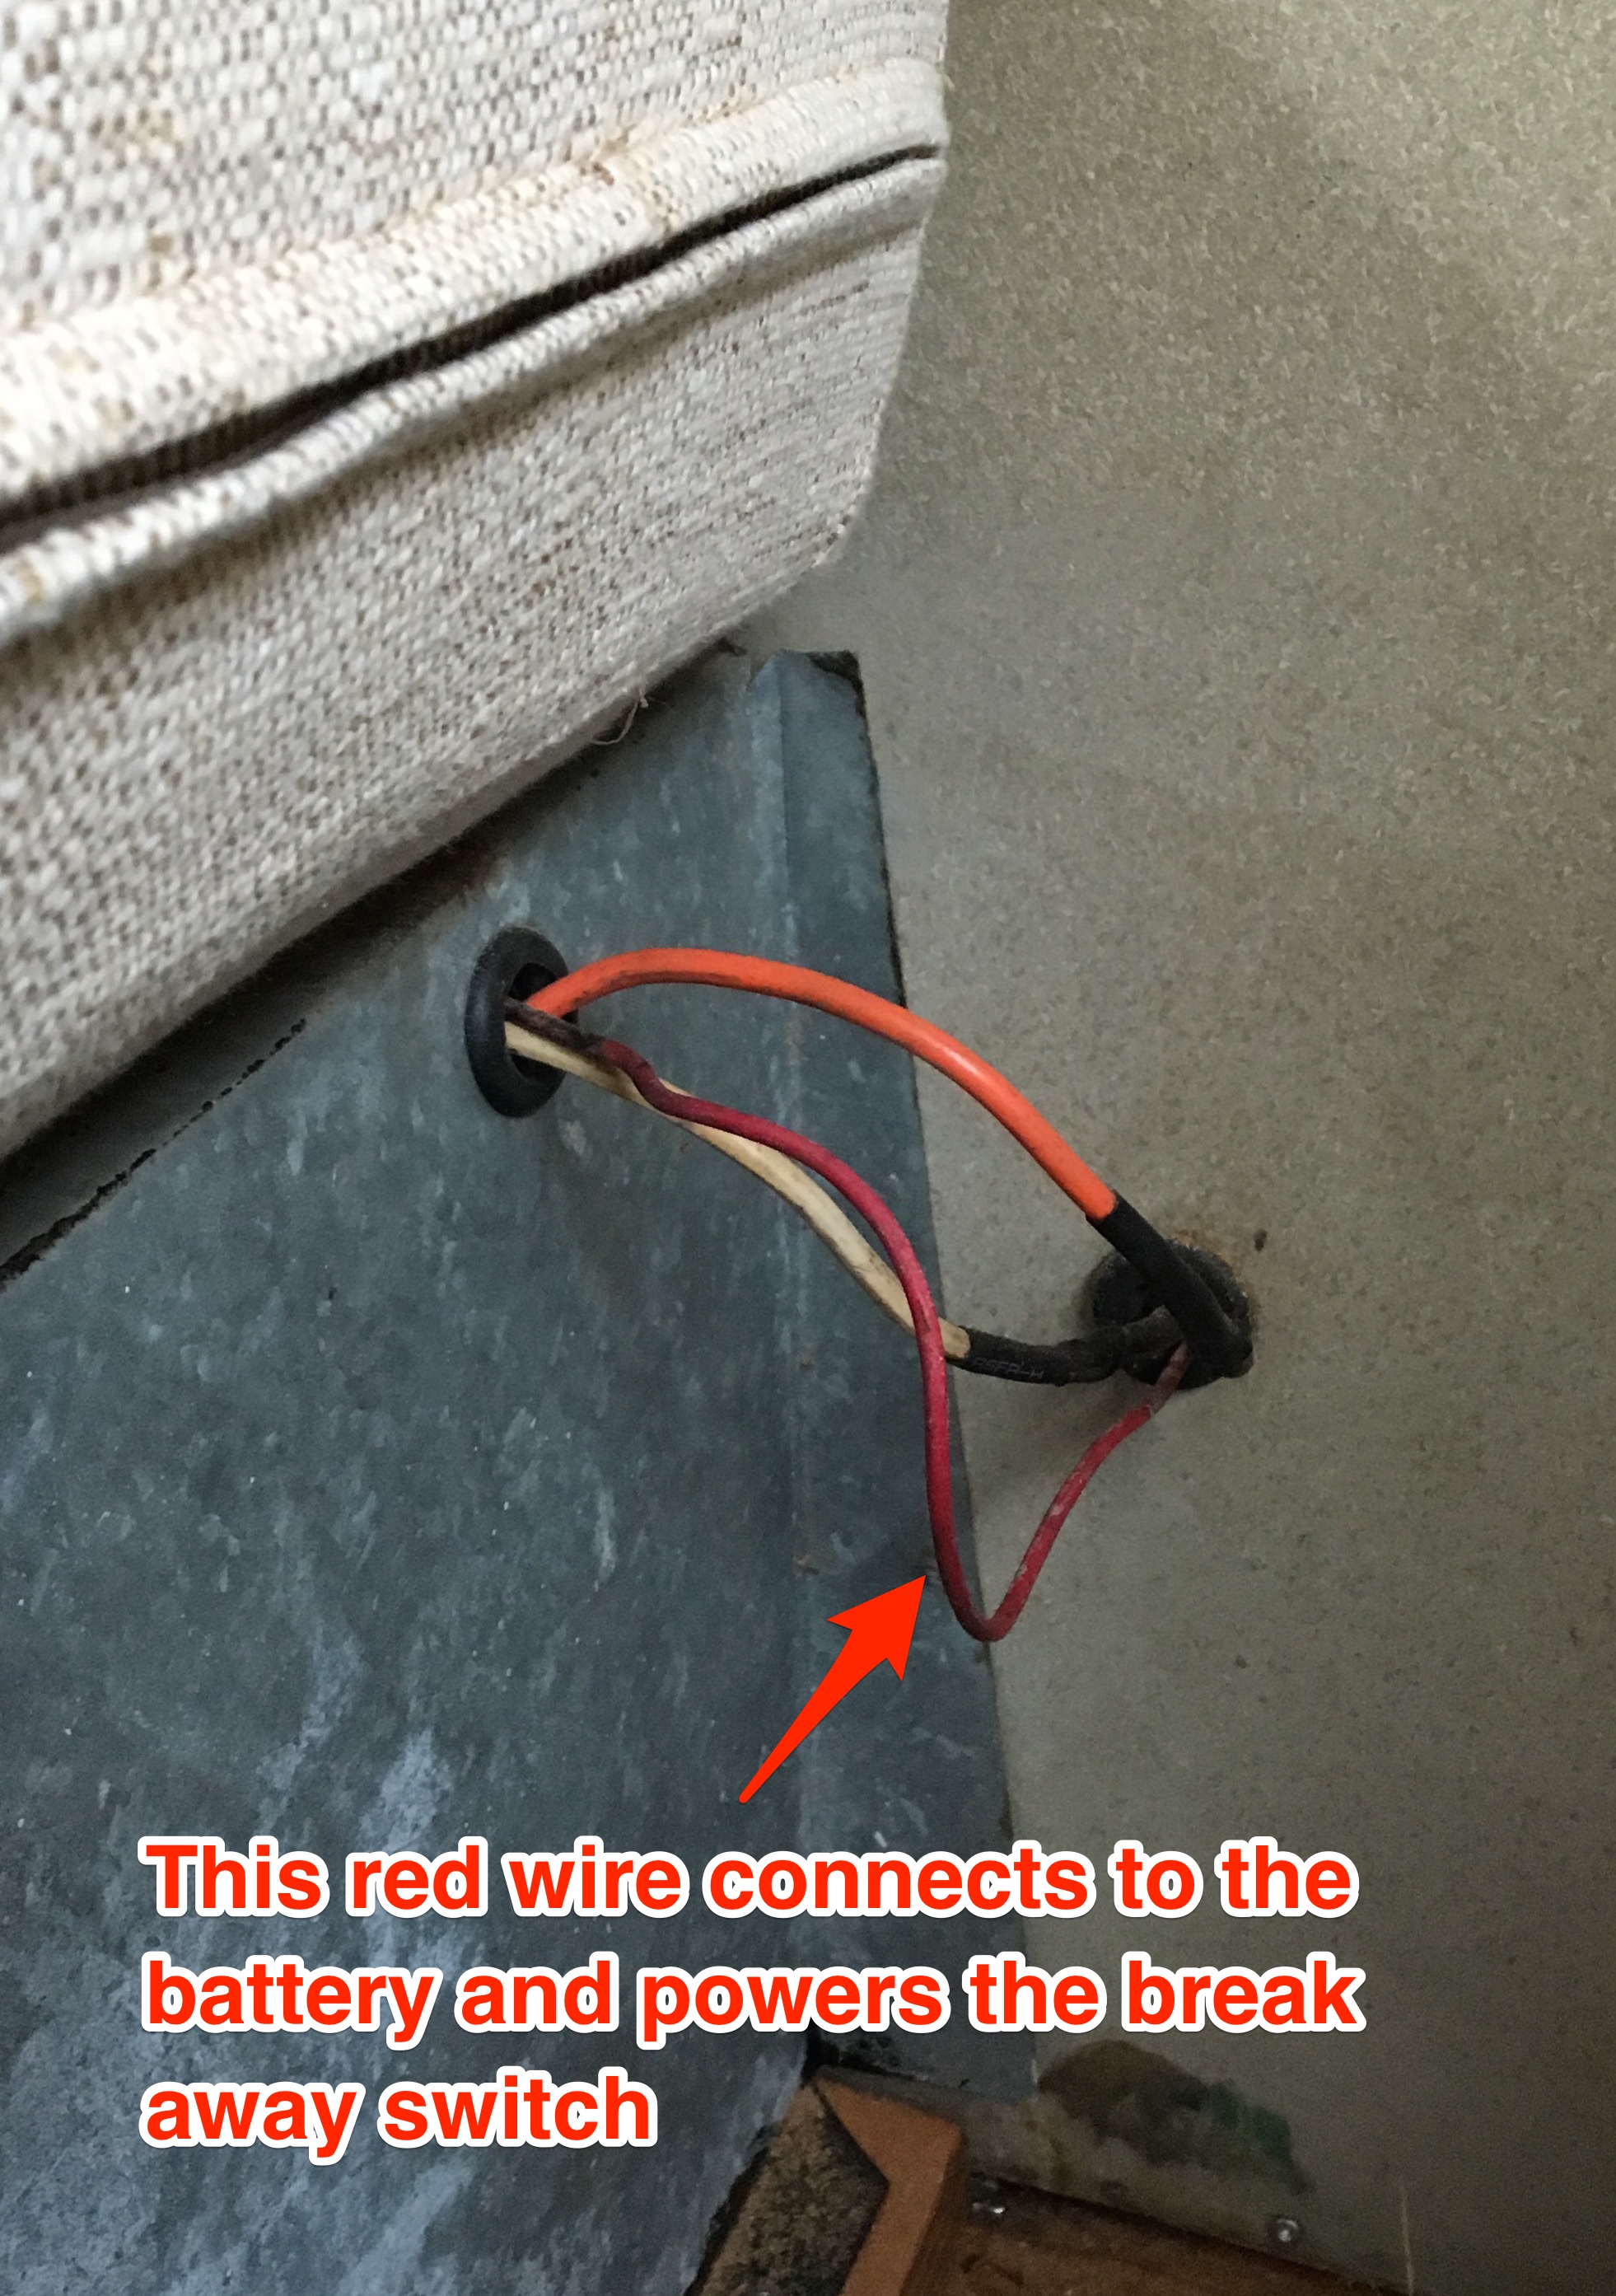
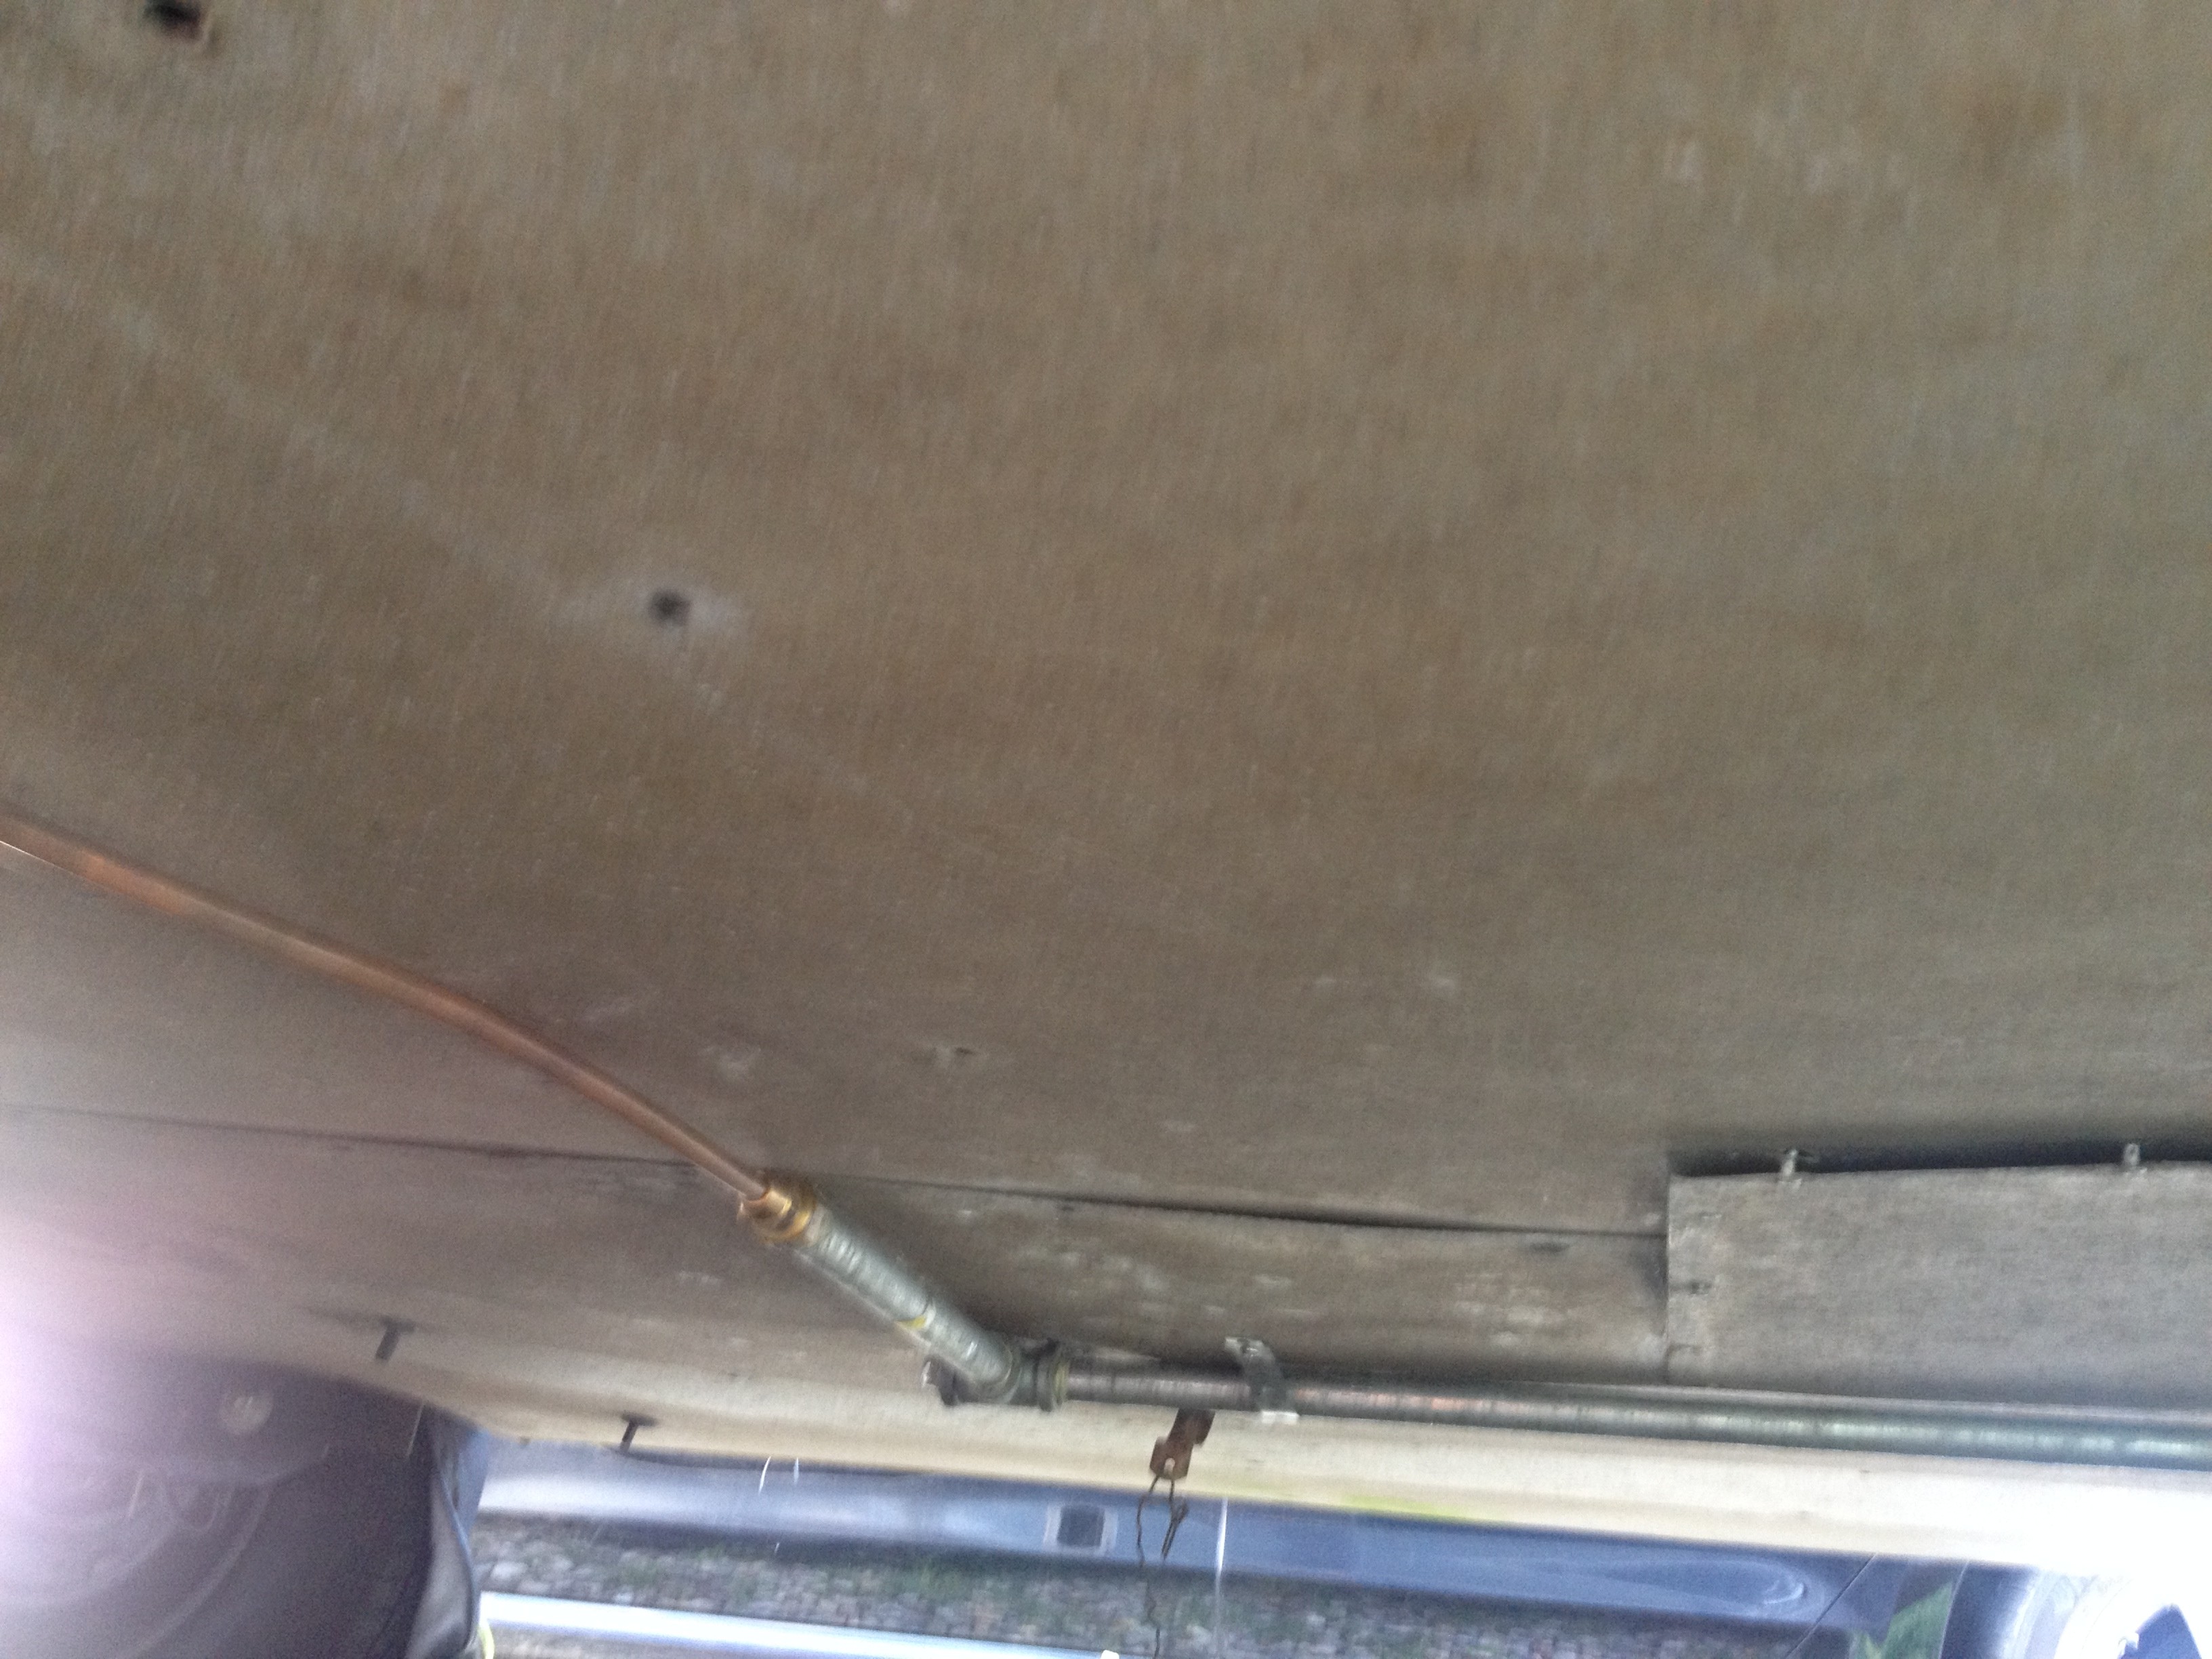
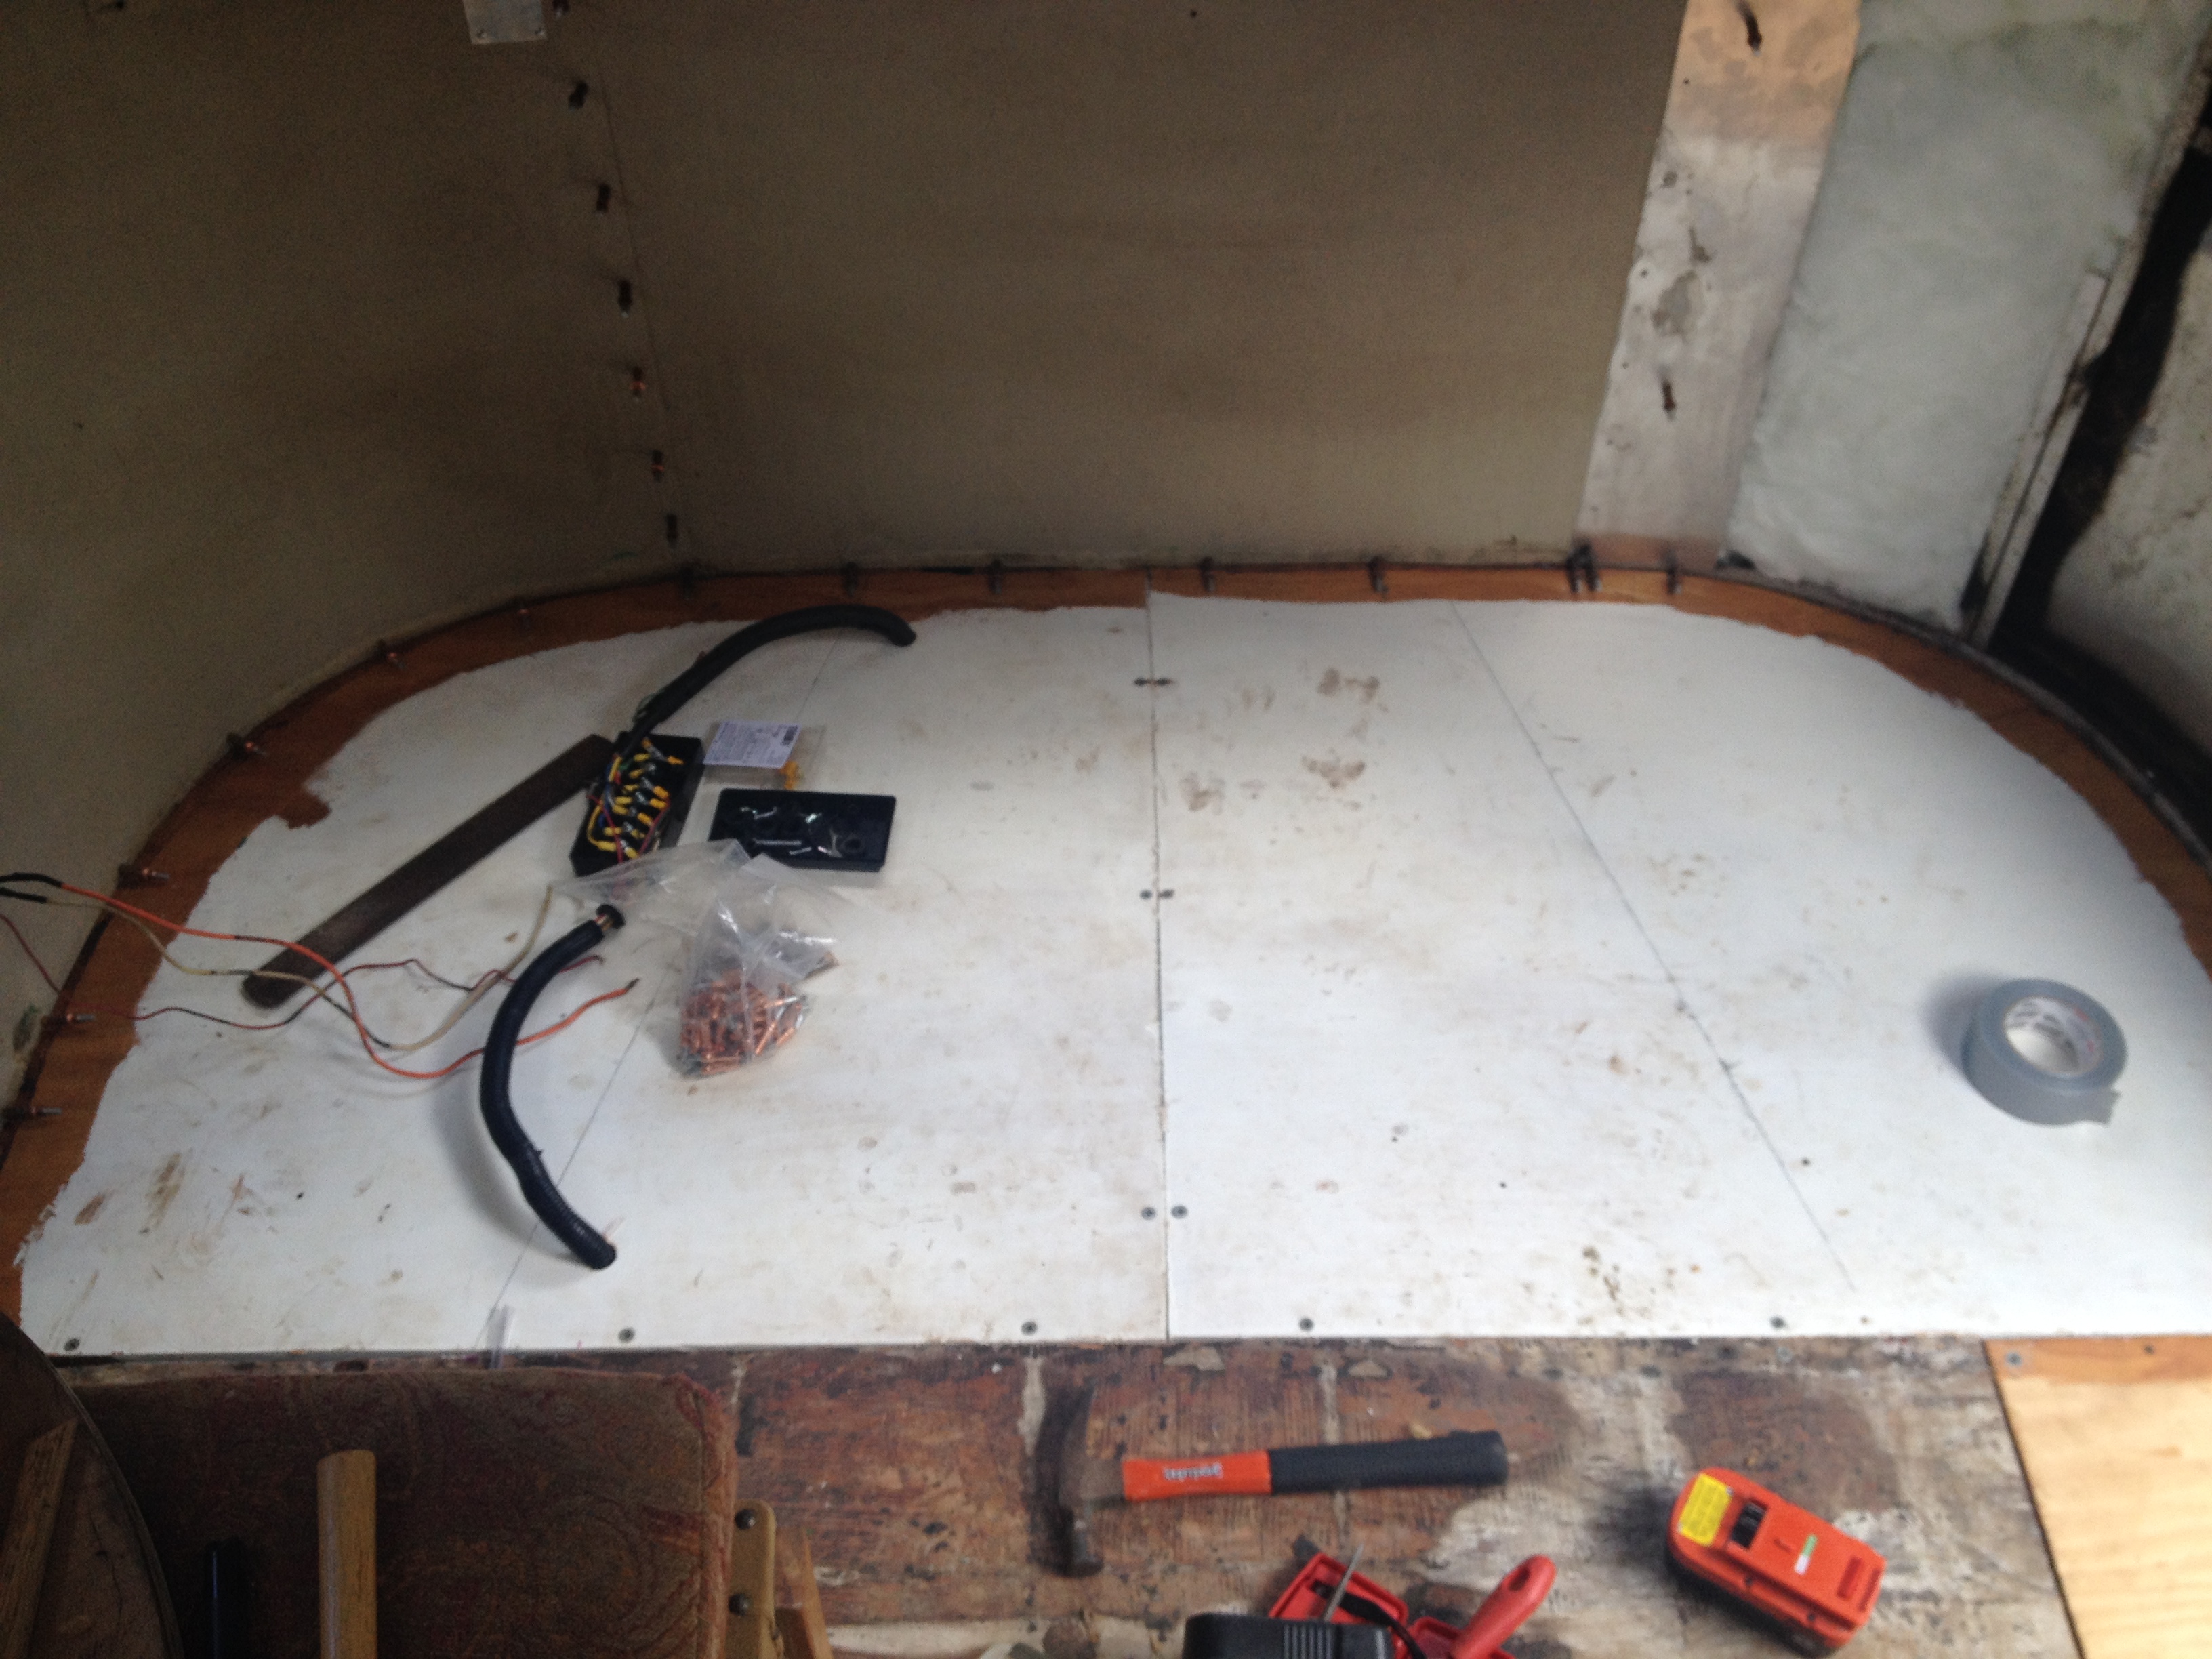
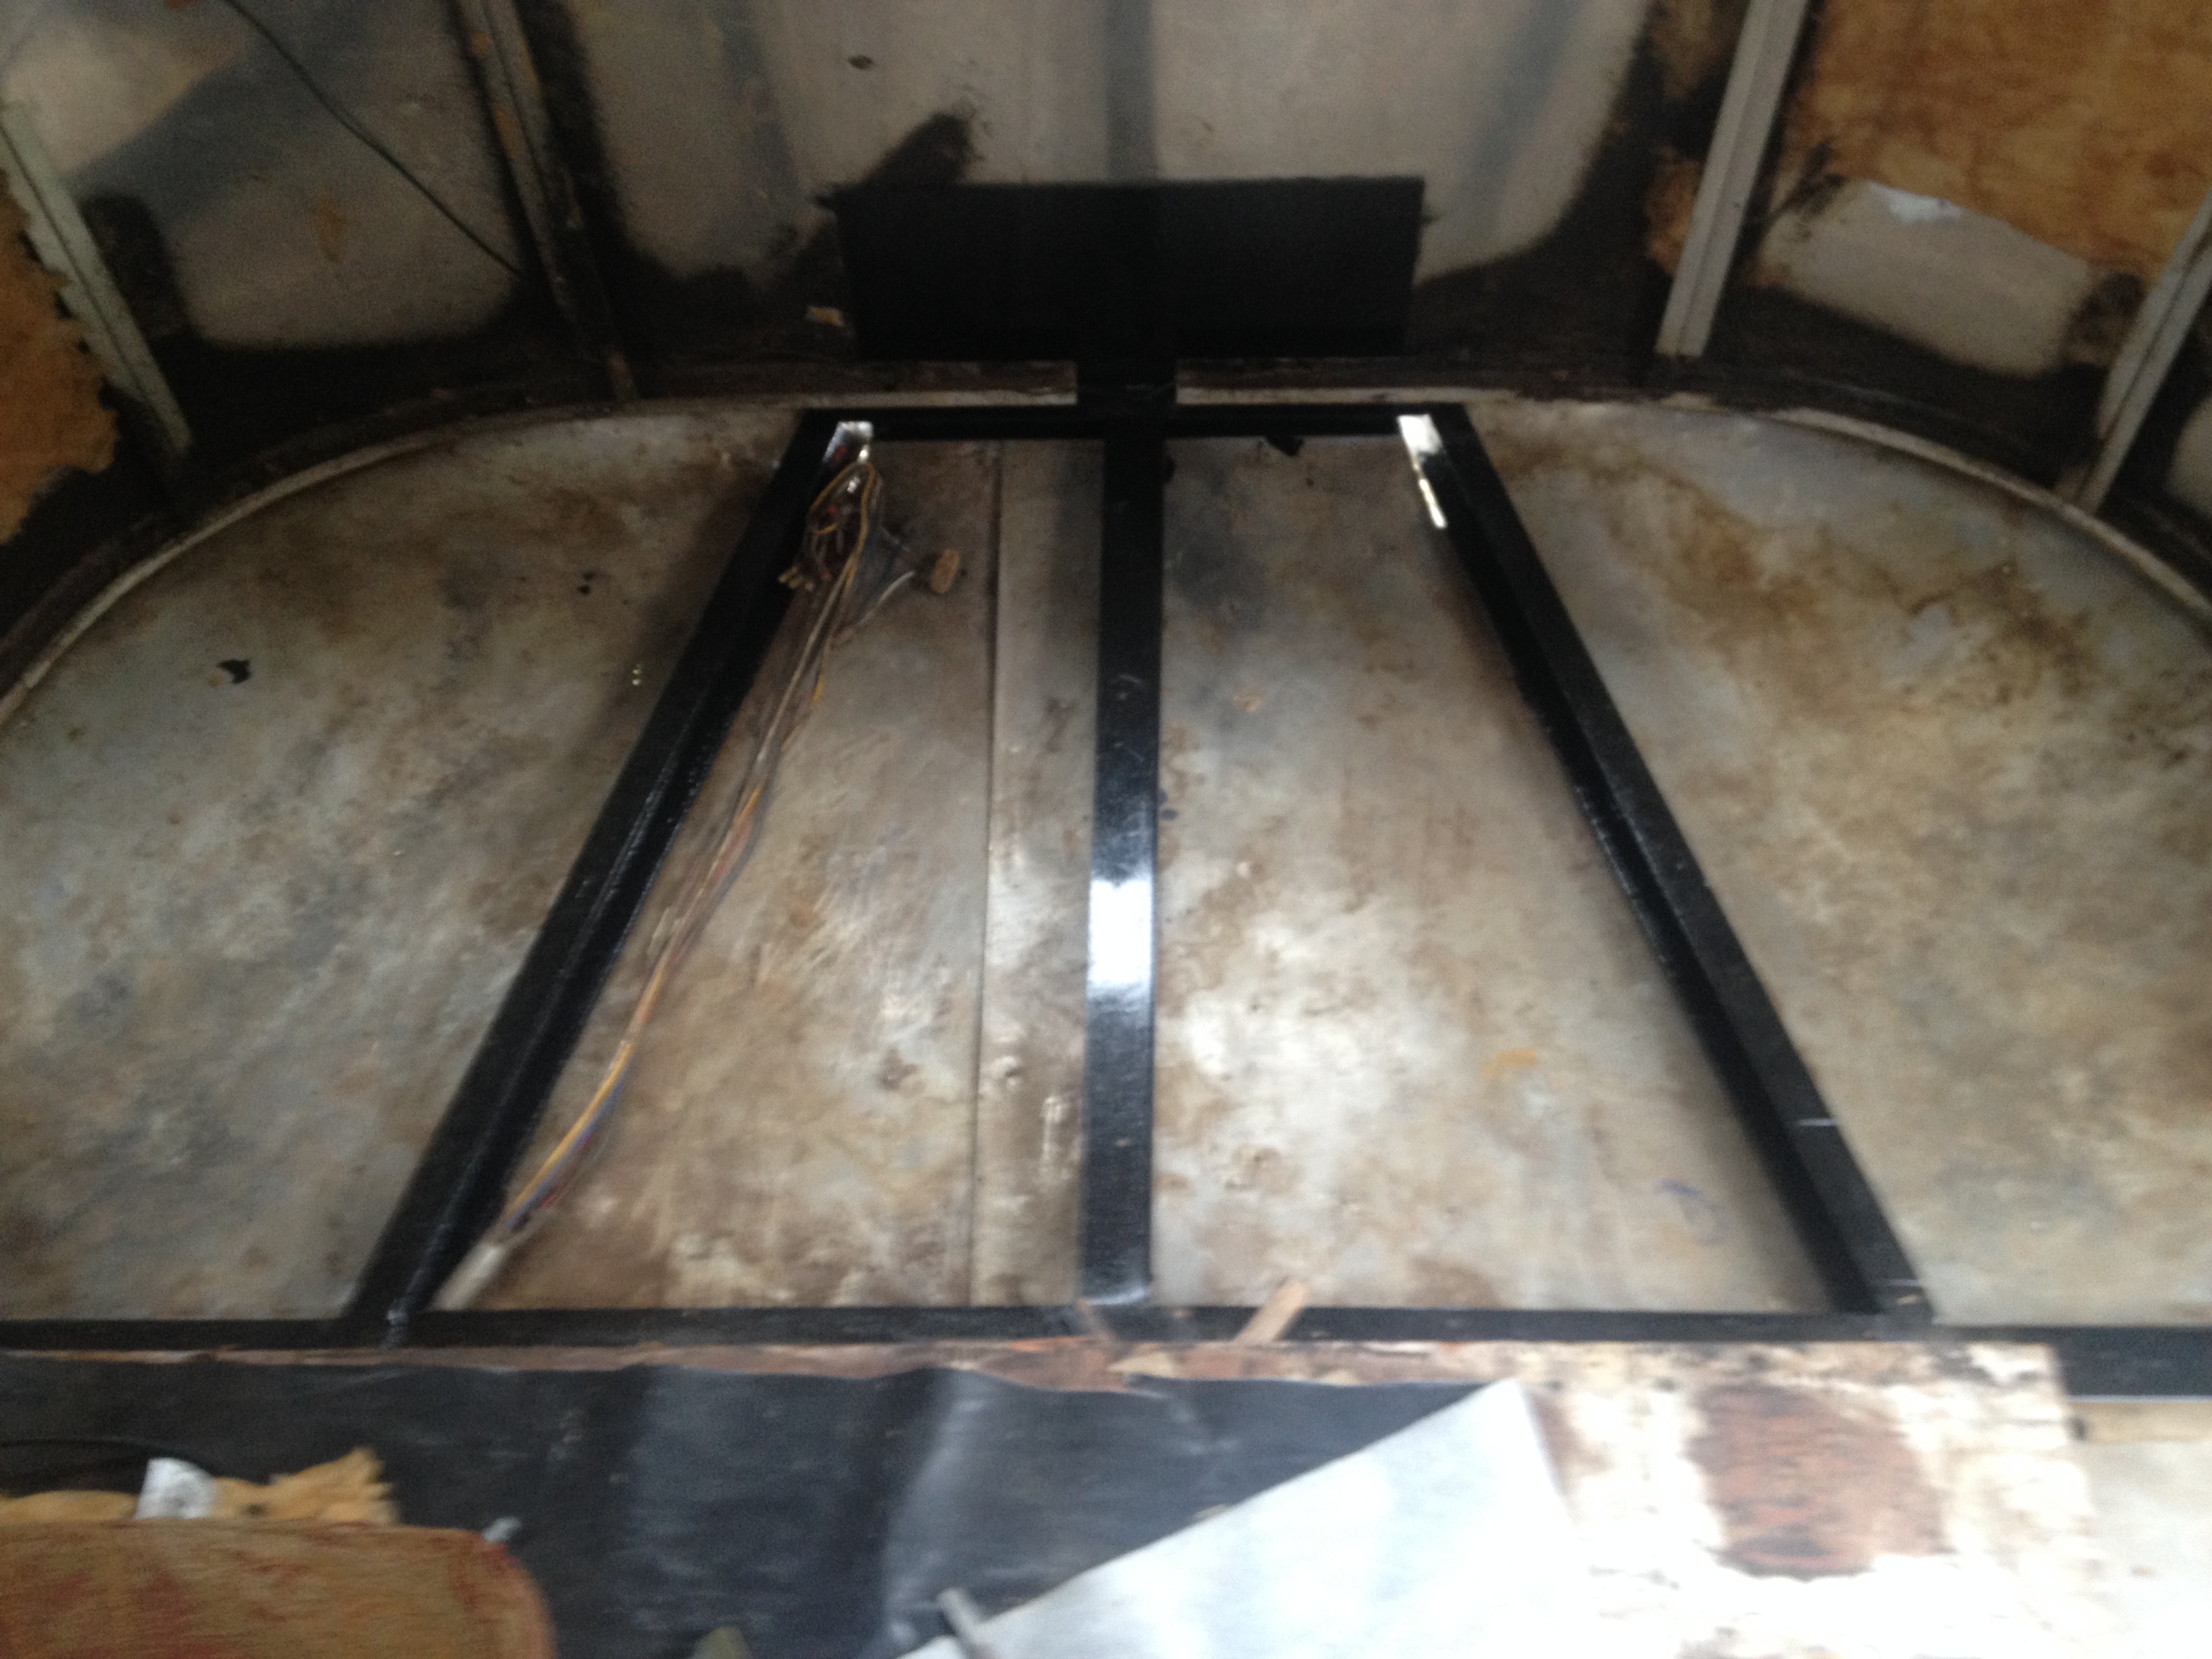
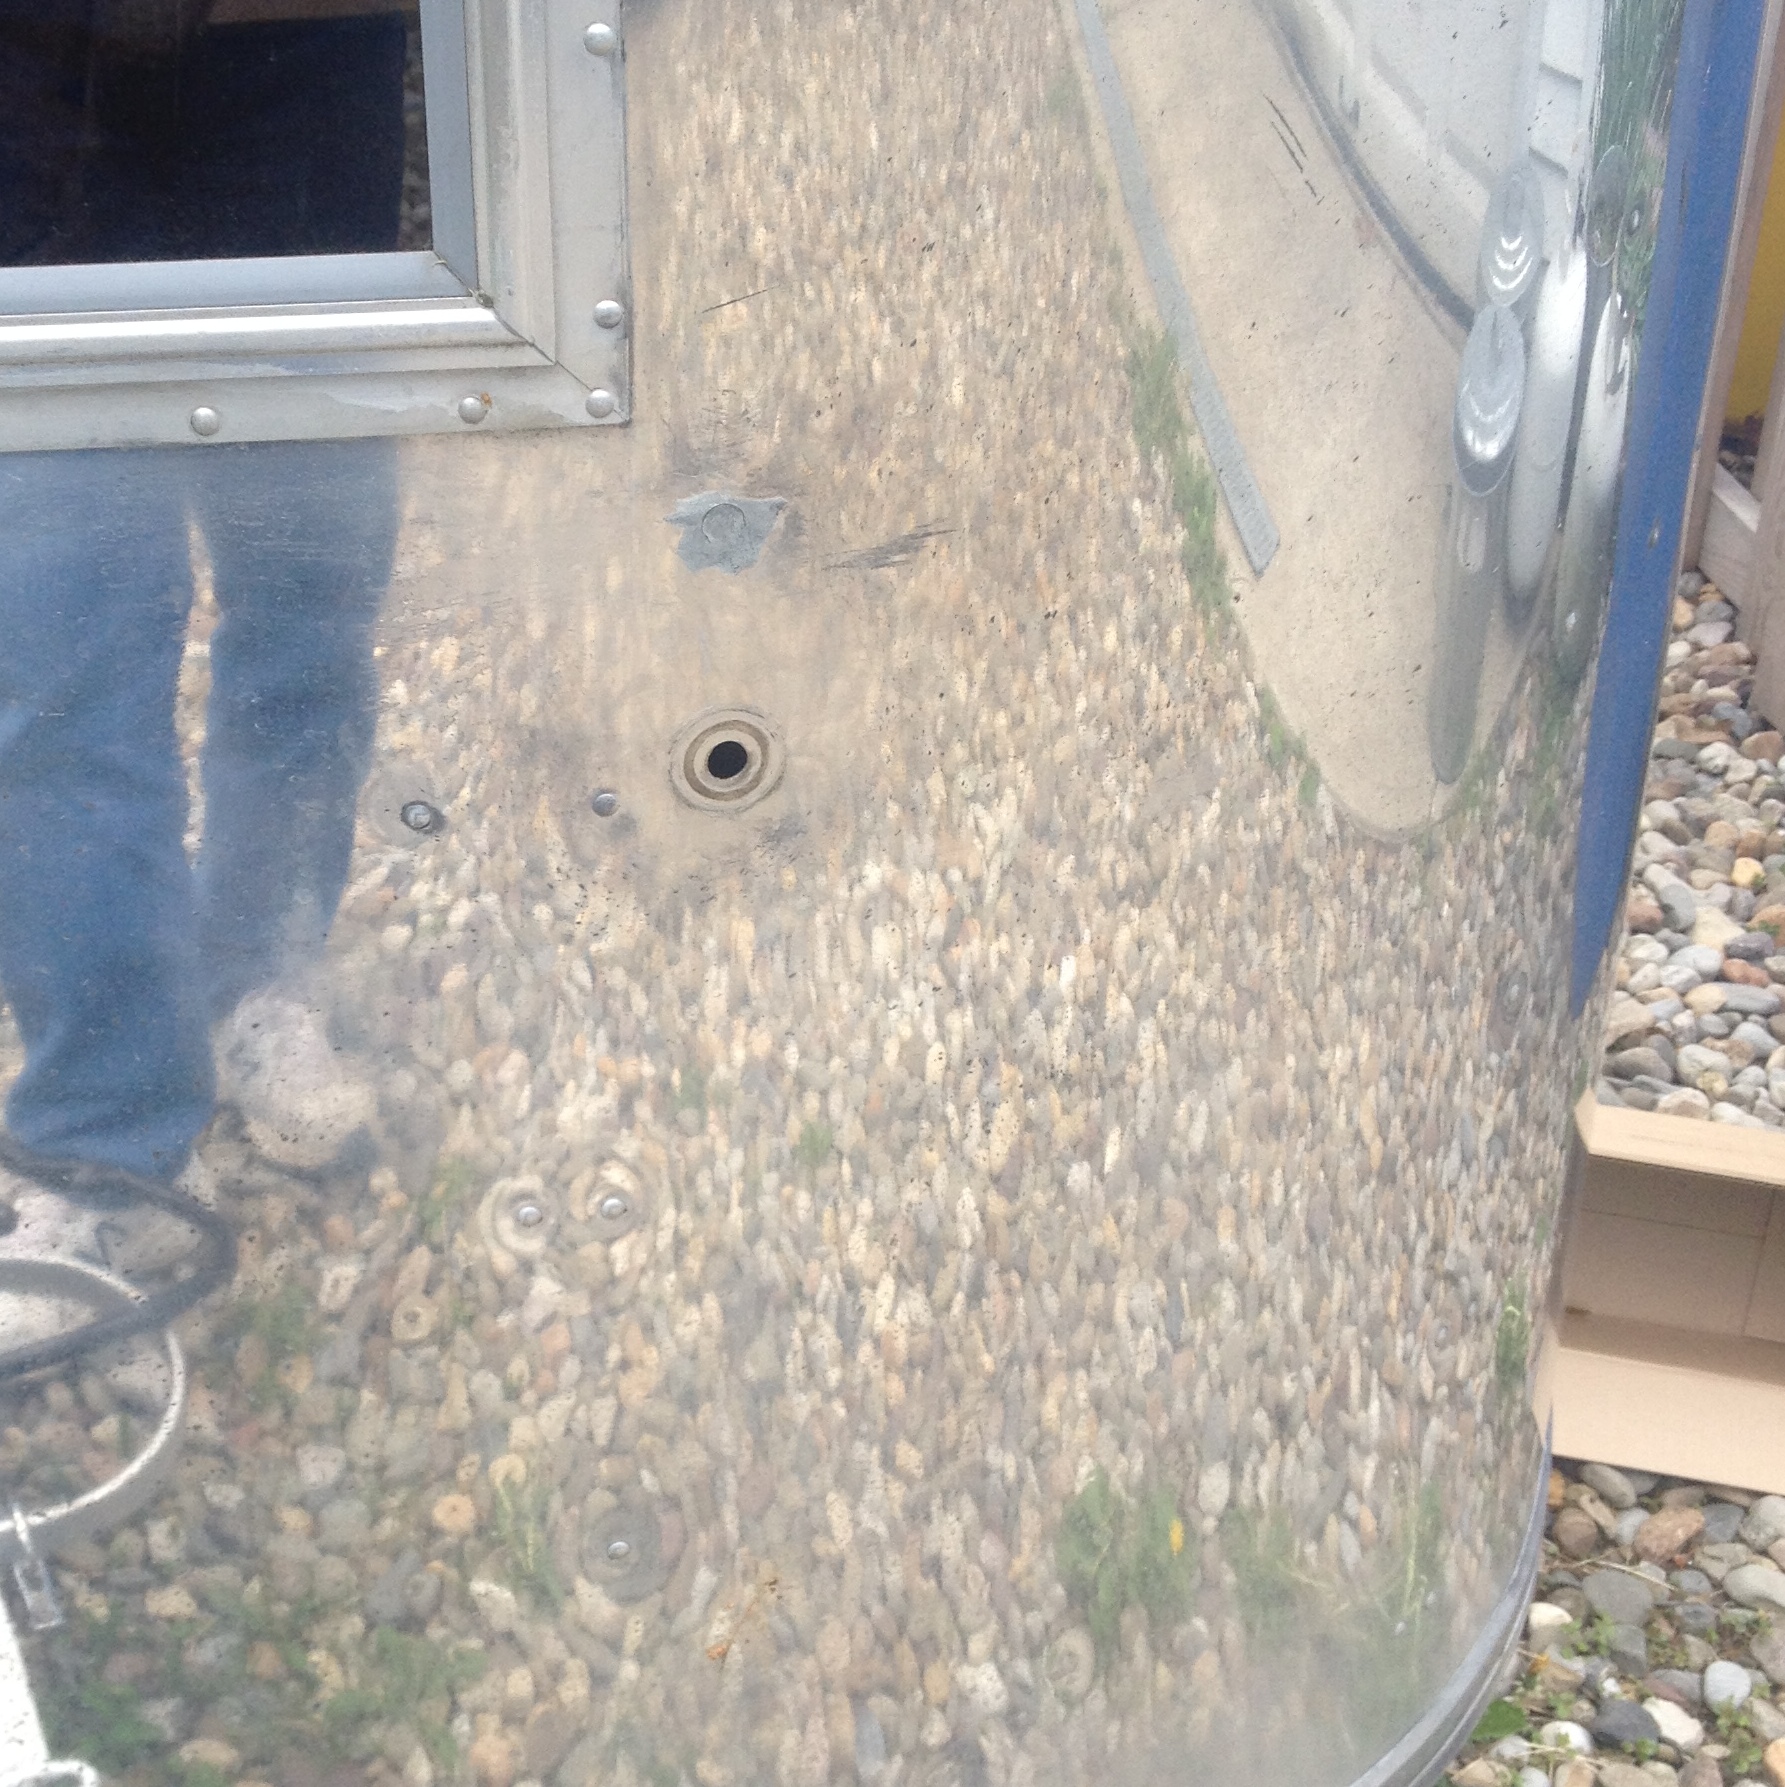
And then I had to figure out the wiring.  For the breakaway switch to work, it needs a 12v supply from the battery in the trailer.  It turns out there is a 3rd (red) wire going into the battery box that is dedicated for this, as you can see in the picture below.

Battery_Wires

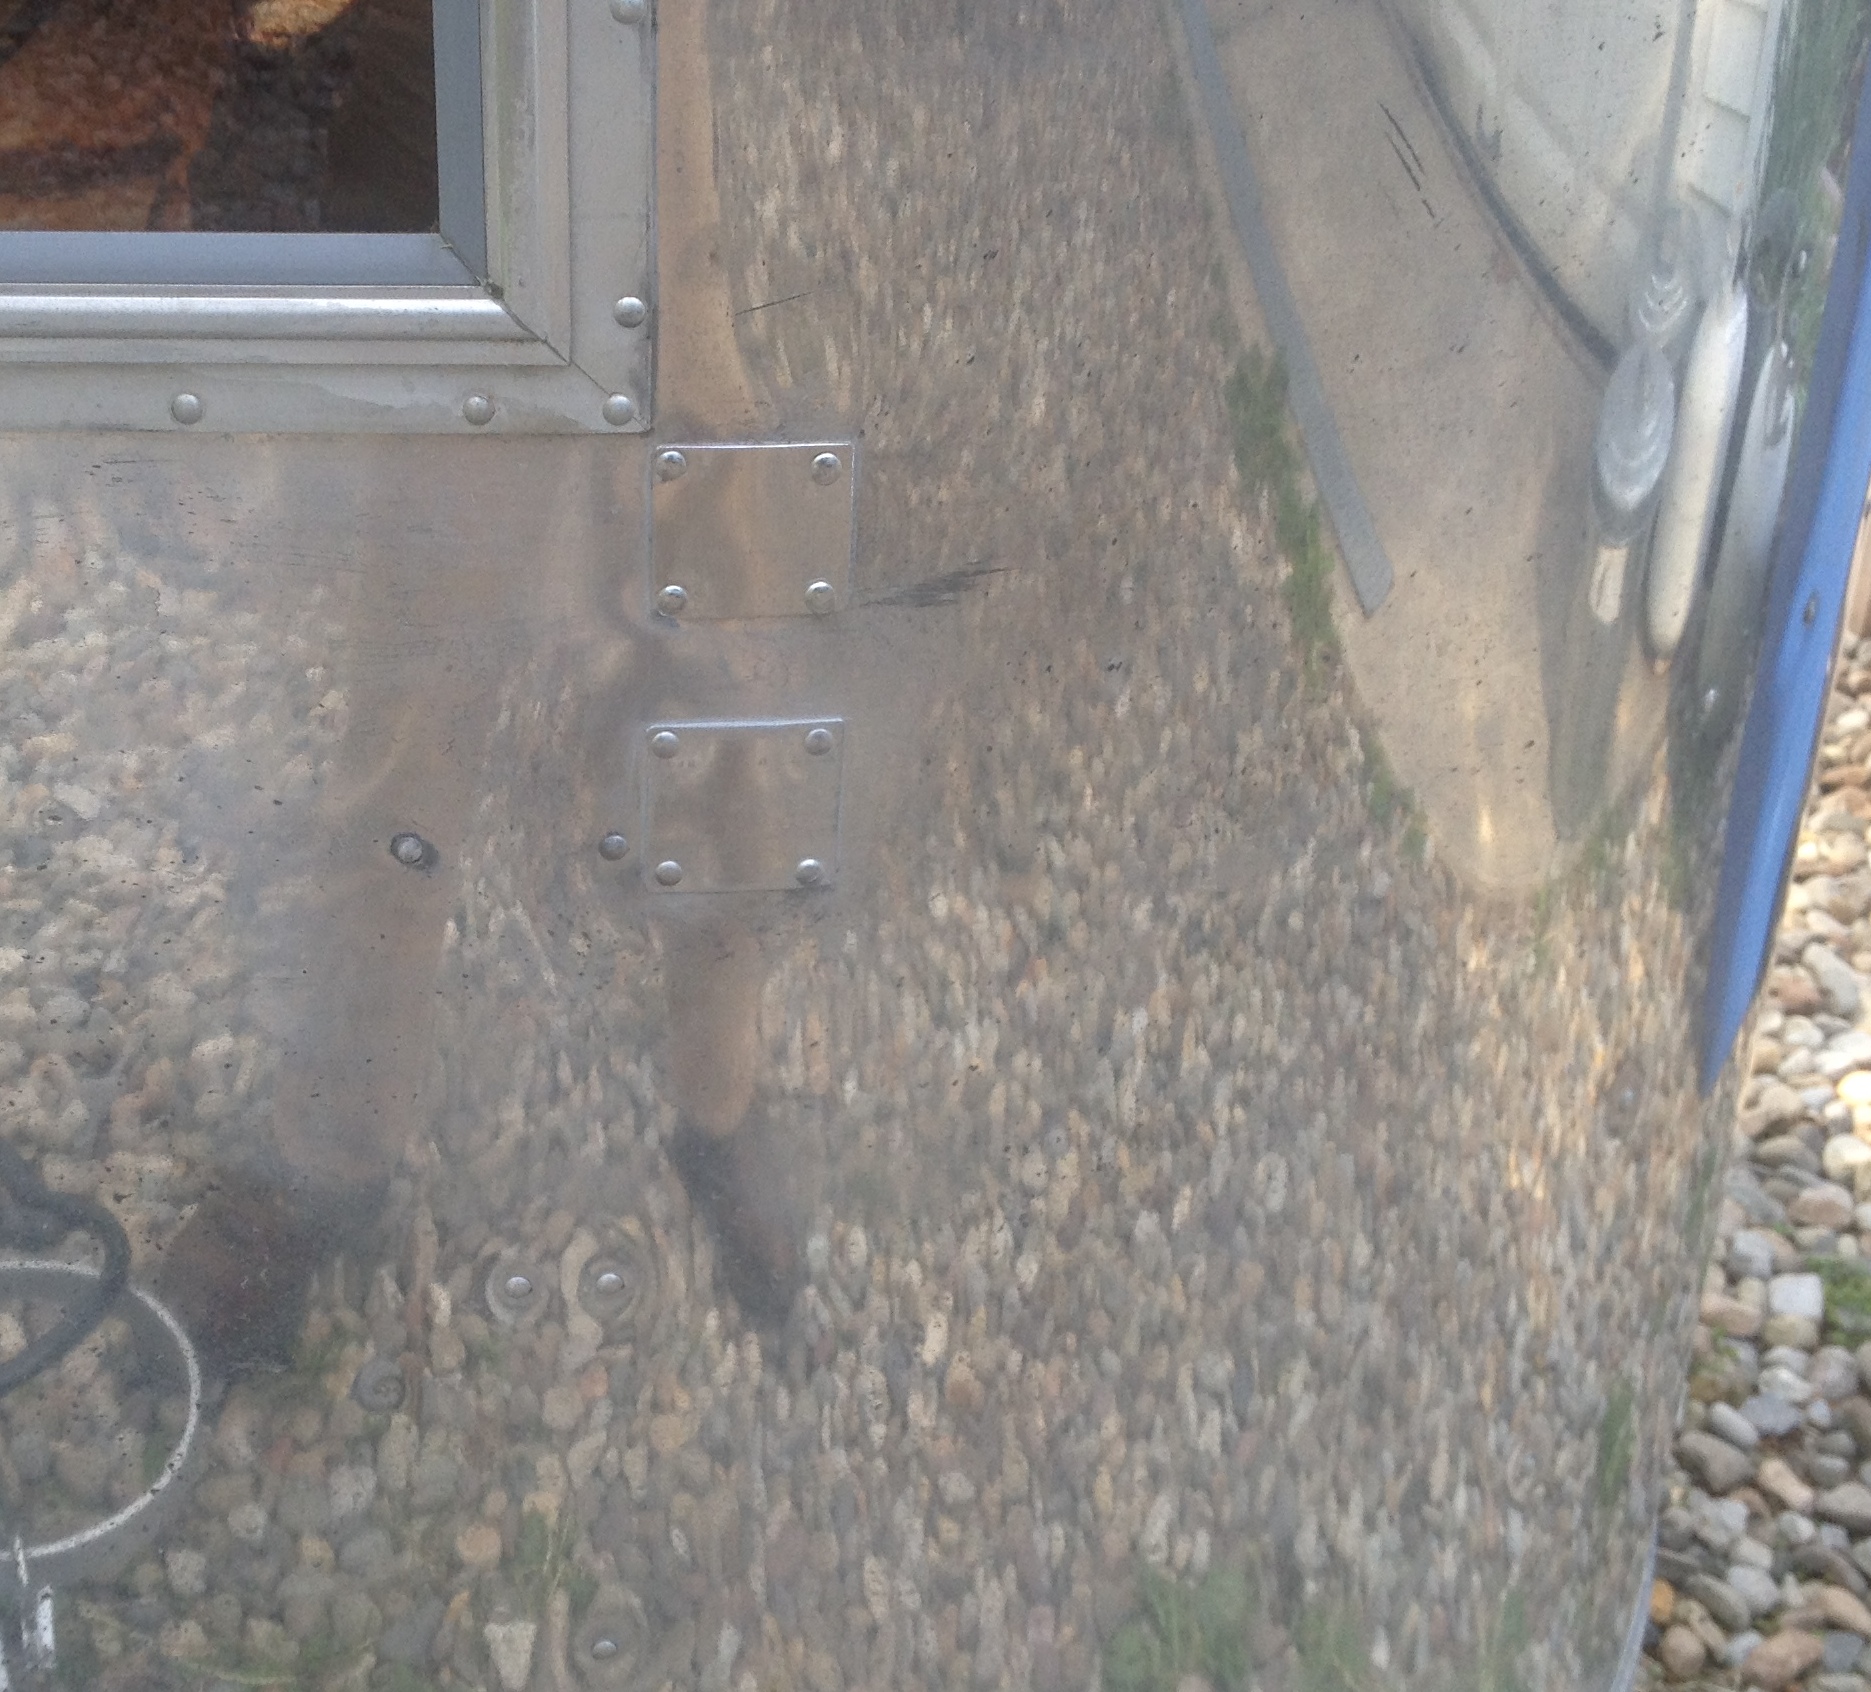
You see the other end of that same red wire at the bottom of the picture below.  I used a butt connector to link it to the wire going out to the breakaway switch on the the hitch.  The black wire that returns from the breakaway switch (and will supply 12v when the pin is pulled) is connected to the terminal in the junction box (first one on the left) that powers the brakes.

We also ran a 12v line from the post on the fuse box in the truck back to the receptacle for the tow cable on the rear of the truck.  This 12v line will charge the battery in the trailer when the tow vehicle is connected.  (Unfortunately, the Univolt converter in the trailer will NOT charge the battery when plugged into shore power.  See here for explanation.)  In the picture below you can see the blue wire coming out of the left of the junction box and connecting to a 25 Amp breaker.  The breaker ensures that excessive power is not drawn from the tow vehicle.  The other blue wire connected to the breaker powers the 12v system in the trailer.

Junction_Box

[Note:  I have no idea what the disconnected black wire pictured below the junction box is for.  I though that it might be the wire that receives power when the breakaway switch is engaged, but when I tested it, it did not work that way.  So I connected the switch to the brake power line in the junction box.  Given the age of the trailer, just because it doesn’t work doesn’t mean that it’s not supposed to!  I will ask my Airstream friends about that wire to see if they have any ideas.]

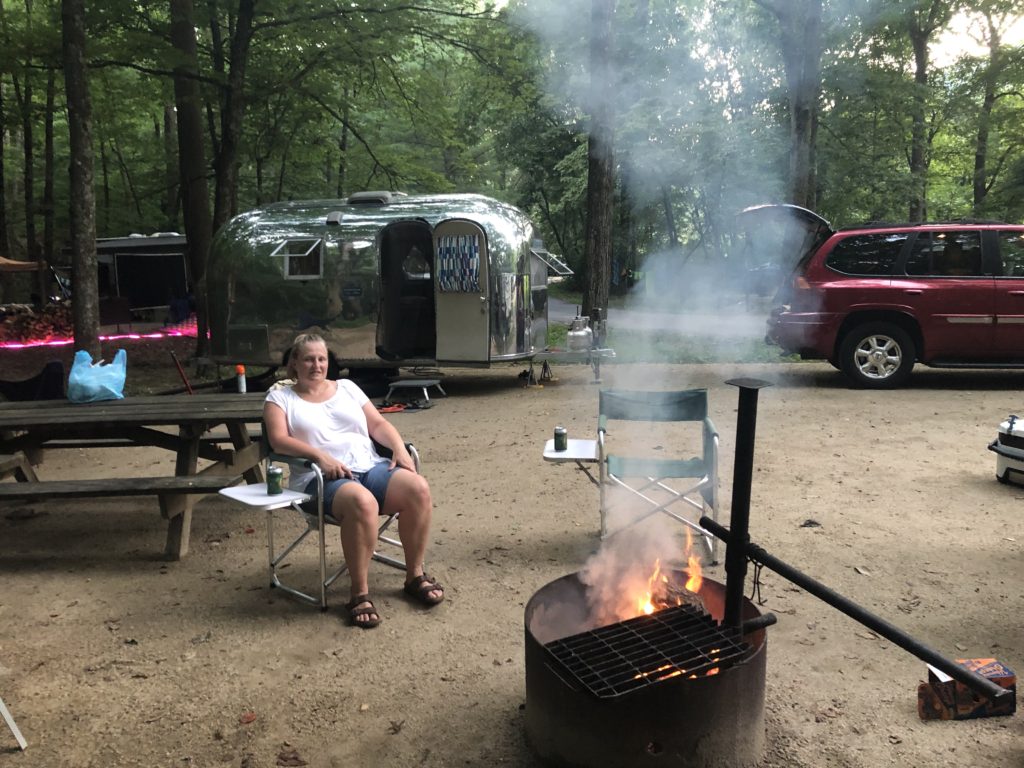
So, we now have a battery and a working breakaway switch for the brakes.  This weekend is the first Airstream rally of the season.  I will soon find out if it all works as expected.  Wish me luck.

Stove burner grates

The grates for the stove were in pretty good shape except for the bits that were positioned directly over the flame.  There the porcelain enamel was gone and the exposed metal had begun to rust.  I considered painting those parts with high temperature paint.  But that paint is not meant to withstand the temperature of direct propane flame.  Instead I decided to have the grates completely re-coated in porcelain.  The company I chose was Independence Porcelain Enamel in Missouri.  I think they did an excellent job.  The re-enameled grates look GREAT!  Should be good for another 50 years.

Re-enameled burner grate Re-enameled burner grates

Propane

The next project was to replace the propane tanks and plumbing.  Of course, I had to get aluminum tanks that soon I will polish to shine like the trailer.  But polishing is a task for another day.  These are 10 lb tanks, a little smaller than the originals.  Given that we plan to run only the stove and our gas grill from these tanks, they should provide plenty of capacity for us.  If in future years we plan to reconnect propane to the refrigerator and install a hot water heater, then I might need to worry about their size.  I doubt that I will ever install a new propane furnace.  We just don’t plan to go camping in frigid temperatures and even if we did a small electric heater would probably heat our small trailer just fine.

The guy at the hardware store convinced me to use 1/2″ galvanized pipe for the main supply line.  You can see it jutting out from under the belly pan.  It’s connected to the dual tank regulator by a standard LP hose.  When one tank runs out of fuel I just flip the regulator to the other tank.
Propane Setup

Copper tubing comes off the main supply line toward the refrigerator on the other side of the trailer.  I used the thicker type “L” tubing in hopes that it would be more durable.  The original copper tubing was even thicker, but I figure that this tubing will be thick enough.

Galvanized Propane Pipe

You can see the copper supply line coming into the stovetop at the lower left corner of this picture.  The stove has some surface rust, as you can see, but is generally in pretty good shape.

Copper Propane Supply Line

After all the pipes and fittings were joined I pressurized the system and then tested everything with soapy water.  I didn’t see any bubbles, so it must be good, right?

Aluminum Propane TanksAnd then came the moment of truth …

The Floor is In

The front floor replacement project is finally complete.  What a tedious job it was.

Originally I had planned to drop the belly pan so that I could slide the new floor in as one sheet and bolt it properly to the frame.  But before beginning to drill out the belly pan rivets I had a closer look at how the belly pan comes up between the exterior shell and the C-channel that rides on the perimeter of the floor..  That’s when I found that the belly pan comes up and then is crimped over the outside edge of the C-channel.  This wasn’t obvious because the crimp was covered with some black, sprayed-on sealant.

BellypanCrimpI decided that it would just be too much work to scrape off the black sealant, uncrimp the belly pan, drill out all the rivets and then do it all in reverse after the new floor was in.  Instead I would install the floor without dropping the belly pan.  This meant that I would need to use screws to fasten the floor to the frame and the C-channel to the floor rather than the bolts I had originally planned to use.

With that decision made it was almost time to install the new plywood.  But first I patched the torn portions of the belly pan.  The tears were caused by the floor sagging as you stepped into the trailer.  I used 5052H32 0.032″ aluminum for the patches and solid 1/8″ rivets to fasten the patch to the belly pan.  Here is a picture showing the patch just below the right side of the entrance.

BellypanPatch

And finally I installed the new floor sections.  I had to cut the front section in half in order to slide it into position.  I used self tapping screws to fasten it to the cross members.  I chose not to fasten to the main frame rails because the original floor was bolted only to the cross members and not to the main frame.

FrontFloor

You can see on the left side where I brought the umbilical cable and trailer cabling up through the floor and connected them in a new junction box.  Rather than sealing these wires under the floor as they originally were, I thought it might be useful to have access to them in the future.

No more sagging floor when you step into the trailer!

EntranceFloor

The C-Channel is fastened to the plywood with stainless screws and nylon washers.  The plywood is fastened to the cross members with epoxy coated self tapping screws

Screws2

.I stuffed the walls with new fiberglass insulation that I had left over from a previous project.

Insulation

And then I found some help to reinstall the interior walls.

JohnClecos

And now that the front gaucho is reinstalled, you can barely tell that I did any work at all.

GauchoReinstalled Still, I know that everything is sealed and solid now.  And that is worth the effort.

Cleaning Up the Frame and Preparing the New Floor

Since my last post I’ve been pretty busy.  I removed the old floor exposing some rusty frame.  Luckily the main frame rails and even the cross member were in pretty good shape.  Only a very limited amount of welding was required to strengthen the cross member in a couple of spots.  A good friend brought over his welder and fixed those spots.

floor_removedI cleaned the exposed frame with the wire brush wheel on the angle grinder that my step-father gave me and then painted the metal with POR-15.  I neglected to wear gloves while painting.  That was a mistake.  POR-15 bonds to skin just as well as it bonds to metal.  The only way to get it off was basically to scrape my skin off.  It took about 3 days worth of scrubbing and scraping to remove it from my hands.  I can only hope that it will stick to the frame at least as well as it stuck to me.

Painted_Frame

Next I used the old floor as a template for cutting new wood.  The original plywood was somewhere between 5/8″ and 3/4″.  I chose to use 3/4″ marine grade plywood which was just a little bit too thick to fit under the C-channel around the edges.  So I used my grandfather’s trusty router to remove a 1/16″ or so around the edges.  I then sealed the edge that goes against the outer walls with Marine-tex epoxy resin.  That stuff costs $55 per quart!  I had better not see any rot for at least the next 25 years!

New_Unpainted_Floor

And finally I painted the top and bottom with oil based primer.


Painted_FloorAnd now it’s time for the new floor to go in.  Expect more pictures very soon.


Patching Holes

I decided to take a short break from repairing the floor and turned my attention toward waterproofing.  With the interior wall panels removed I was able to test some suspected sources of the leaks that caused the floor to rot in the first place.  Our old trailer had a radio antenna mounted on the front.  This antenna was completely useless to us, but it did give the trailer a vintage look.  However, I suspected that the old, hardened gaskets against which the antenna were mounted were no longer water tight.  I slowly poured some water against the exterior above the antenna and then went inside to see what happened.  A small rivulet of water ran down the interior wall from the antenna hole.  Suspicion confirmed!  Since we have no use for that antenna and I did not want to find and further maintain those gaskets, I decided to patch the hole.

Here is a picture with the antenna removed.  You can see the hole where the antenna used to be mounted.  If you look closely you will see that there is a small circular hole above that looks like it has been filled with grey body filler.  I hadn’t planned on doing anything about that spot, but it comes into the story later.

antenna_hole_sm

Next I had to figure out how to make a 2″ x 2″ aluminum patch.  I have a nibbler for cutting sheet metal, but I wasn’t sure I could cut a straight line with it.  So, I made my own guide fence from a piece of angle aluminum and two clamps.  With this home-made contraption I was able to cut a piece close enough to square that I could use a file to finish it off by hand.  I don’t have a large workbench so we had to use the edge of our front porch.  I had to make sure to sweep up all the little bits of aluminum afterwards so that none of them end up embedded in the bottom of my bare feet on a later day.

Nibbler Fence

Next, John and I practiced bucking solid rivets.  He held the bucking bar and I ran the rivet gun.  The first time I pulled the trigger on the rivet gun nearly scared his pants off.  He didn’t expect it to make so much noise causing the piece of scrap aluminum to rattle.  But after a few practice runs, both he and I got the hang of it.

John held the patch in place and I drilled 1/8″ holes for the rivets, installing cleco’s in each hole to hold the patch in place.  After all the holes were drilled, we removed the cleco’s and then squirted plenty of Sikaflex sealant on the back of the patch before remounting them with the cleco’s.  We removed each cleco and bucked a rivet into each hole, one-by-one.  I made lots of smiley indentations on the second rivet.  Arrrgghhh!  Rookie mistake.  But the other three turned out pretty good.  To our surprise, as we drove in the last rivet, the grey body filler popped right out of its hole.  Then we had a another hole to patch!  Oh well, a patch is a better solution than body filler anyway.

Here is a picture of both patches installed.

Holes PatchedNot too bad for a couple of amateurs, right?  I think they will polish up nicely.

Now that the leaks are fixed, I’ll get back to replacing the floor.


Beginning the Front Floor Disassembly

No sooner had we returned from the trip to Pine Hill than I dove into the job of fixing the floor in the front of the trailer.  The floor right inside the entry door had been weak ever since we got the trailer.  When you step inside, the floor sags causing a tear in the belly pan.  You can see where a hole has rotted in the floor in the lower left corner of the picture below.  I also noticed that there was a hole where the floor had rotted in the front right corner of the trailer.  On Saturday I worked up the courage to dive into the project of fixing the floor.  It didn’t take long to remove the front gaucho.

Removed Front Gaucho

Then on Sunday I began drilling out the blind rivets holding the lower left interior wall panel.  The rivets that had a nice hole in the center were easy to remove.  But those where the shank had broken off above the head of the rivet were a major hassle.  It took quite a bit of time and emotional restraint to remove those rivets without expanding the holes too much.  I discovered that it’s actually easier to remove solid rivets!  To remove the solid rivets by the door I:

  • punched a guide hole with my center punch
  • drilled into the center of the rivet head with a #30 drill bit until the bit was sunk just through the head of the rivet
  • carefully used a hammer and a flat head screw driver to knock the remainder of the head off the rivet
  • used my hammer and a small punch to push the rest of the rivet out the hole.

I didn’t have any problems removing any of the solid rivets.

At this point all three lower interior panels have been removed.

Front Interior Panels RemovedNext I will take out some of that insulation and begin the task of cutting the bolts that attach the floor to the body of the trailer.

Stay tuned for more updates.